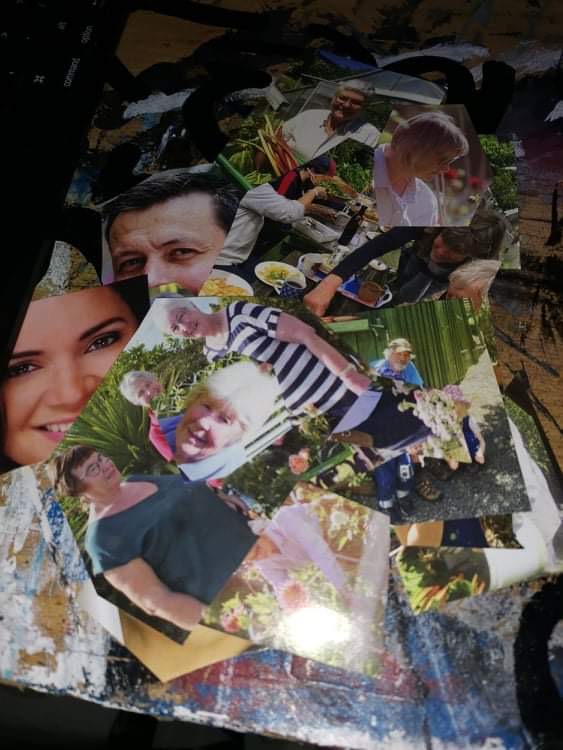
Ive had a great week! The first day of the brief was all talking, but I learnt so much. When we were being told about all the different types of ways to print i learnt heaps of things I’d never thought of. On the second day i brought in a ton of newspaper and was thinking about what to do with it. But then instead of thinking i just started cutting out every face i saw on every page of the newspaper. And that kind of gave me the idea of doing a type of serial killer type of look. So i made all the faces creepier by cutting them out roughly and coulouring in all of the eyes white. Sadly when i left, i had left all my material at studio so I couldn’t continue with it at home. So i just started another collage that night with a single Kiwi Gardener magazine. Luckily it had a lot of pages and a surprisingly large amount of peoples faces to cut out. So i could continue with the same theme and just build off of that.
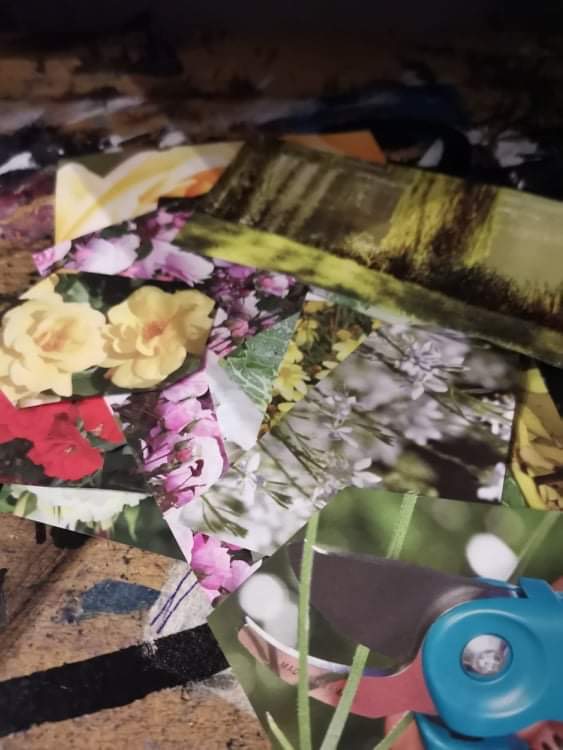
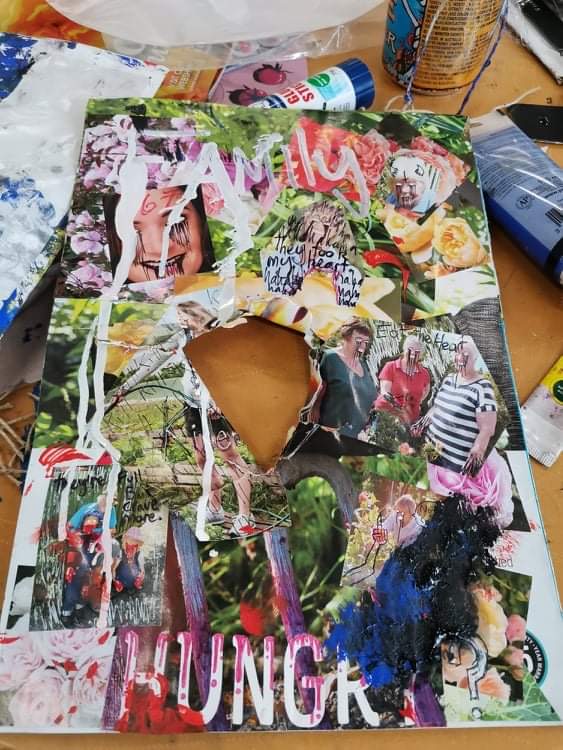
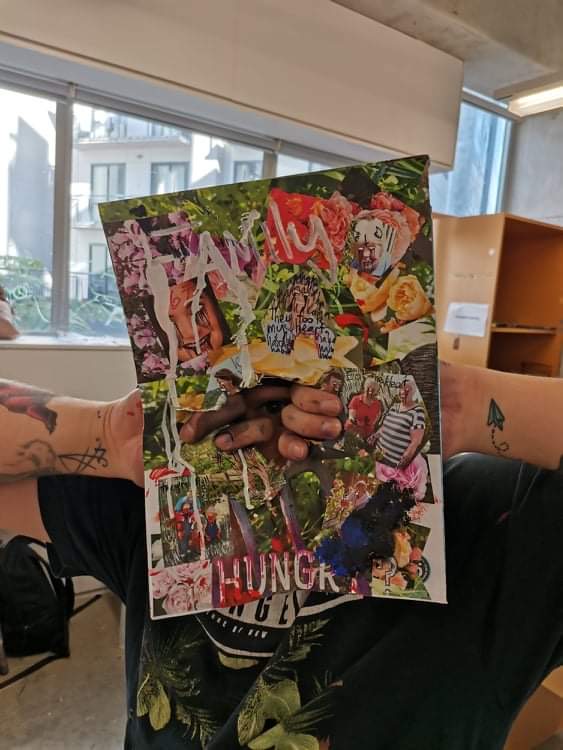
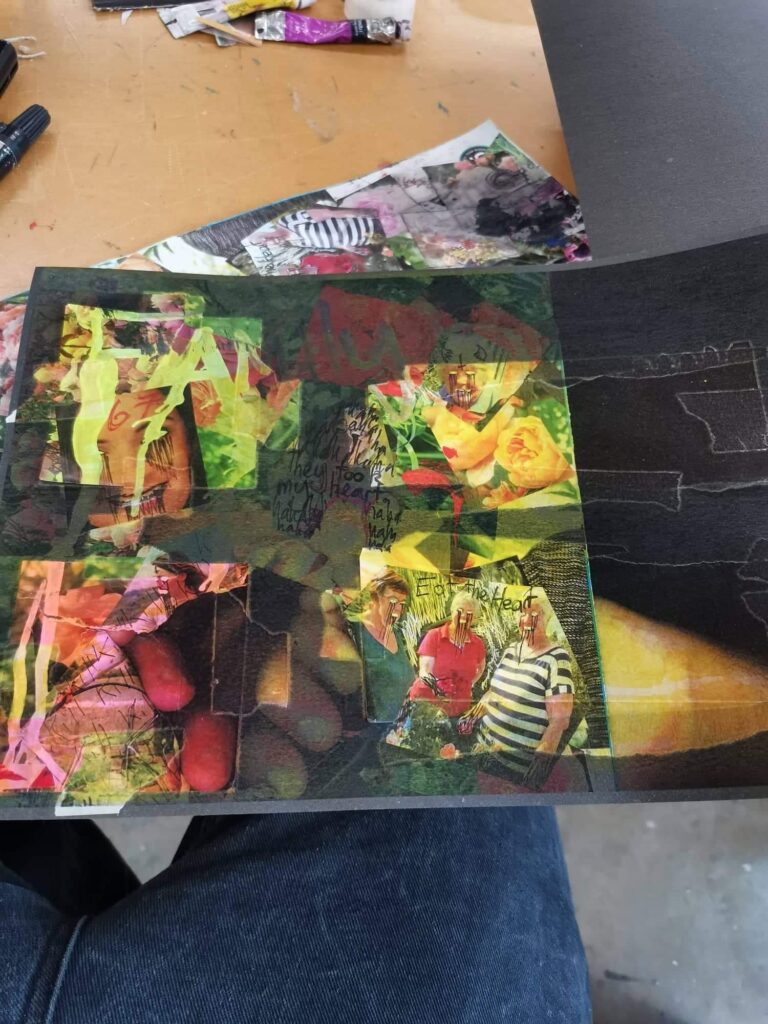
Here’s all the faces i cut out from the kiwi gardener magazine.I also cut out a bunch of flowers for my collage too. I thought it would be ironic to have a bunch of beautiful flowers put in the background and then on top of that glue down the faces and draw all over them to make them scary.And here’s the finished collage to start with. Ill talk about why there’s a hole in it soon.
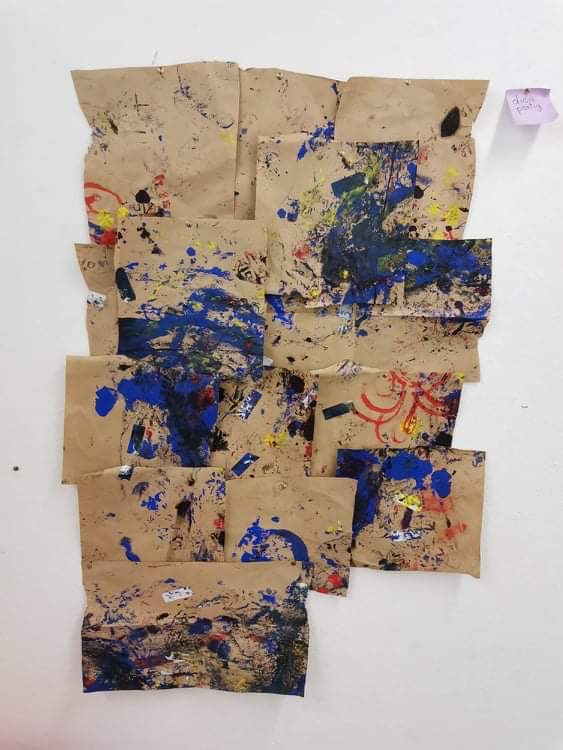
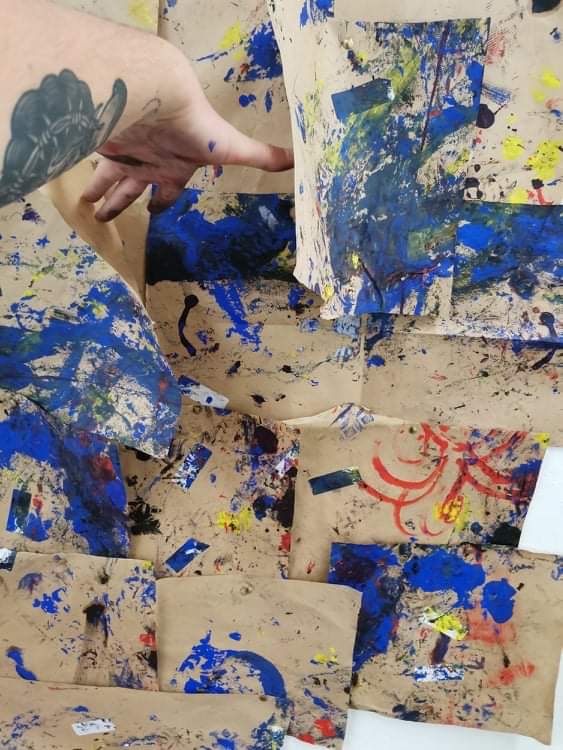
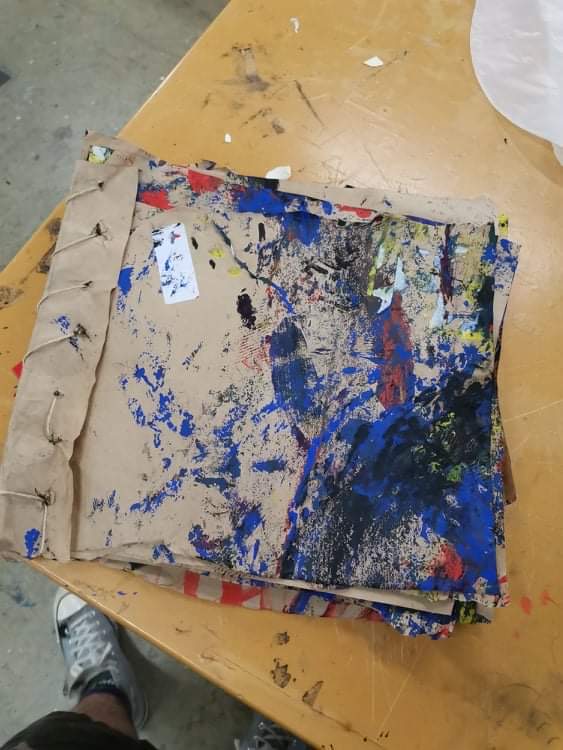
On the third day (Thursday) i thought it would be good too keep cutting out the faces from the newsapaper and drawing on them, so i can start having more material to work with. But I remember being told to try to use things other than your hands to paint with. So I went and bought some twine, paint and a paint brush. Then i head back to the studio and tied thr paintbrush to the ceiling with the twine, and i grabbed some brown paper from the roll in the corner of the studio. After I grabbed some of the brown paper i lay it on the floor under the pain brush that’s hanging from the ceiling. Then put some paint on it and swung, threw, pushed, kicked, punched and did all of those things to the brush for a while. Then some other students asked if they could help so i said sure of course. And so there’s some extra little details from other people on the paper too. I then folded and folded and folded the paper,then cut the folds so i had a bunch of smaller pieces of paper. Then i pinned all the individual pieces of brown paper to my wall and glue some of the faces from the newspaper onto it. And after all that I thought it’d be best to tryout scanning on my kiwi gardener magazine collage, and wow i had heaps of fun!
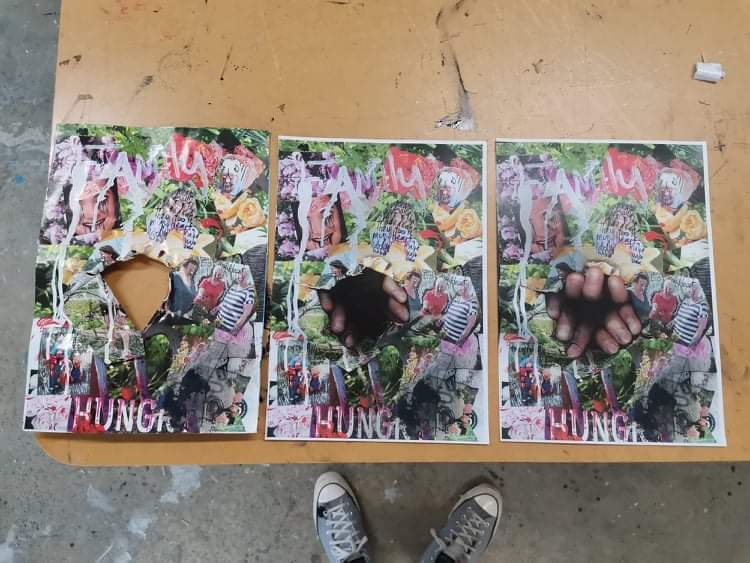
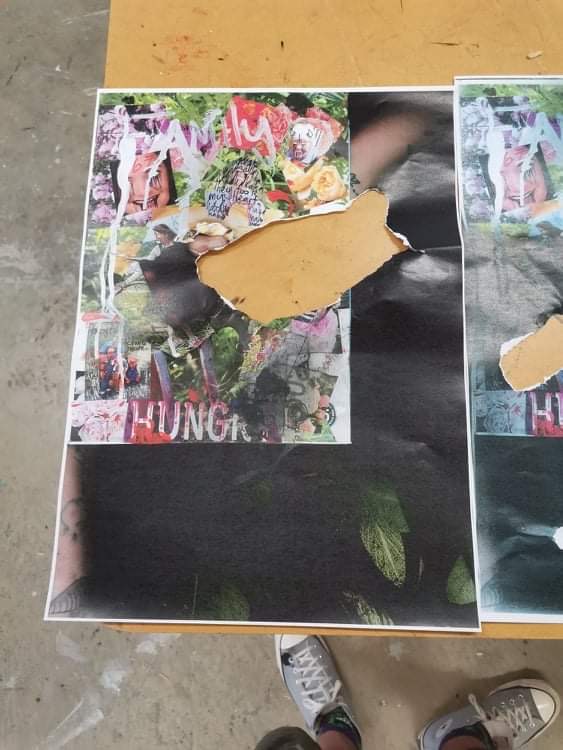
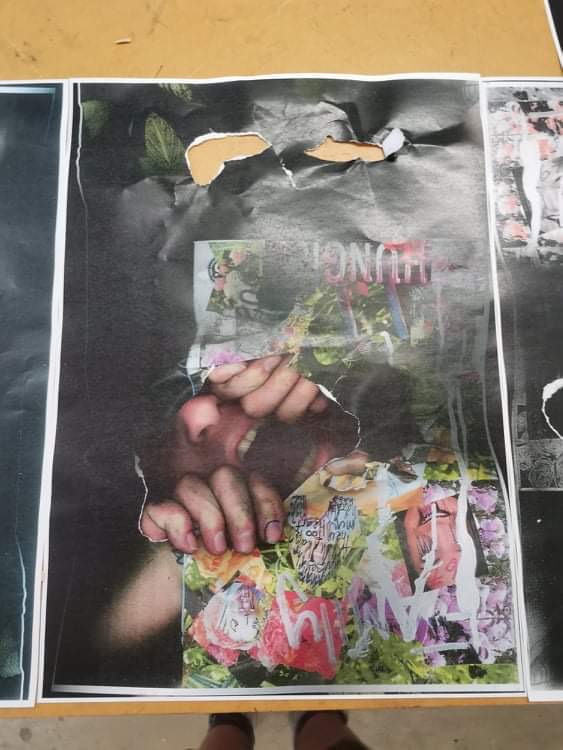
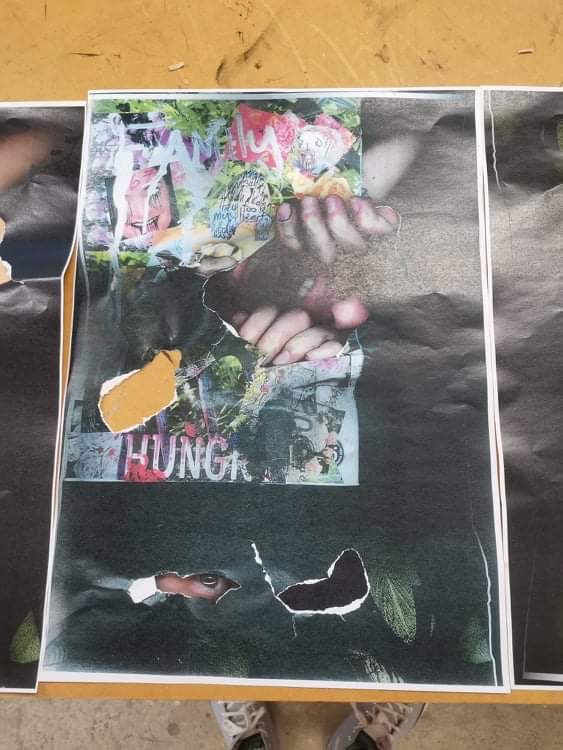
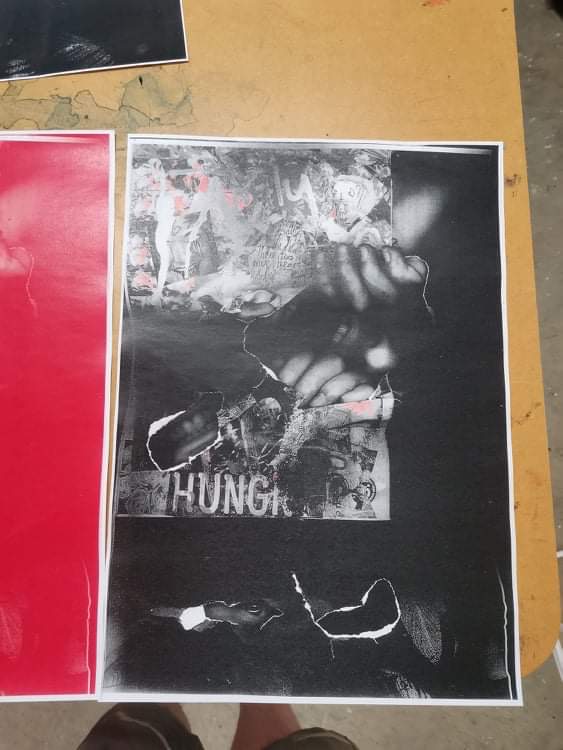
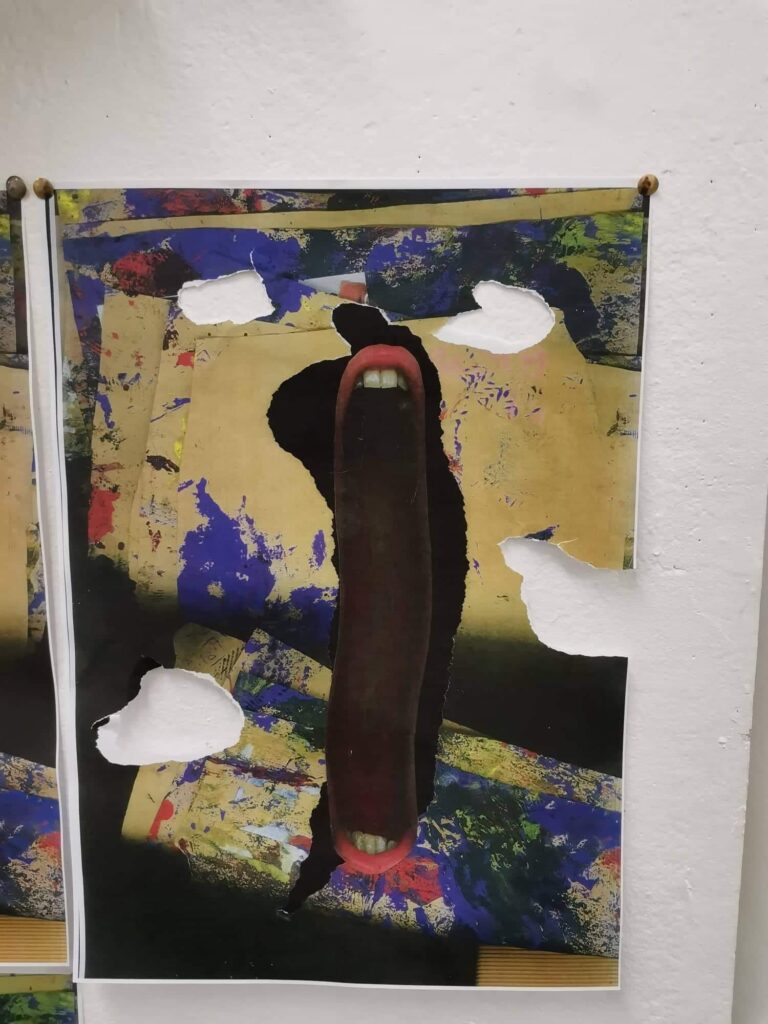
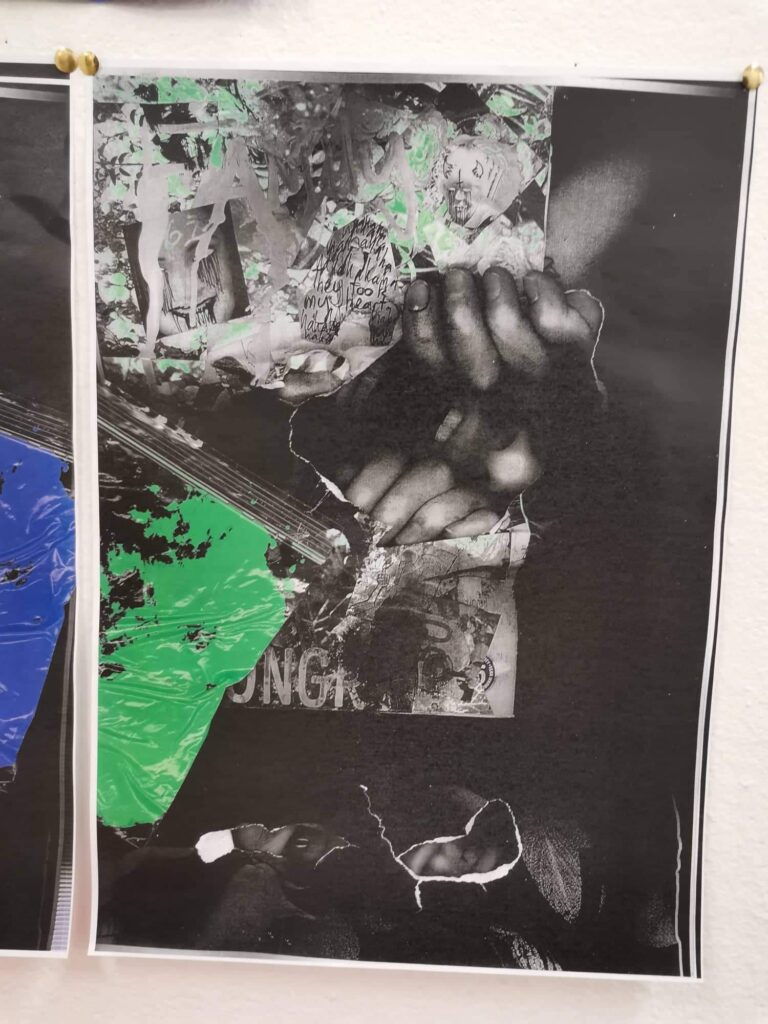
Sadly i didn’t think to take any pictures of the brown paper before i cut it up. But i did get some of when i pinned it on the wall. I forgot to mention that there is all sorts on this not just paint. It also has stickers, and whatever’s on the bottom of some peoples shoes.This is just me showing that I’ve pinned some pieces of paper on top of others.Now onto this super awesome fun part! So i had a really cool idea. And that’s to tear a hole in my original collage and while I’m scanning it, stick my fingers into the hole and hold it open to make it look like I’m tearing it open. And the results turned out really well and I’m quite happy with them.Here’s the first scans i did. The first being the original. Then the second o stuck my fingers in and peeked into it, but you can really only see my eye if you look close enough. And the third i got Josh to stick his hand into the scanner with me, which is my favourite out of the 3. The idea also works really well because it still follows the horror theme I’m going for.after scanning my collage onto an A4 i wanted to move onto A3. But when i scanned onto A3 i didnt enlarge the image so it just scanned everything that’s was on the scanner to A3. So as you can see my t-shirt is on the scanned image and so are my arms. I kept the image anyway and used that as a starting point for my A3’s. So i ripped a hole in this so i could scan my face into it again.This is my second scan for my A3s. As you can see i scanned my face into it again. And i also ripped eyeholes into this image so i can scan it again.For this scan I realised i didnt want to just keep putting my face in it and just scanning it all the time. I wanted to change something else a bit. So i played with the settings on the printer and gave this scan a light glow.After playing with the settings on the last image i wanted to keep doing the same and explore some more. What other things can i do to chnage the image significantly? So i noticed the single colour setting and changed it to red. I didnt expect this result, and i probably won’t keep this on my wall in the end.On the final scan for that day i kept playing with the colour settings. And i noticed the option for dual colour and thought that sounded like it could produce an interesting image. So i targeted the reds and i selected the other colour as blue thinking it was going to target blue as well as red. But it didnt, and it looks like it canceled out the blues. Because it left me with this black and white images giving little details a pink colour. And i was actually kind of happy about the outcome of this, because those little bits of pink gives it that little bit of detail i think it needed.
On Friday i also went in and did some work too. I planned on doing some study for theory and then got distracted and started doing more stuff for this brief, which I’m having way too much fun with. So here’s some of what i did on Friday…
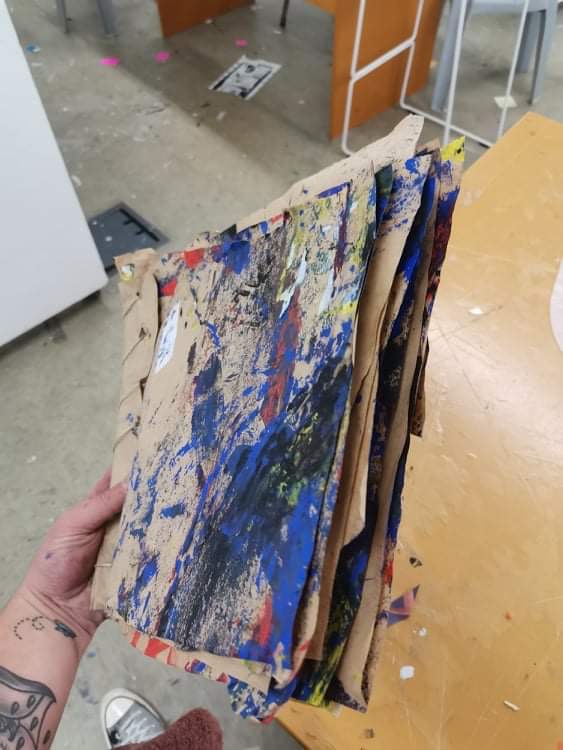
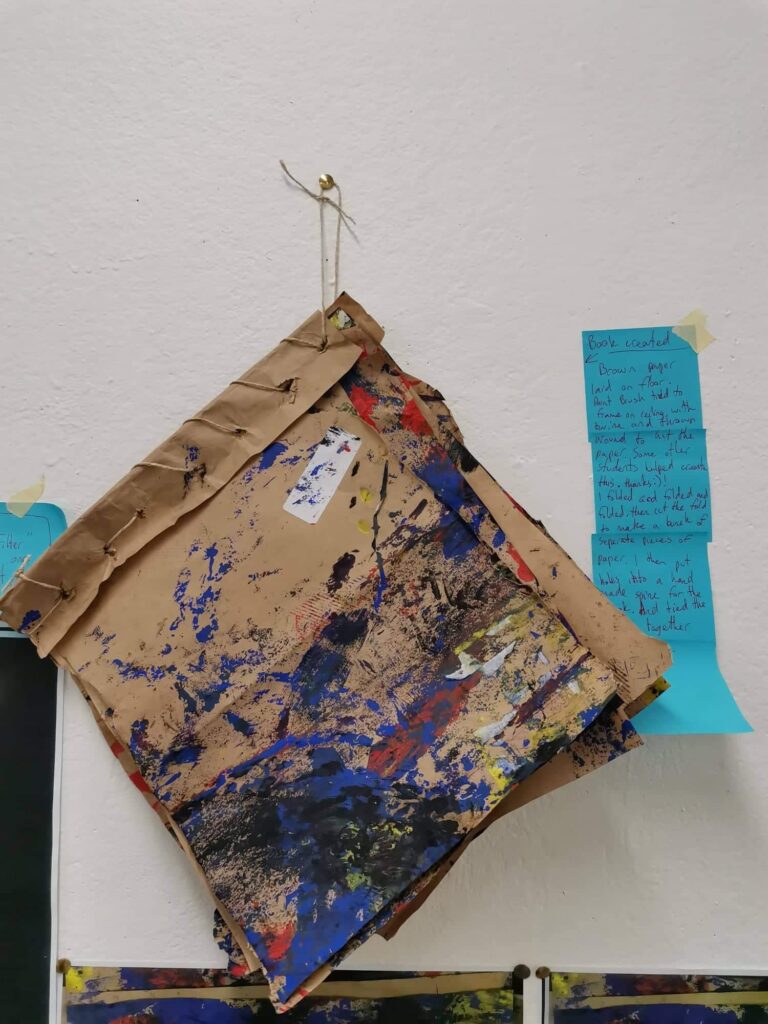
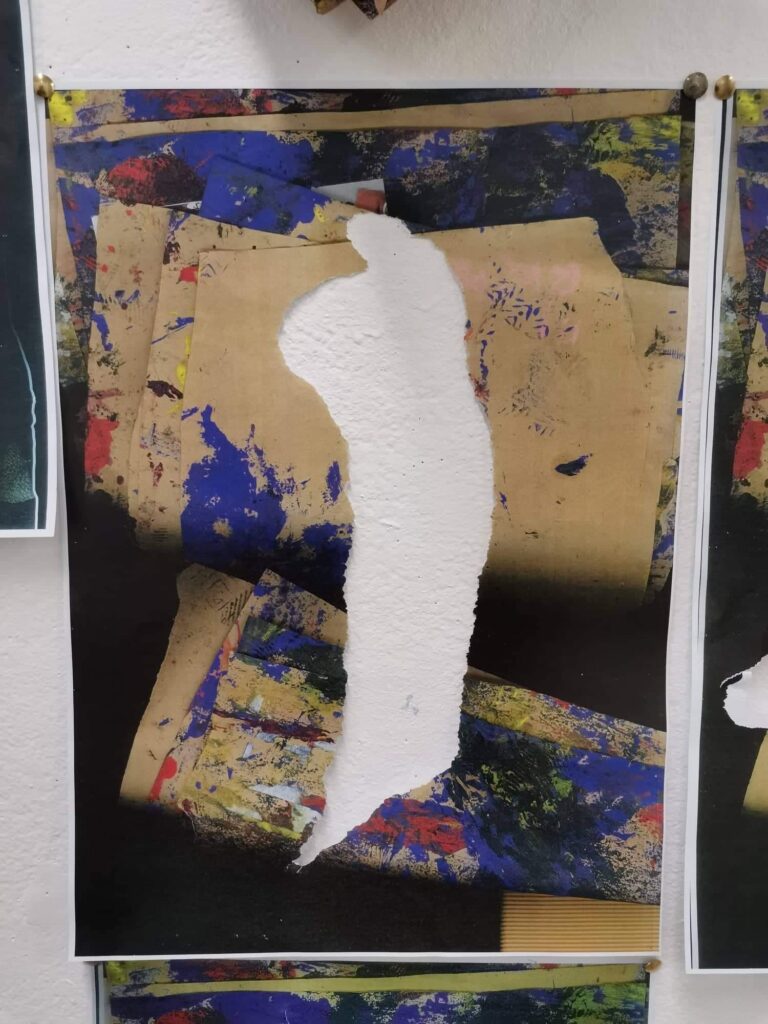
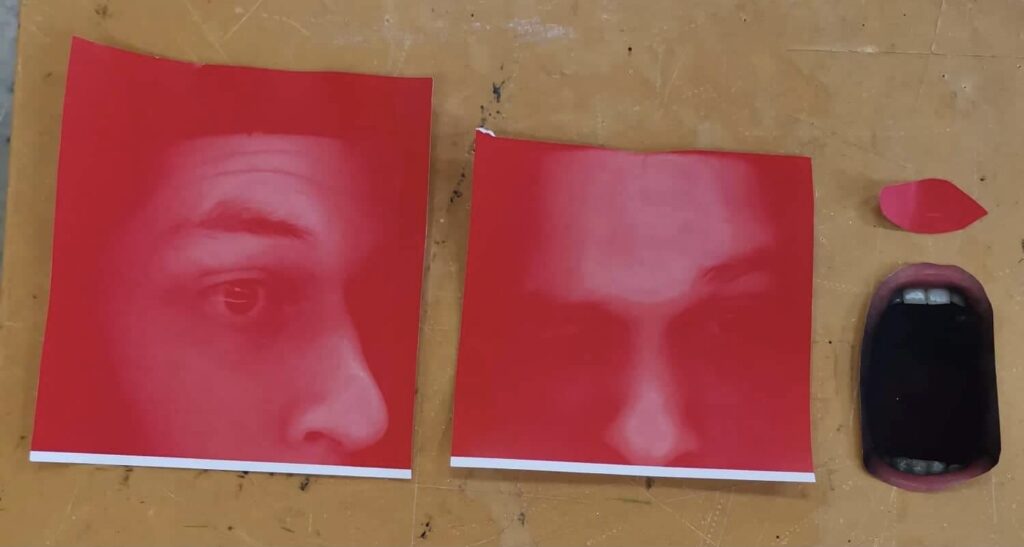
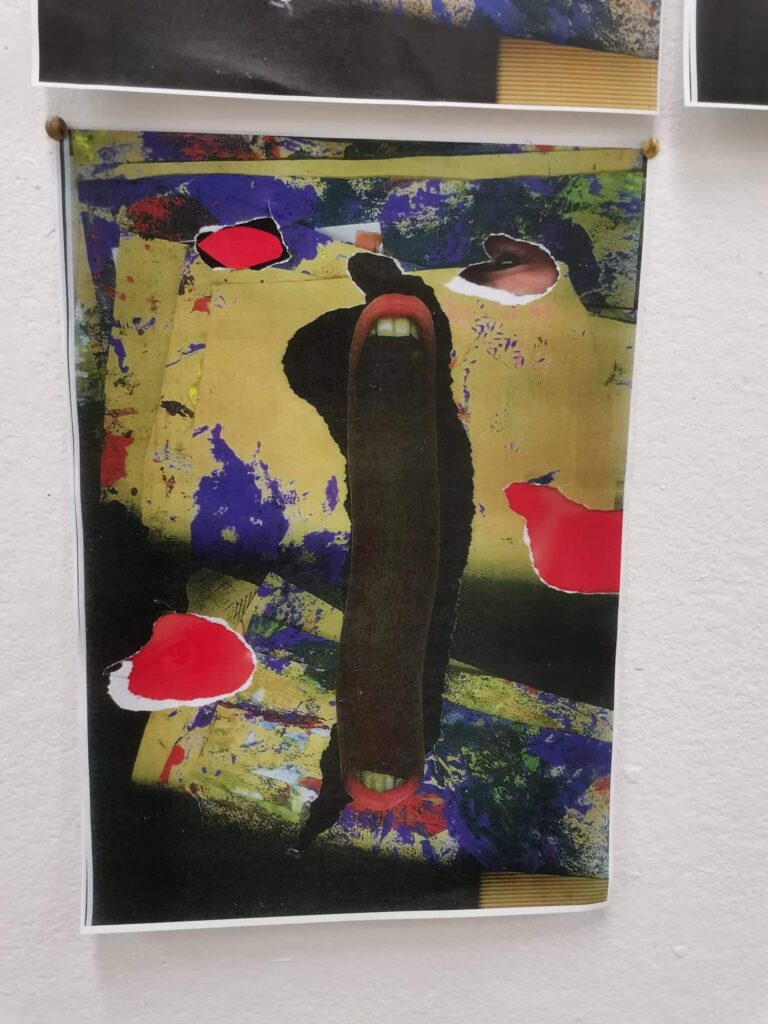
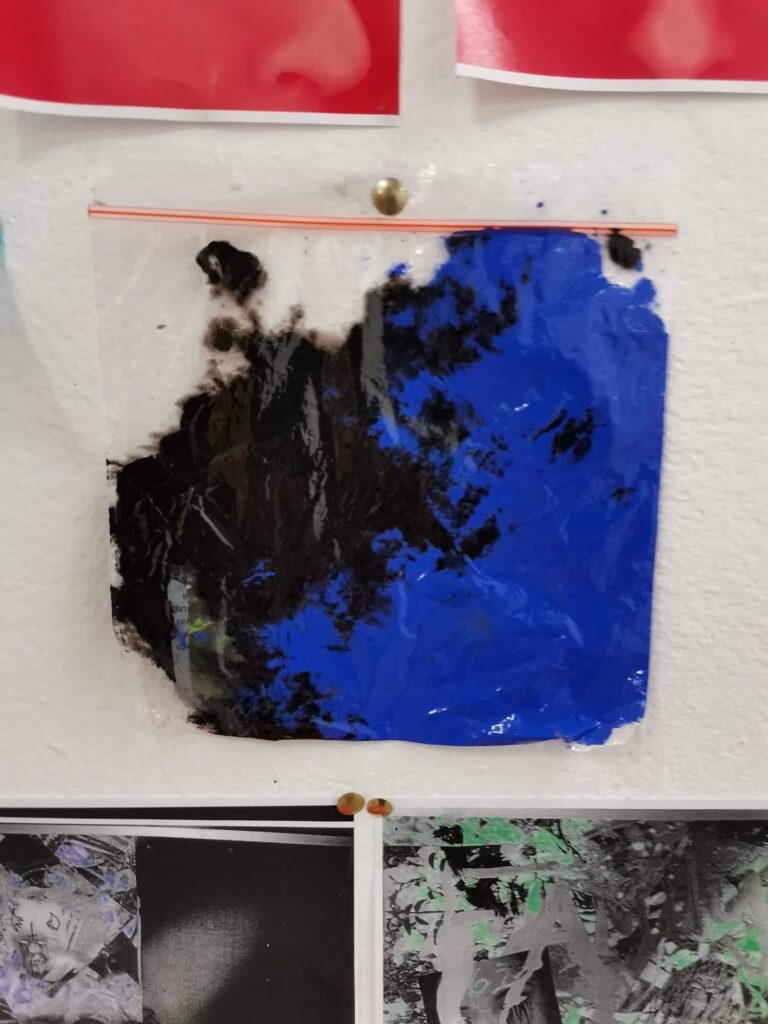
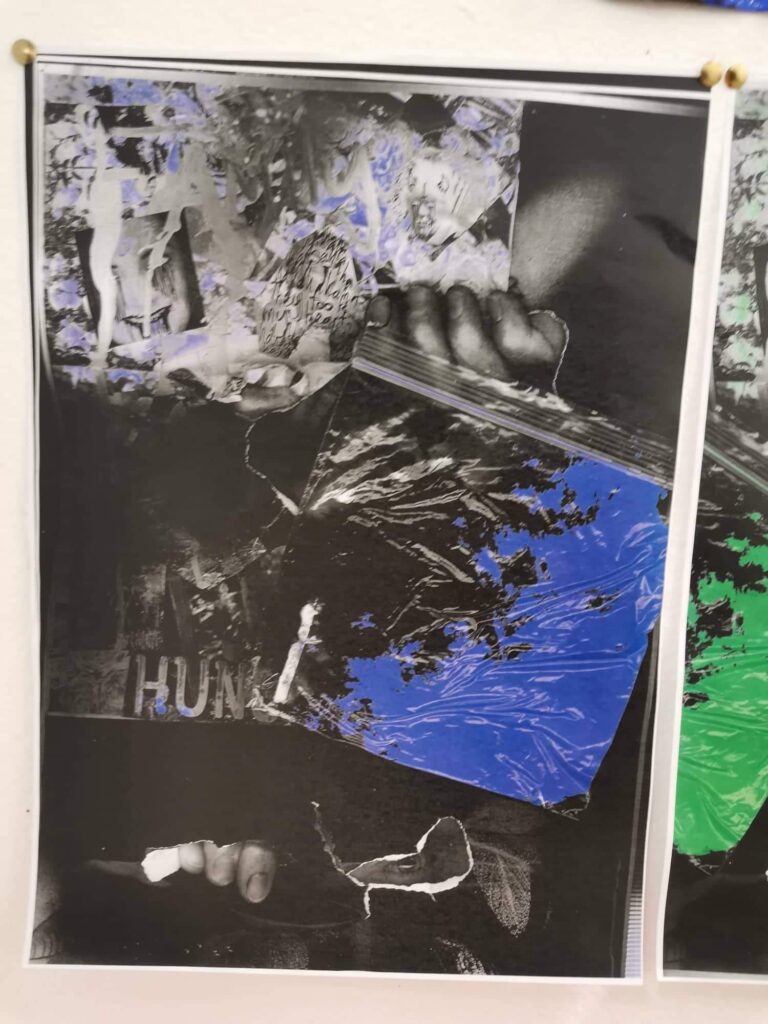
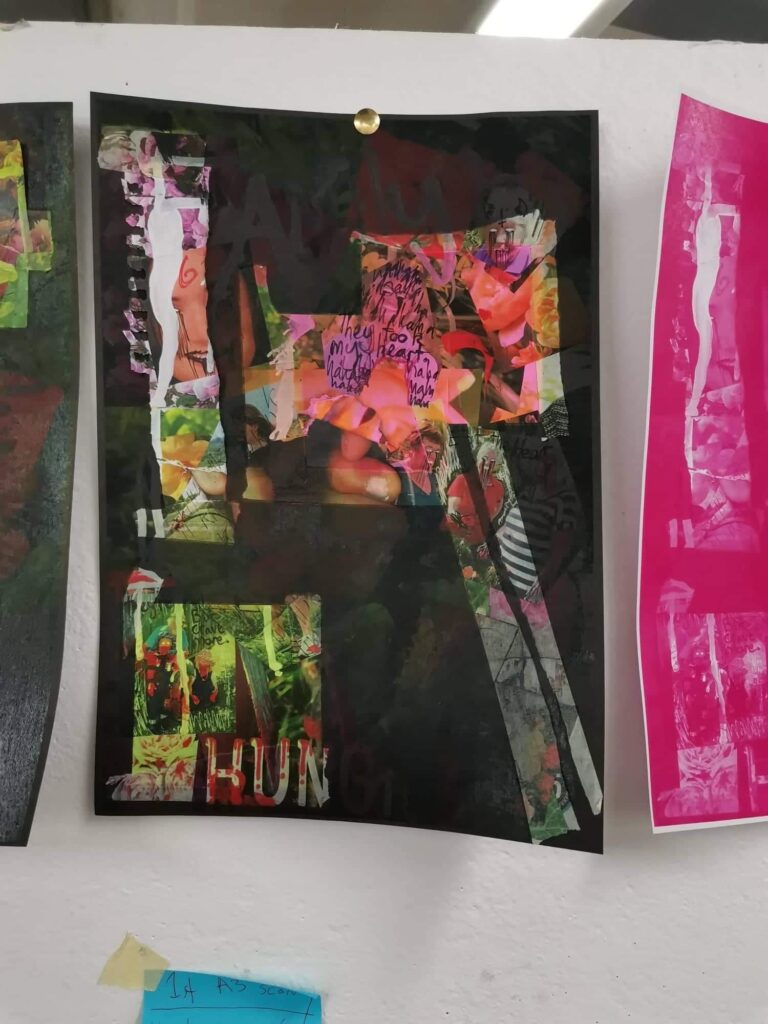
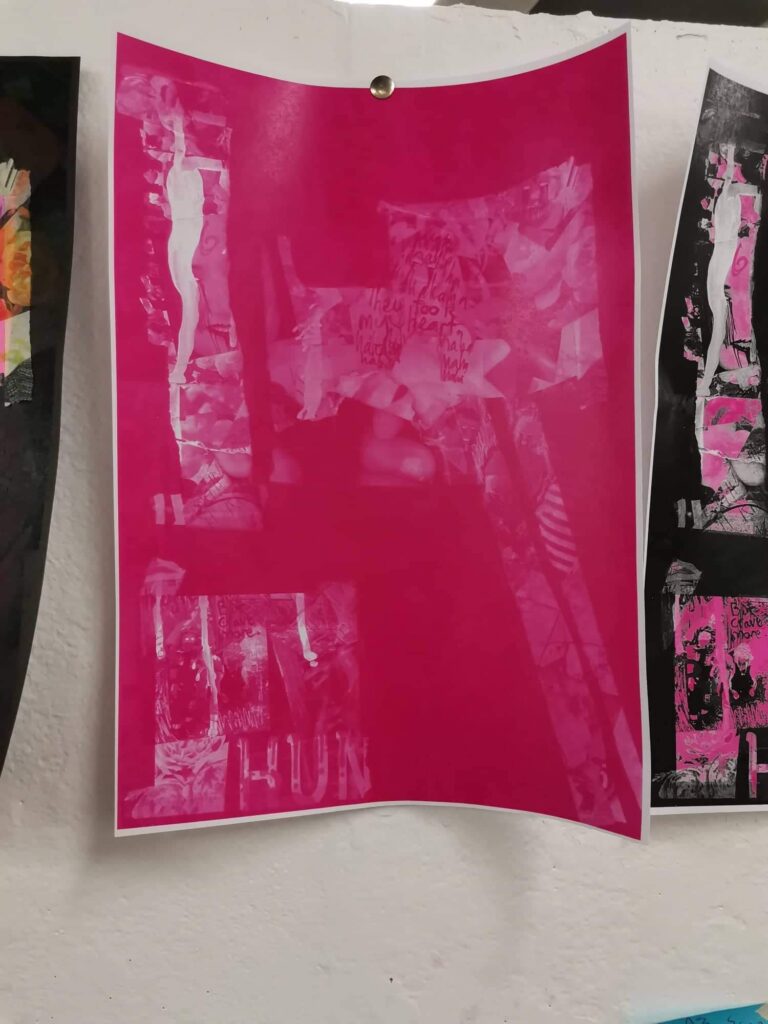
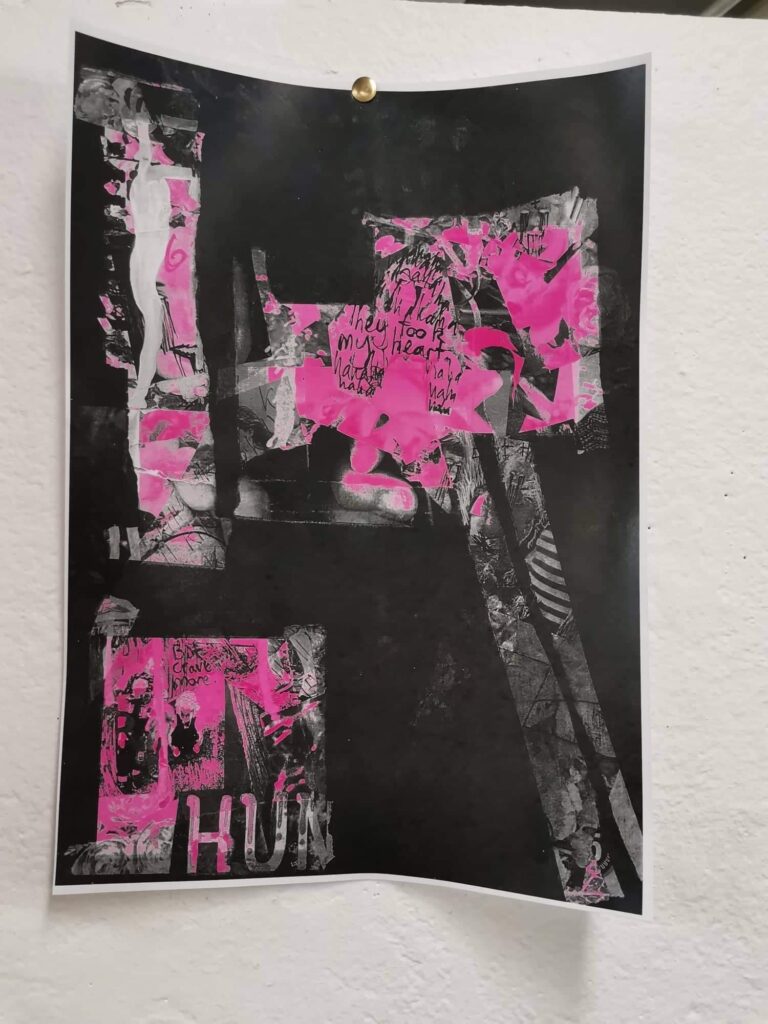
I made a book out of the brown paper myself and other students painted and walked all over. I made it by folding a bit of the back page over to the front and making that the spine of the book. I then put holes into the spine and through each page, then fed the twine through the holes and tied it off.I also tied a bit of twine through the top hole and pinned it to my wall.But right before i hung it on my wall i scanned it by holding the book by the spine and holding the pages over the scanner. After scanned, as i do with my other works i ripped a big hole in it.After i scanned the book, i scanned my face a few times and then cut them up to use them as templates.With my mouth that i cut out i scanned it down the big rip in this paper. But when the scanner hit a certain point in my mouth I dragged it along with the scanner. Any distorted part of the human body gives off a creepy look, which is what i was going for here. After scanning i rut my tears in the paper yet again.It doesn’t look as good on the internet, but in person you can see the templates used in this image. I scanned he cut up red images of my face and put them behind the holes in this to make it look like there’s more people peering through the holes. And i also scanned my eye in at the same time.For another idea i put to paints in this glad bag and then squished them around a bit. I decided to scan this with some paper to see what it would look like.So i scanned the gladbag with paint onto the A3 i was scanning originally. I then used dual colour and targeted blues. I also scanned my hand and eye in the tears at the bottom of the image.I then did the same but moved the glad bag over a bit, but instead of selecting blue in dual colour i picked green instead. I also scanned my mouth and eye through the tears at the bottom of the image.For the final thing i was doing on Friday i wanted to scan my original kiwi gardener magazine onto a black piece of paper with same taped on other pieces of paper. On this black piece of paper I’ve taped a couple sticky notes and some ripped up pieces of white sketch book paper. First i printed out single colour yellow onto this, thinking that the yellow would pop on the black paper, but it didnt. So i printed over it again but with normal colours, and it printed on it wrong. So this test didnt really go as planned. So I tried it again…Luckily i got it down the second time, because that’s when i decided to experiment with scanning the image.I tried to print in dual colour, but without thinking I must’ve accidentally pressed the single could which produced this scanned image. Which i actually quite like the look of.But the next time she i actually pressed dual colour and selected magenta this was what got produced.and i am extremely happy with this image because it has great balance between magenta and the black and whites.