
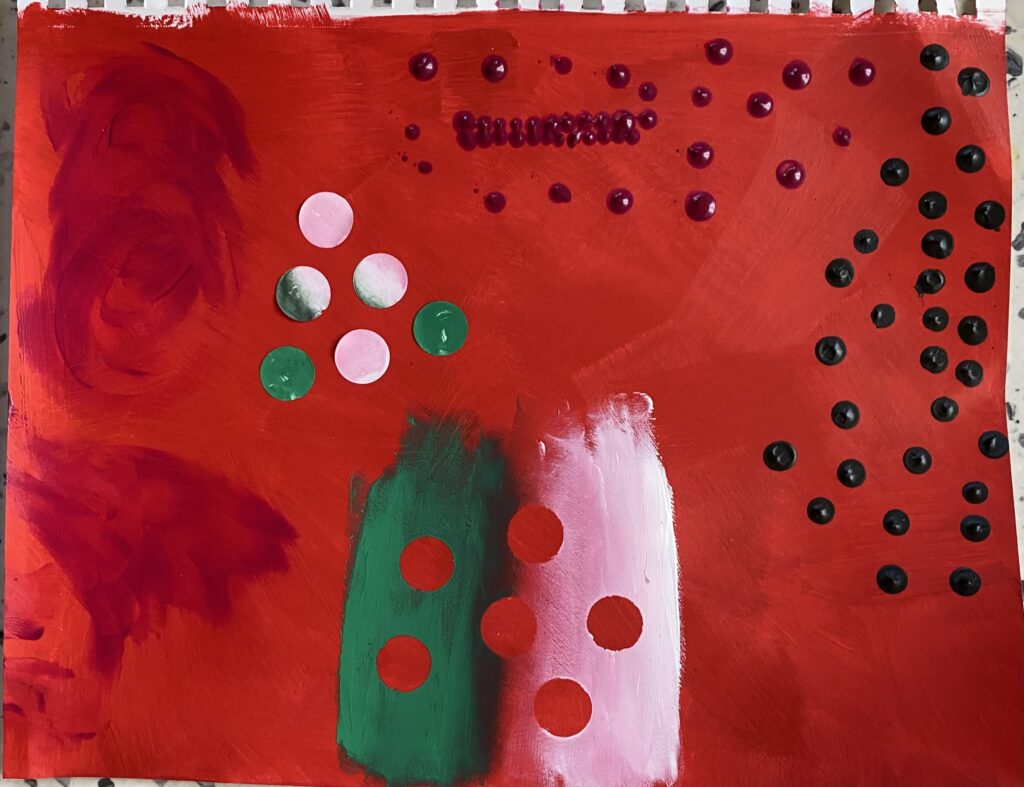
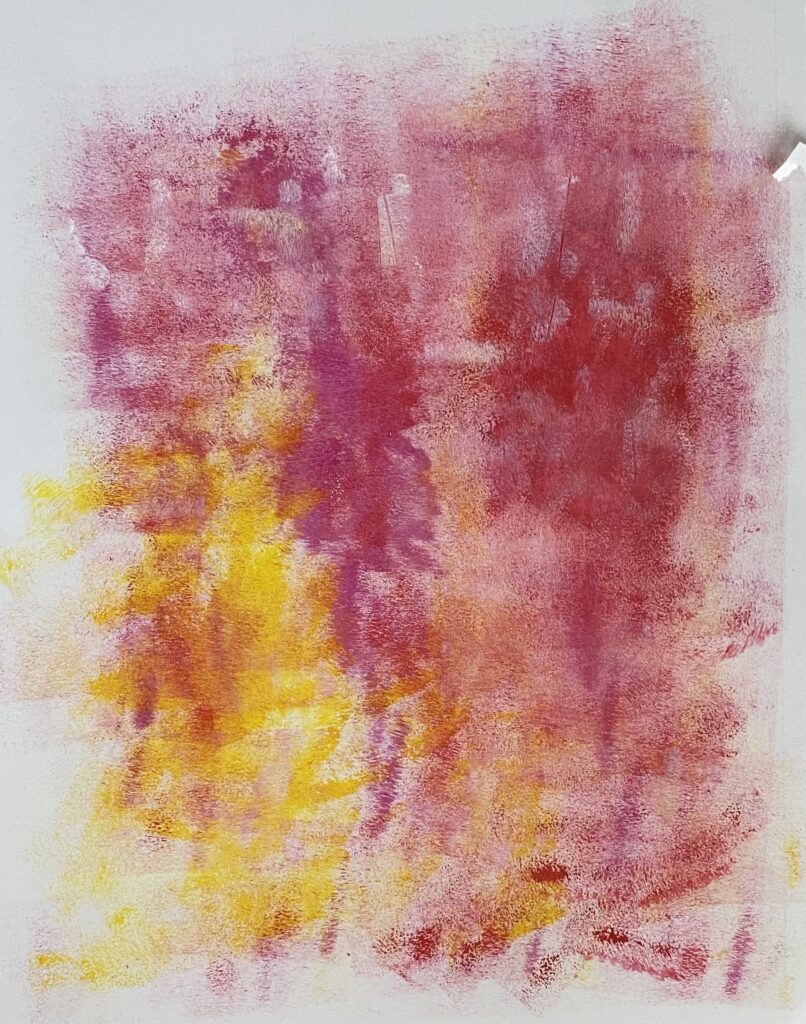
Spread and dollop
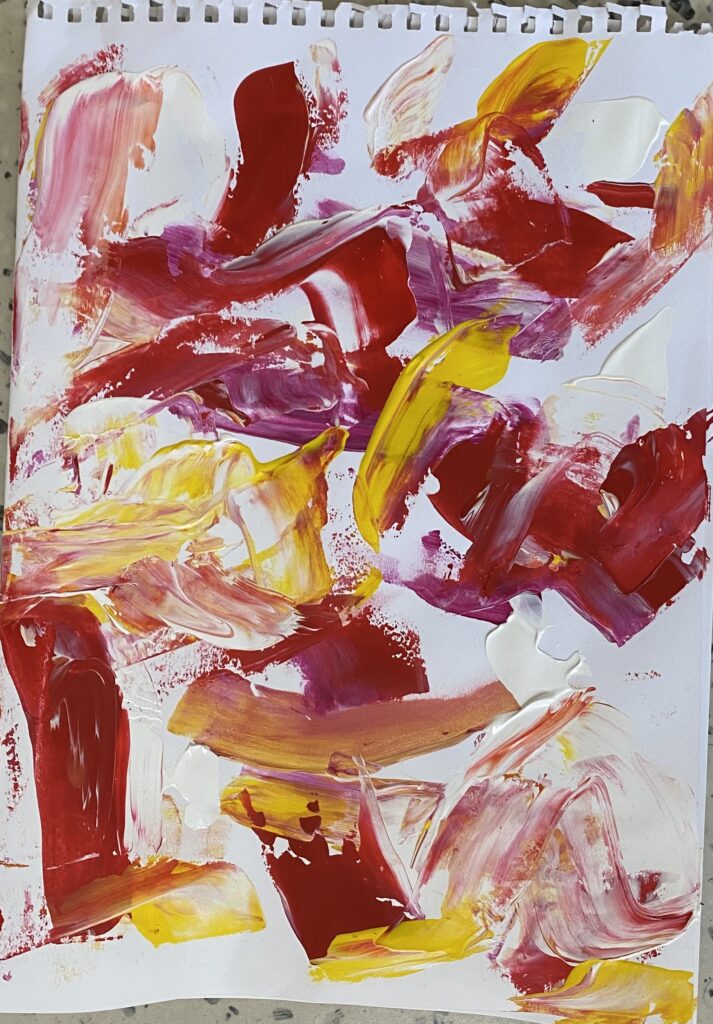
For this piece, I started by dolloping paint around my paper. I then used a palette knife to spread the paint around. I wanted to get a range of the flat colours along with the colours that had been mixed together. I also wanted to try to keep some of the texture of the thick paint dollops to add more dimension. I would like to make more works with this technique however I would like to focus more on keeping the thick parts of the paint and having more texture.
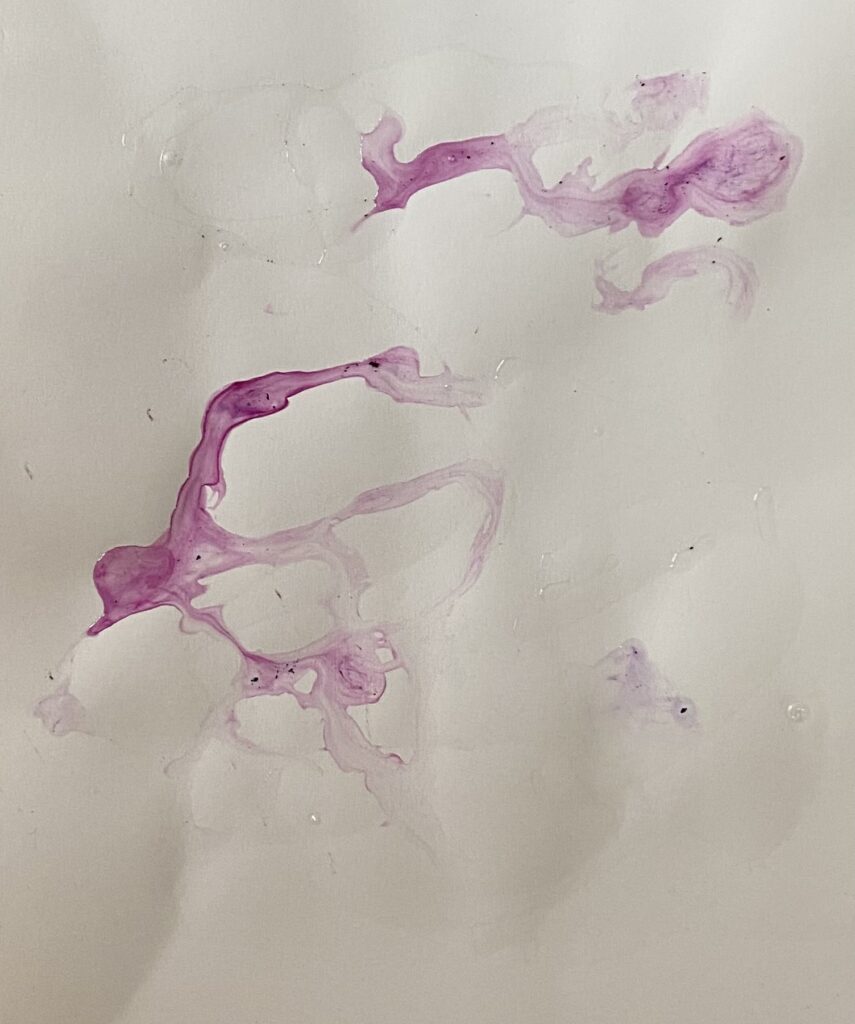
Dilute, dab, soak, and dot
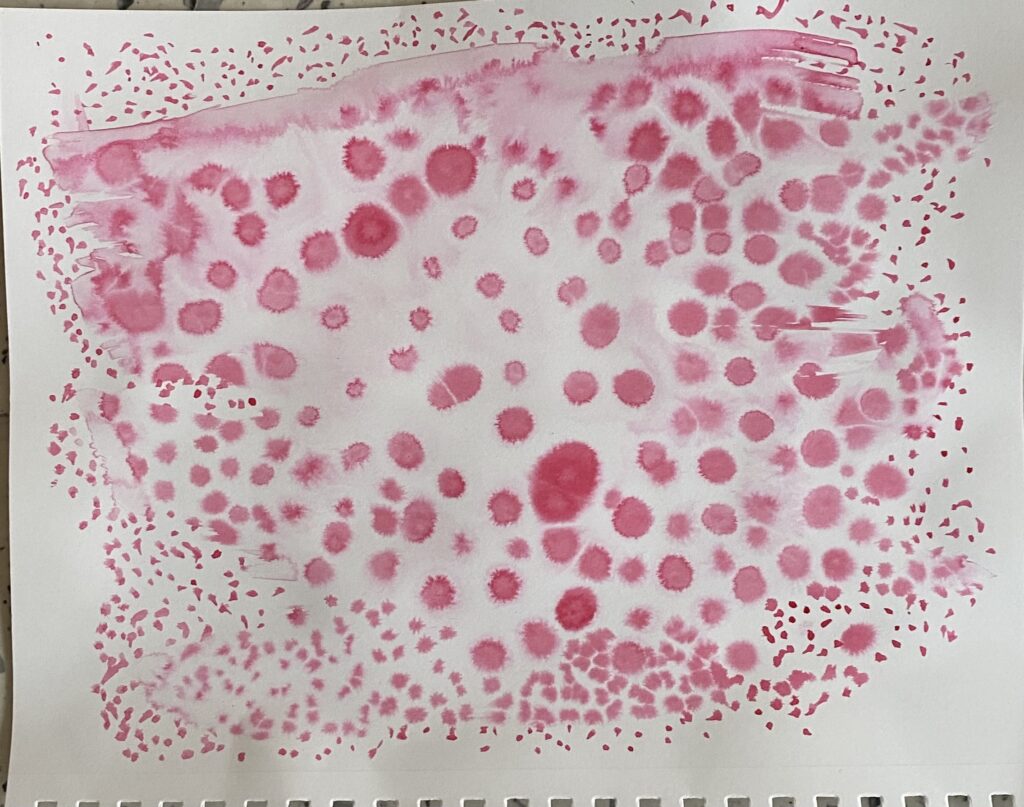
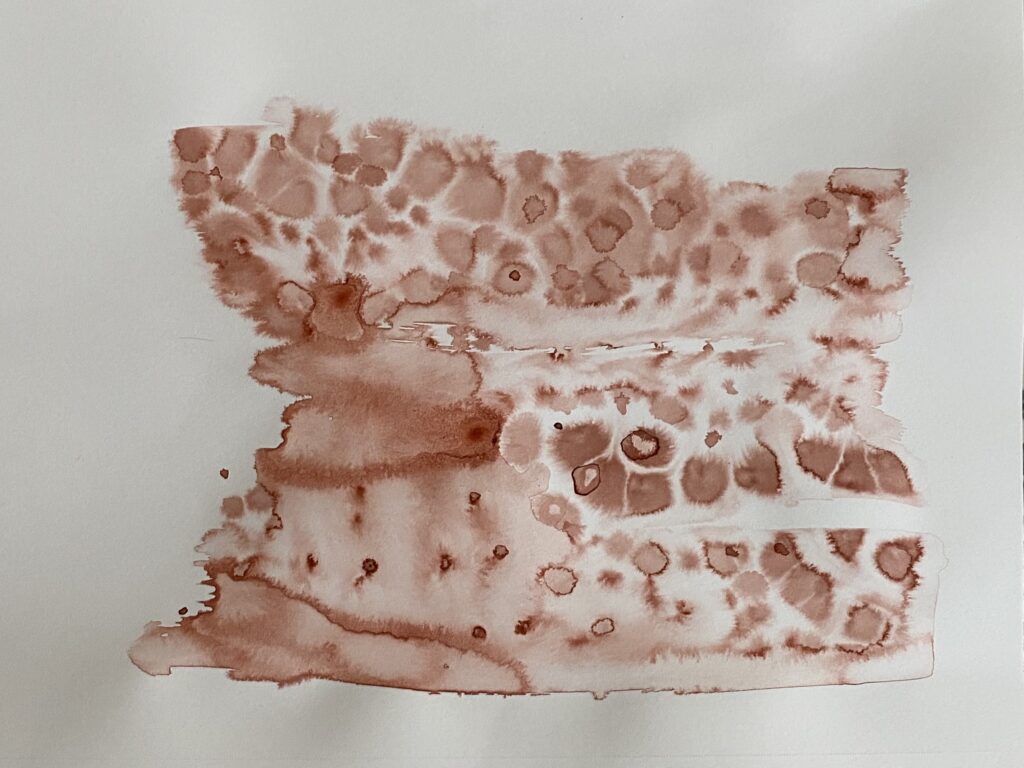
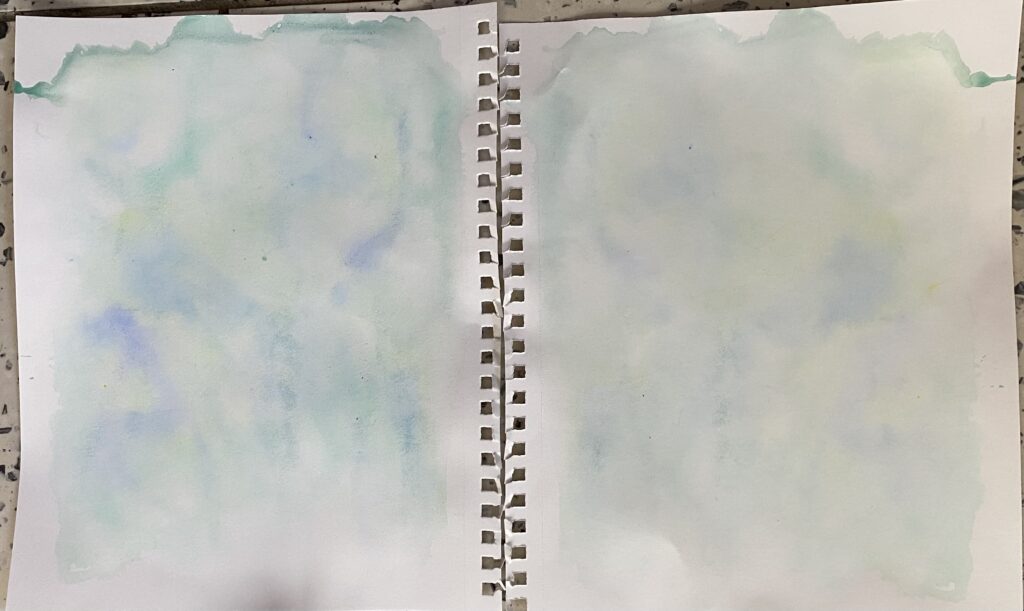
In these pieces, I started by soaking sections of my paper with water and used two different techniques of applying the watercolour. The first technique was dotting the watercolour around the paper. I found that I had to go over and do two layers of dots as the watercolour started to bleed and didn’t hold the shapes I was hoping to create. On the pink one, I decided to dot the watercolour around the soaked paper to see the difference between the dots with and without the water. The other technique I used was to put the watercolour all over the page and dab another page onto it to transfer and duplicate the image. I think this technique may have worked a little better if I had used darker colours as the result I got was quite light.
Stamp, press, and tracing
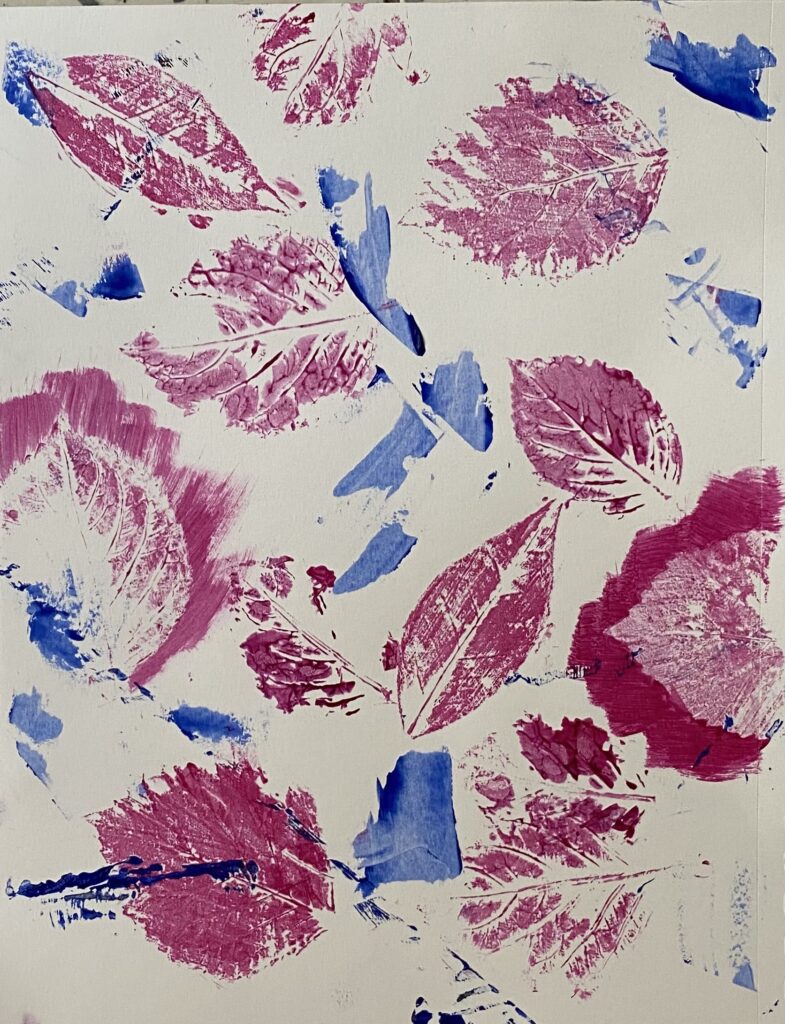
for this work, I started looking at tracing and my original idea was to do a rubbing work of the leaves however I decided that I wanted to try something different that I hadn’t tried before. Instead, I painted the leaves and used them as a stamp. I also tried painting around the edge of the leaves as I was stamping them to make the shape/ edges of the leaves stand out.
pour, drip, and scrape
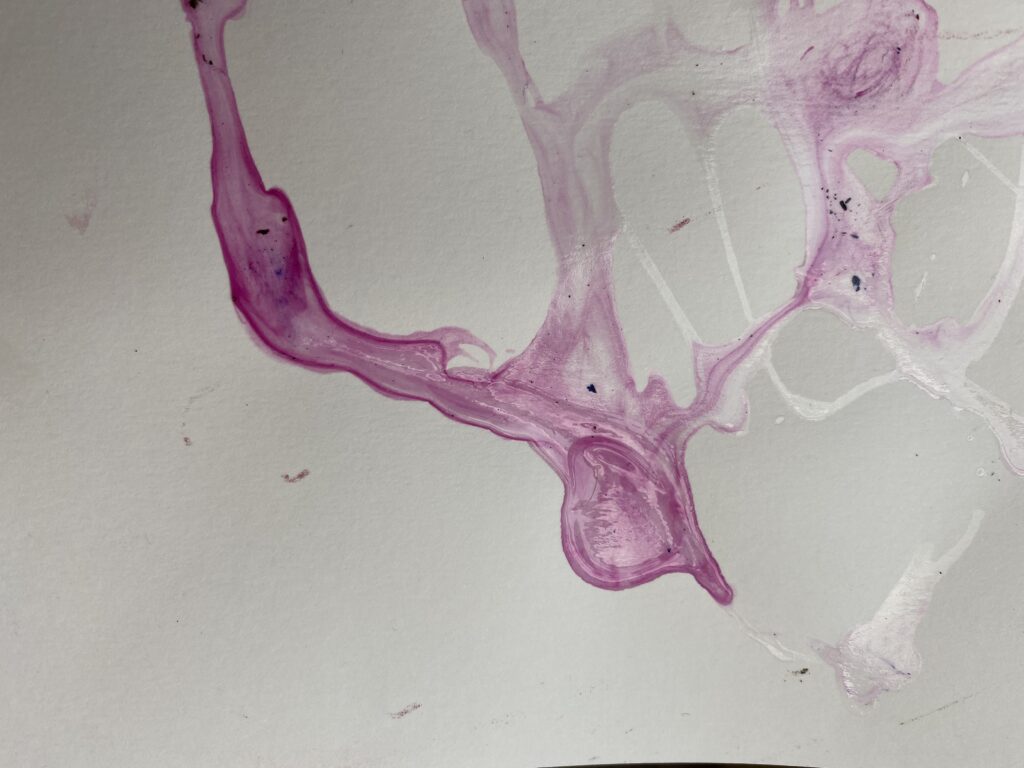
for these works, I mixed together glue and paint to create a shiny effect. For my first work, I used a combination of the glue mixed with paint and dripped it onto the paper. From there I used a palette knife and scraped the mix in upwards and sideways to create the gridded pattern. In my other work, I poured the glue over the paper and then mixed the paint into some parts of the glue. I liked the shiny effect that I got from using the glue and I would like to use this more in my future works however I would have to experiment more as the glue dried with some air bubbles in it.
Kia ora Lucy, great that you’ve got all your work from week one up on the blog. I’d love to see what you made during week 2. There’s a delicate and soft quality to some of your experiments. I wonder how you might continue this in your next body of work. for week 3