Art Machines, Week 1

This week was an introduction to what we’re going to be doing. So for the art machines project the group I’m in has already done tests with machines to create art. Not finished, but we have started tests. And all are working pretty well so far, I’m real happy with my group.

So far what I’ve done is use wind up toys that walk, and I’ve made them walk through the paint to create patterns. But I’ve also tried another idea out with a cheap USB blender, but the paint was to thick and it didnt work. So I’m gonna try it again but with either less paint or make the paint thinner.

This is a way to start a fire with a bow. But this is the closest example to what i want to make to my art machine. But instead of just having a plain stick, i want to add fins or a propeller type to the bottom of the stick. Then as i push the bow back and forth, the fins just twist along with the stick which will make whatever paint or ink flick off of it making it an art machine.

12 Artists I’ve researched throughout the Palimpsest Brief

Paul Thek

Paul Thek was one of the first artists suggested for me to research. And it was a great idea because his art (even though its 3-D sculptures) is quite suited for what I’m doing since his art inspired me with the meat like sculptures that he’s created. So his art has given me great texture ideas to make it seem as though it is real blood/meat even though it isn’t.

Dieter Roth

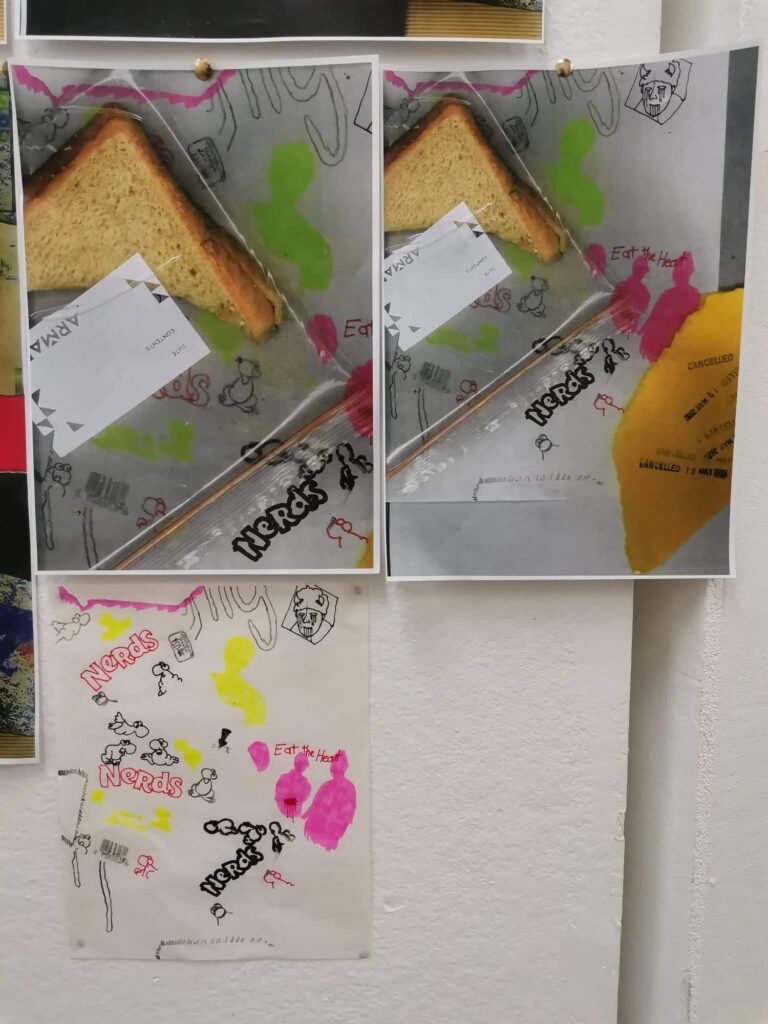
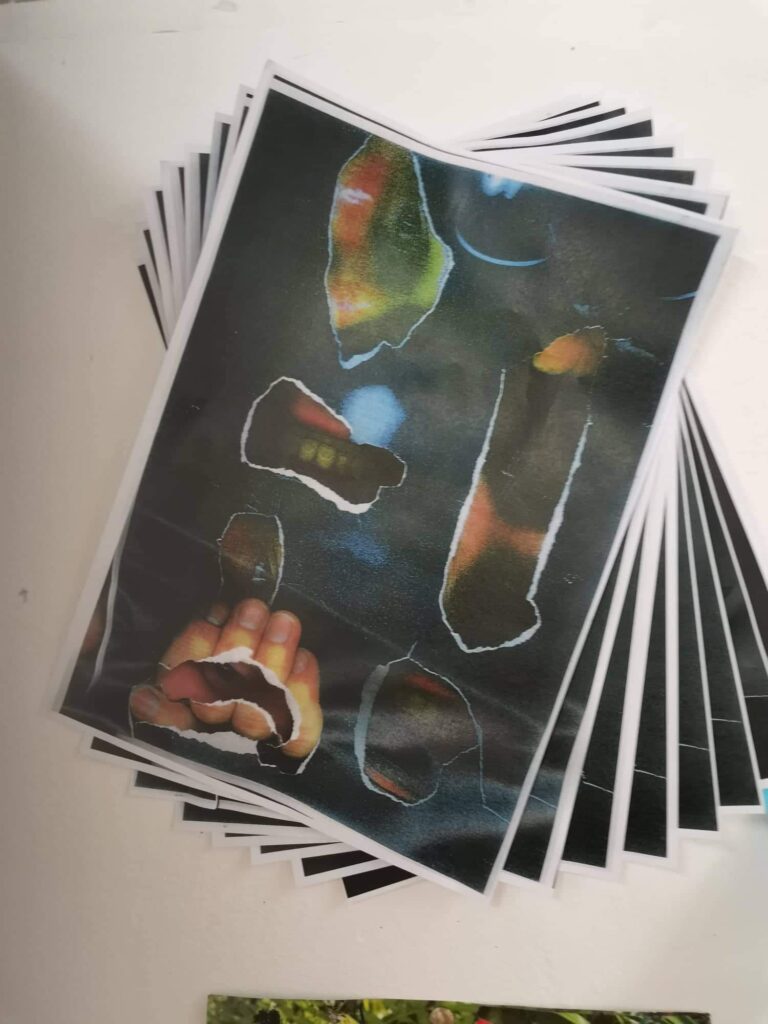
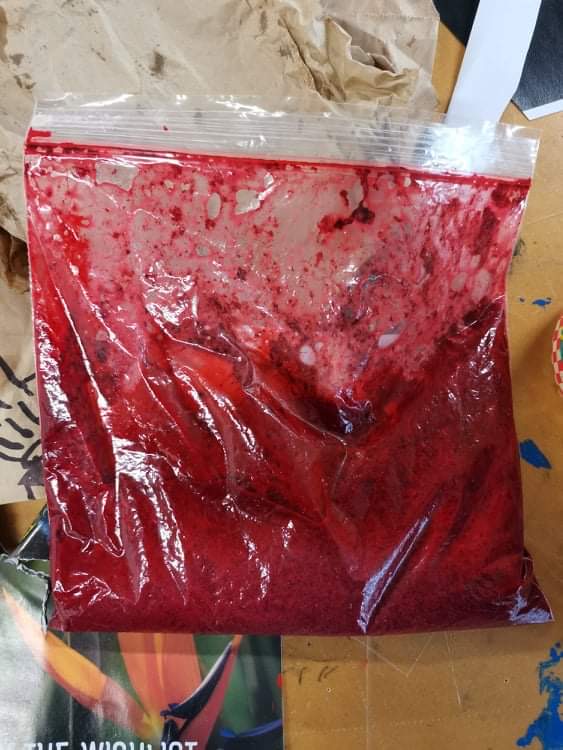
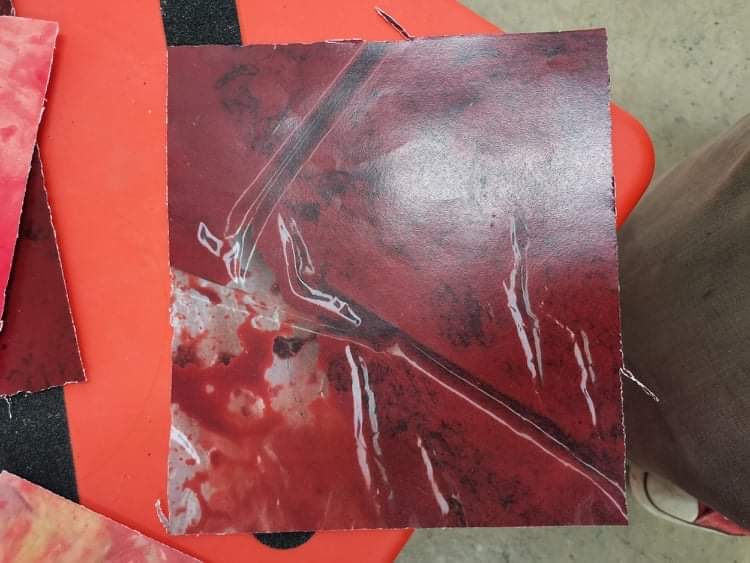
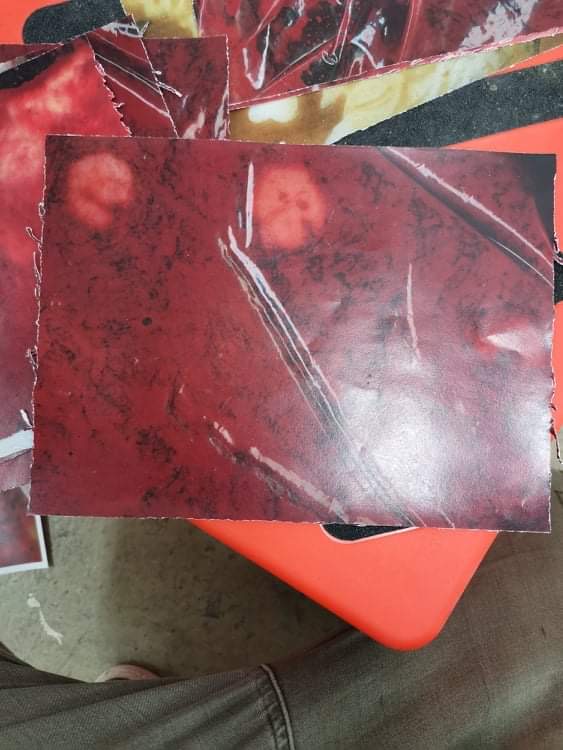
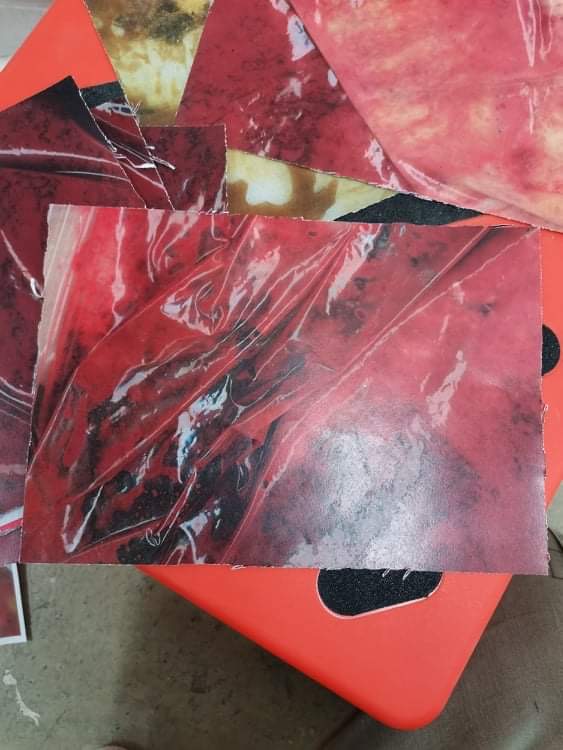
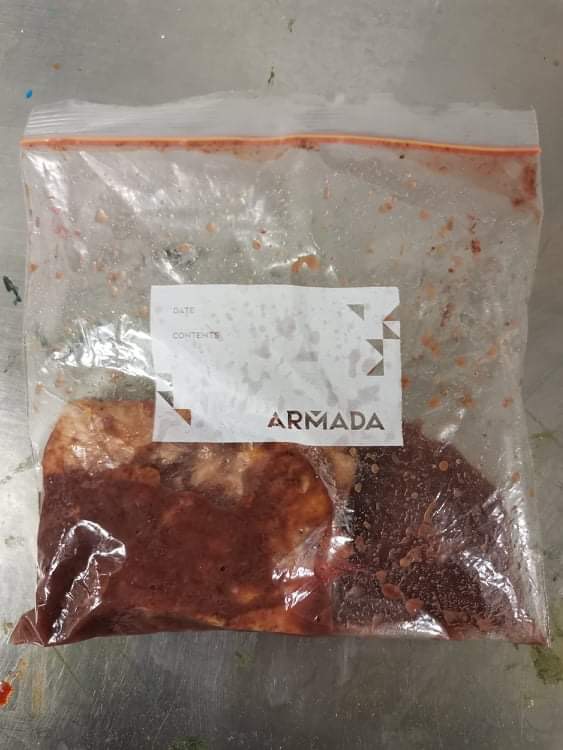
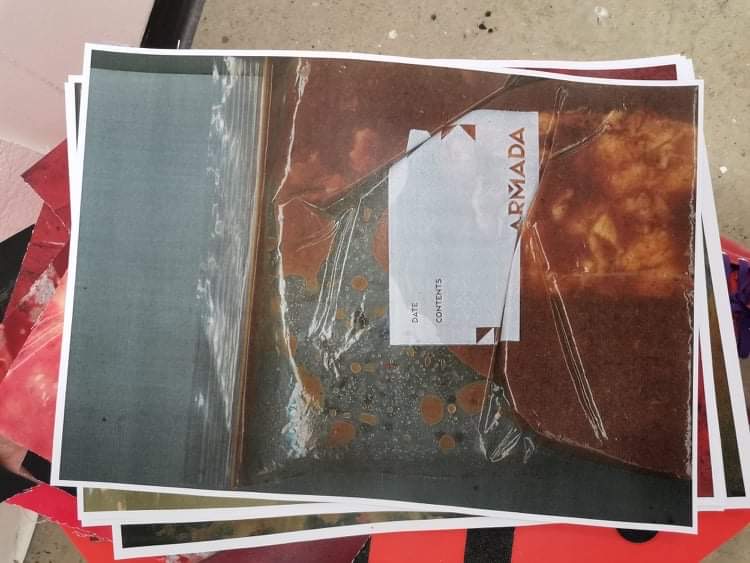
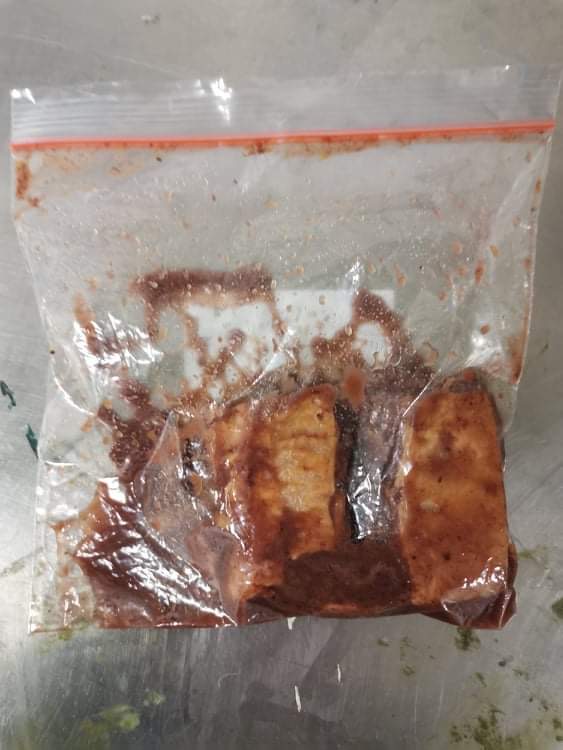
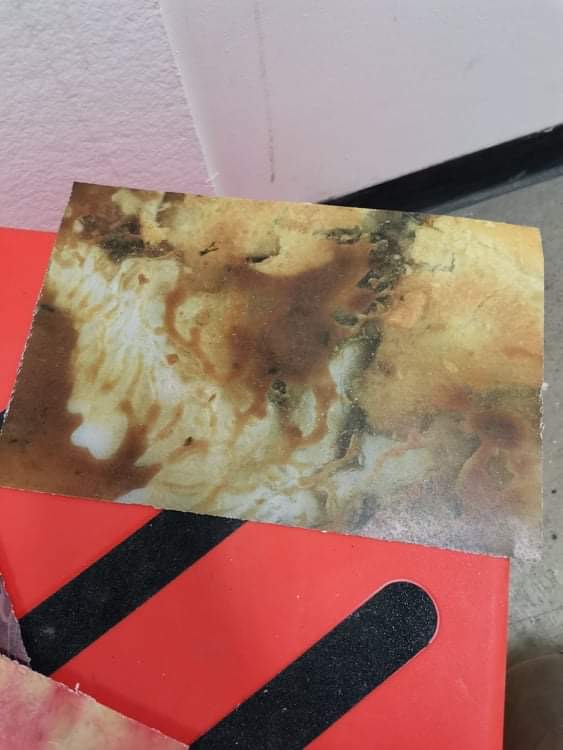
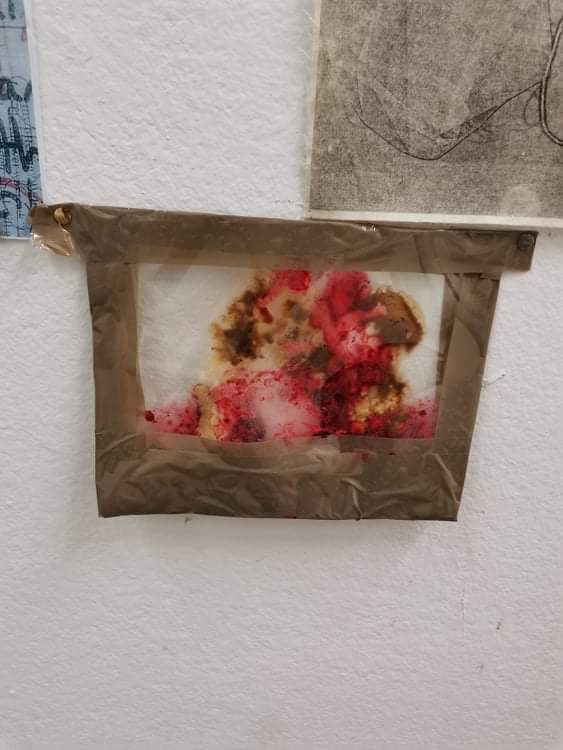
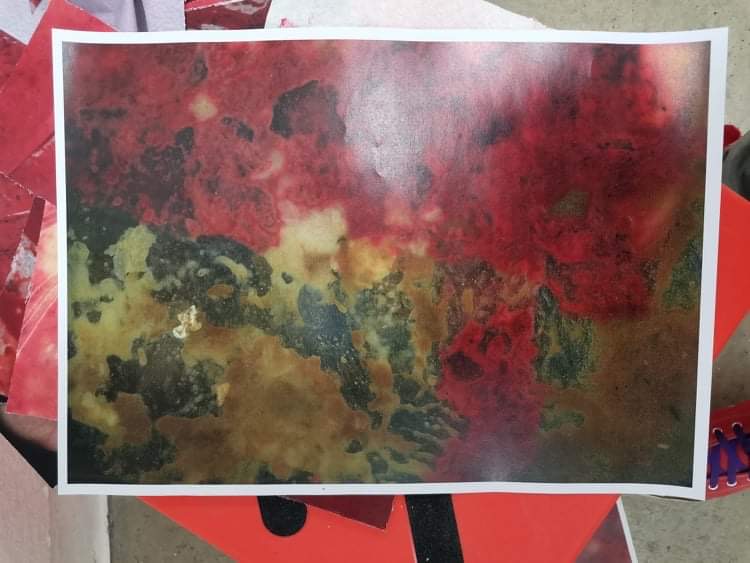
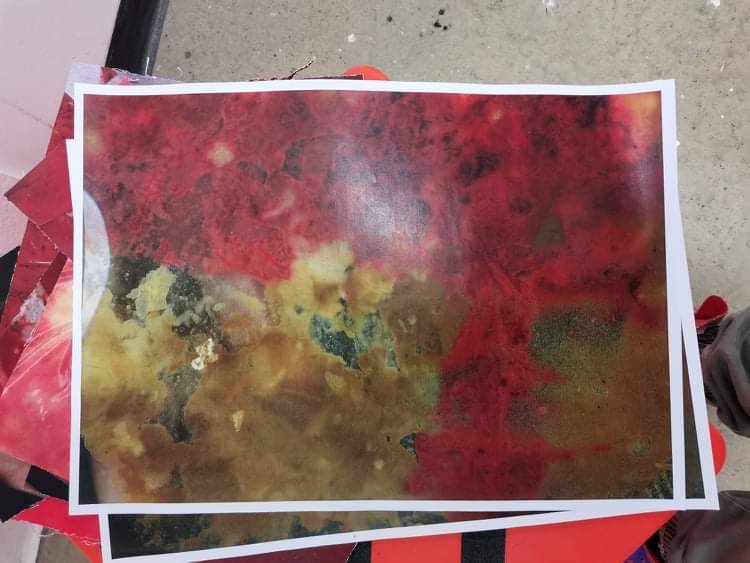
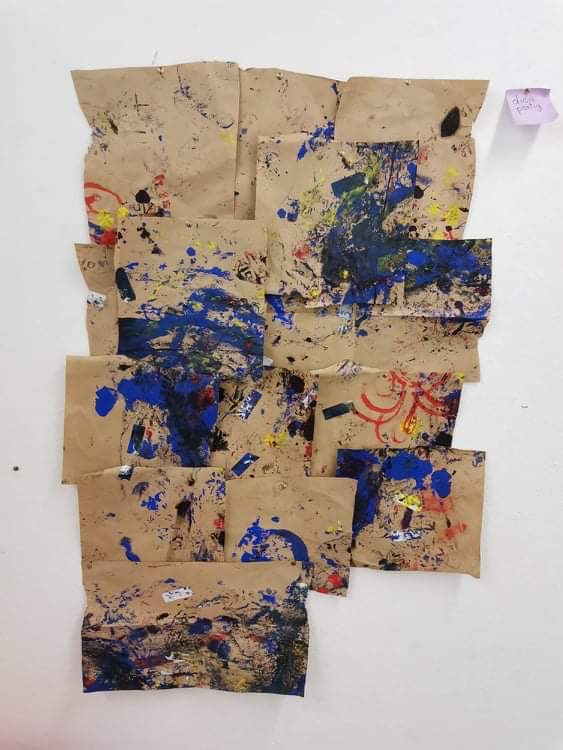
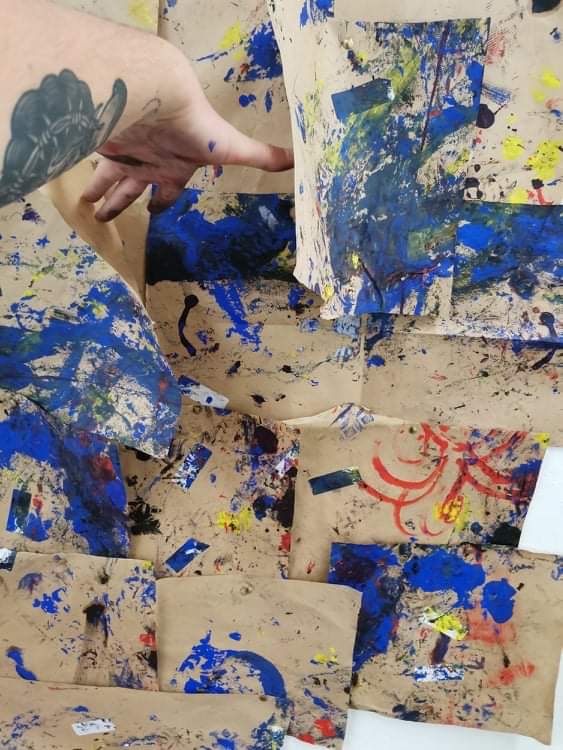
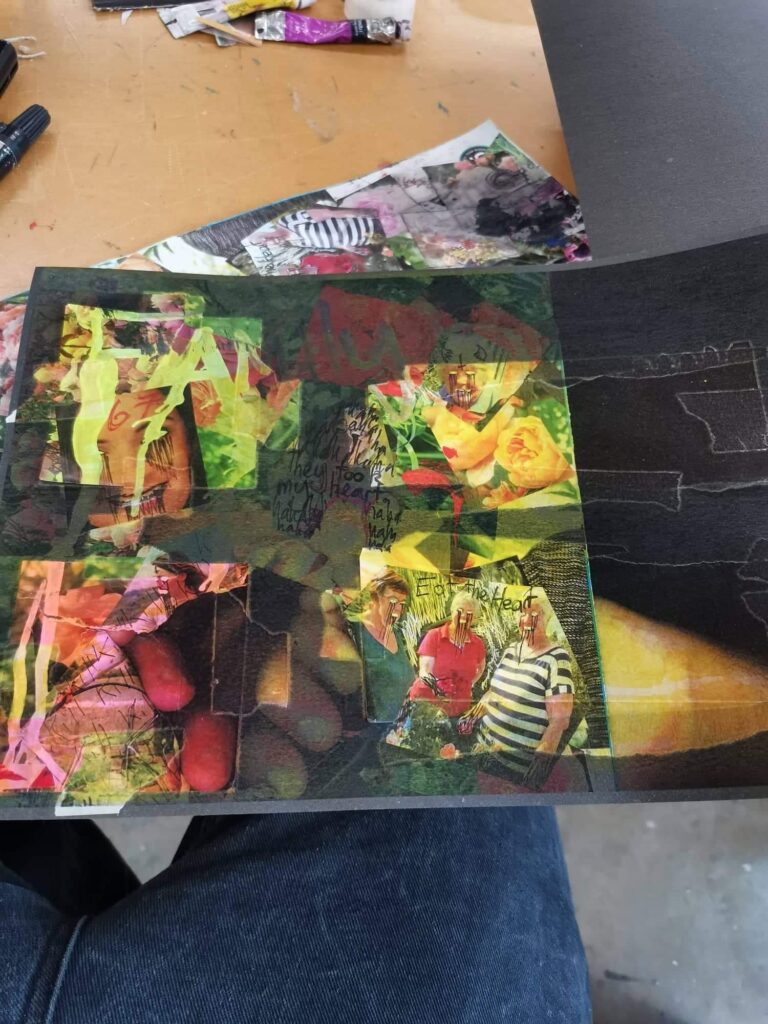
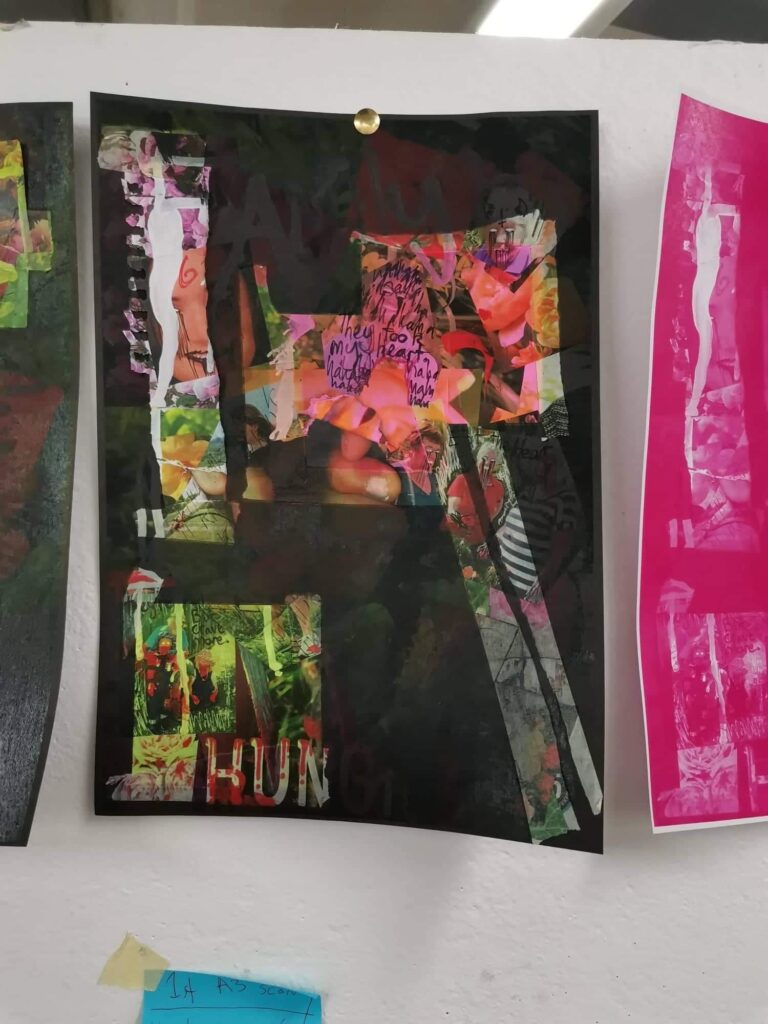
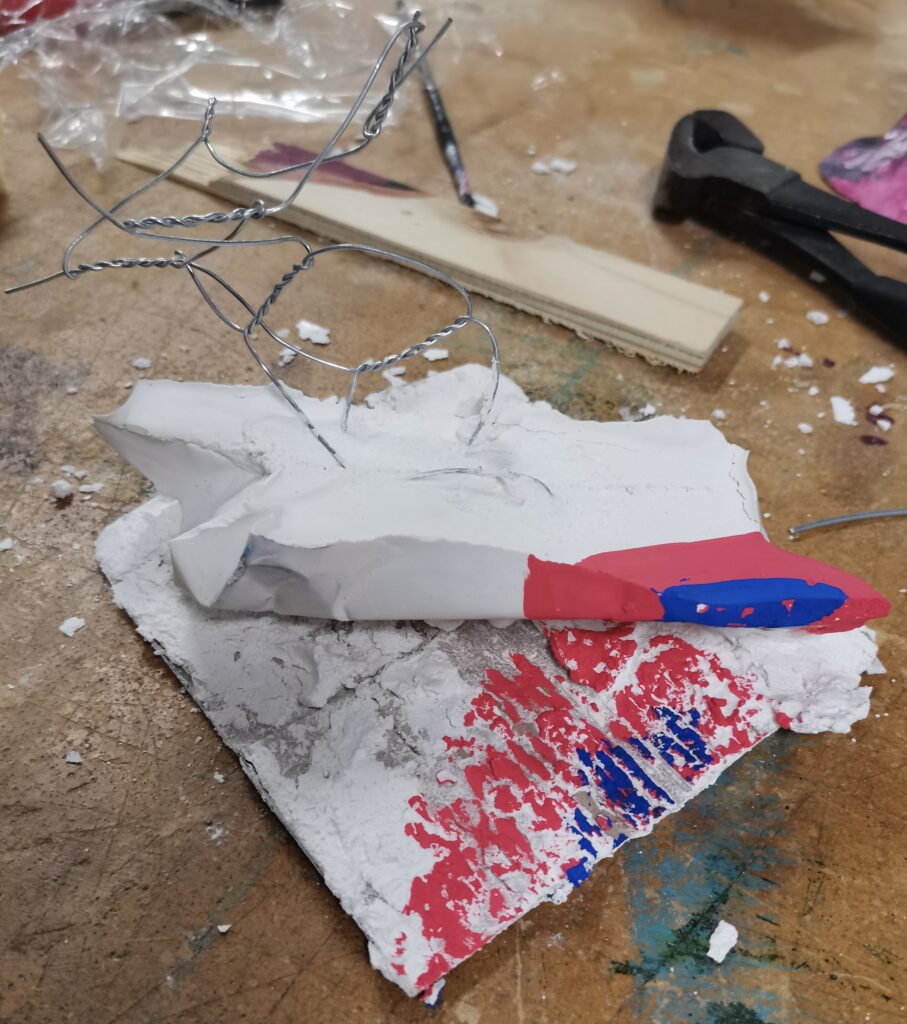
Dieter Roth inspired me to use food in my art, which is very interesting to say the least. It ties in very well with my art since i started making it appear more visceral. What Roth does is press and squish food into the artists books he creates. But i changed the idea up a bit and print pressed some food and scanned it too. Roth says the food gave his art more personality, since it aged and gained odours.

Herman Nitsch

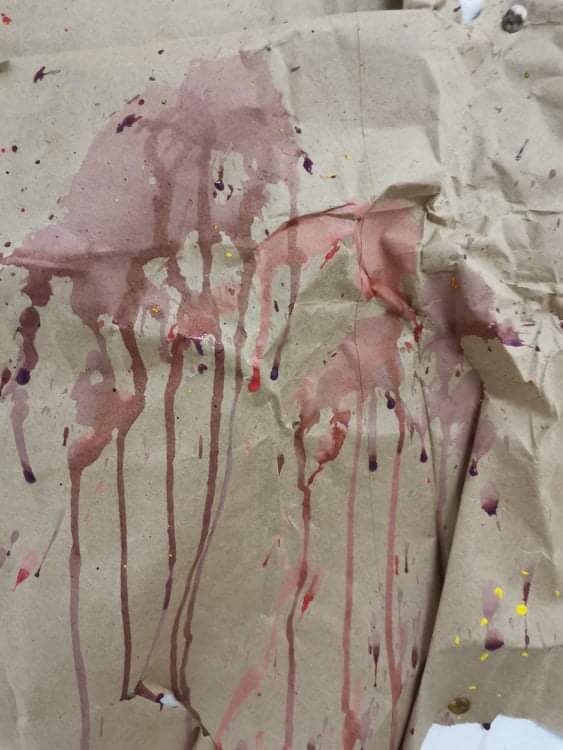
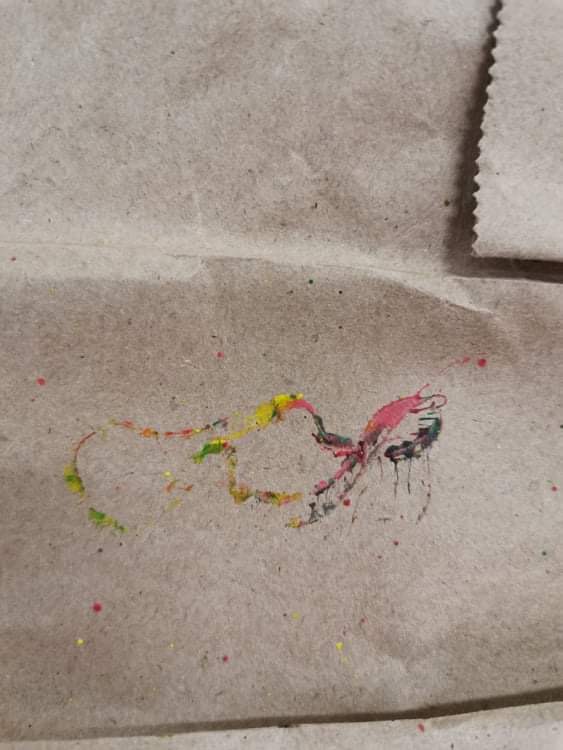
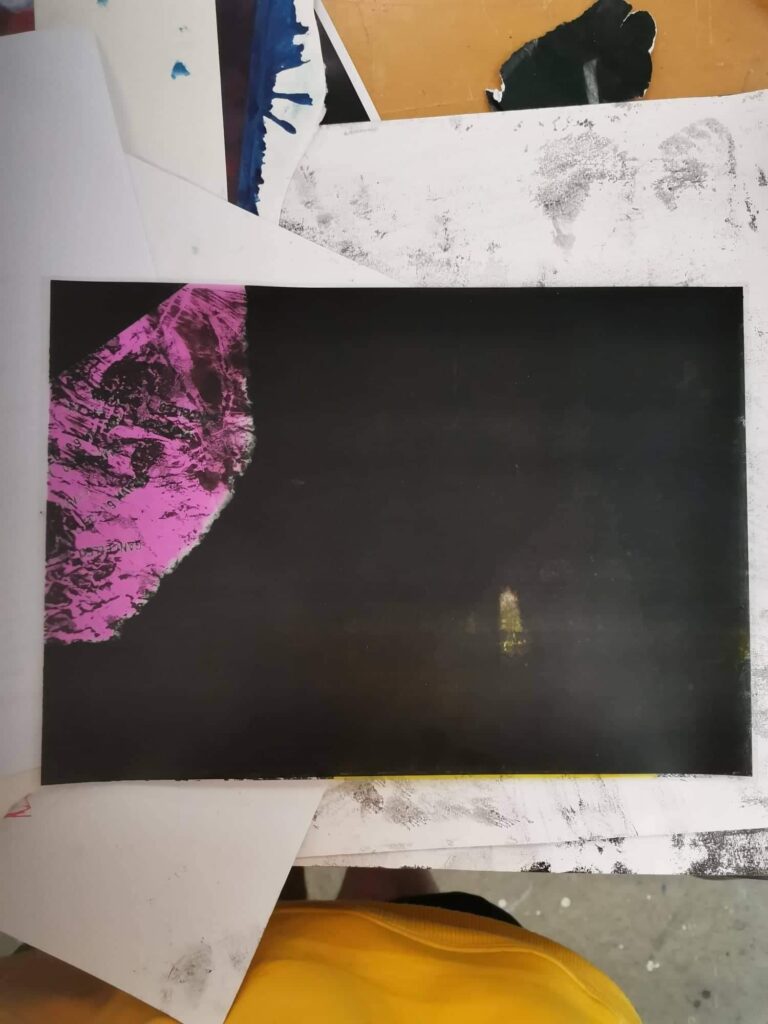
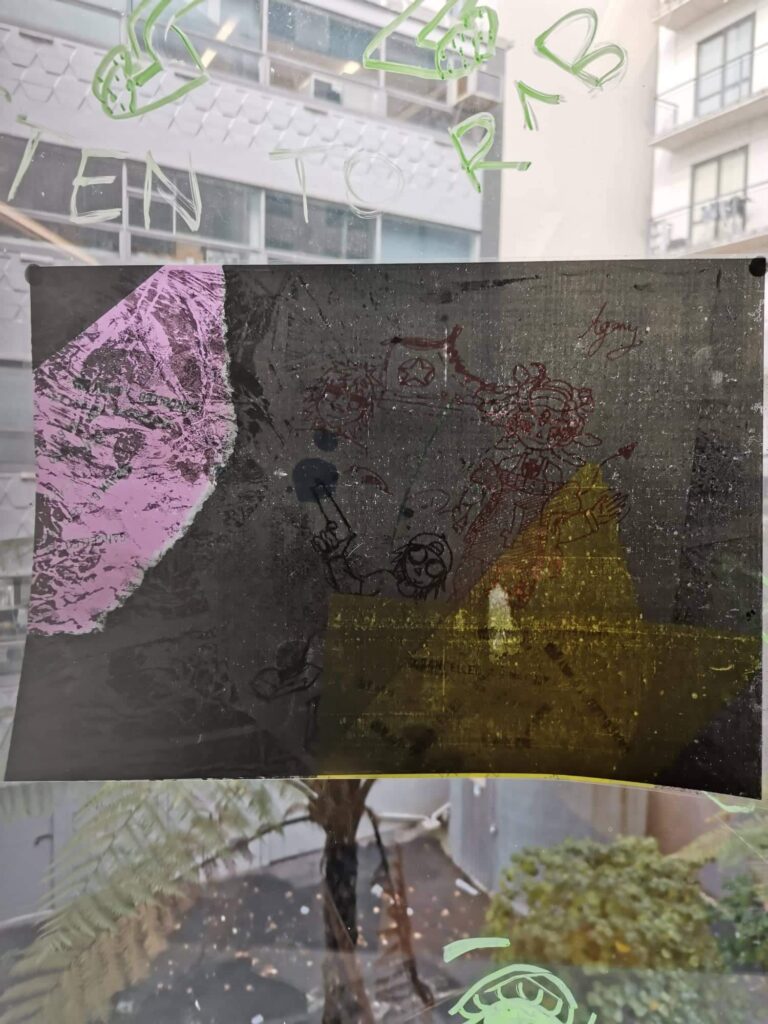
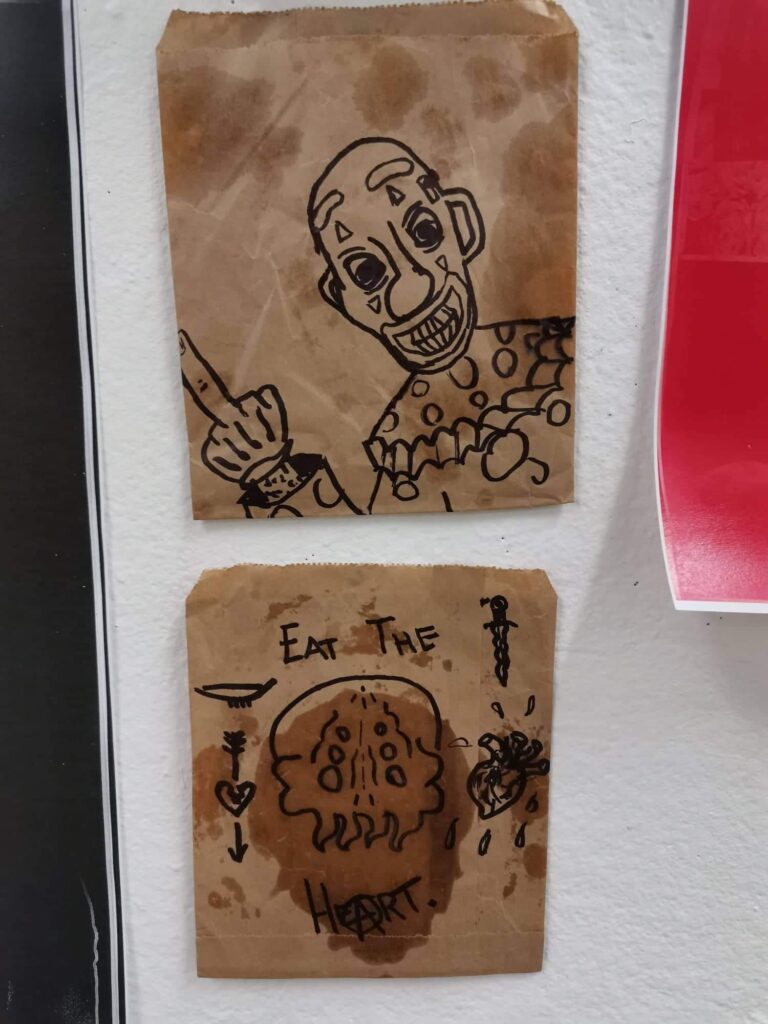
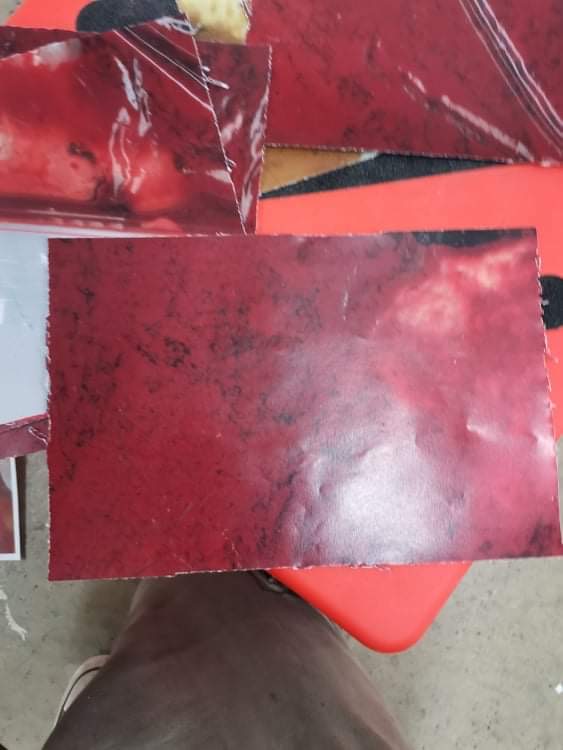
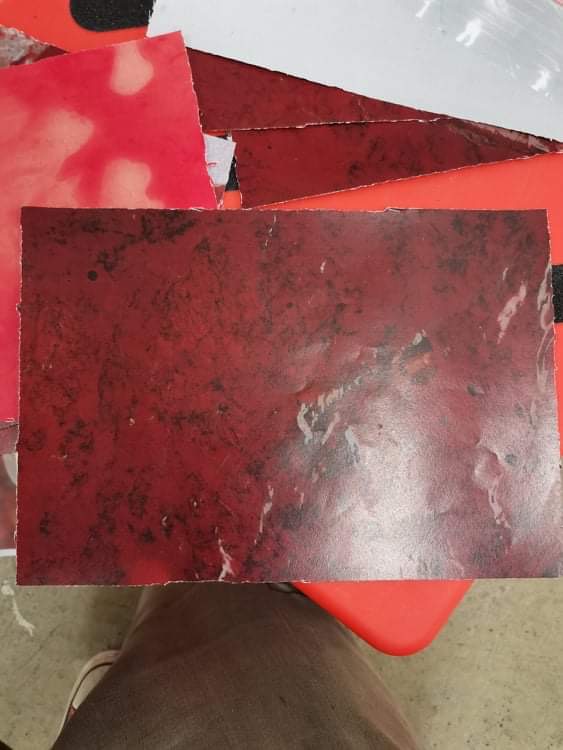
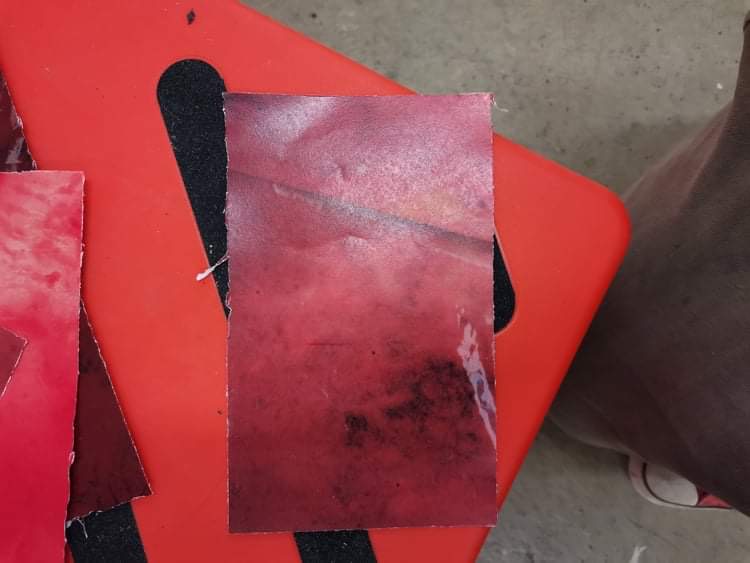
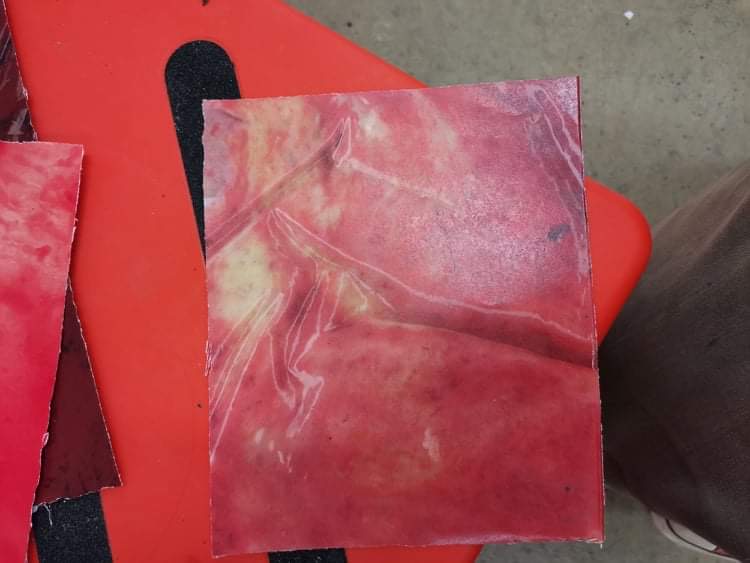
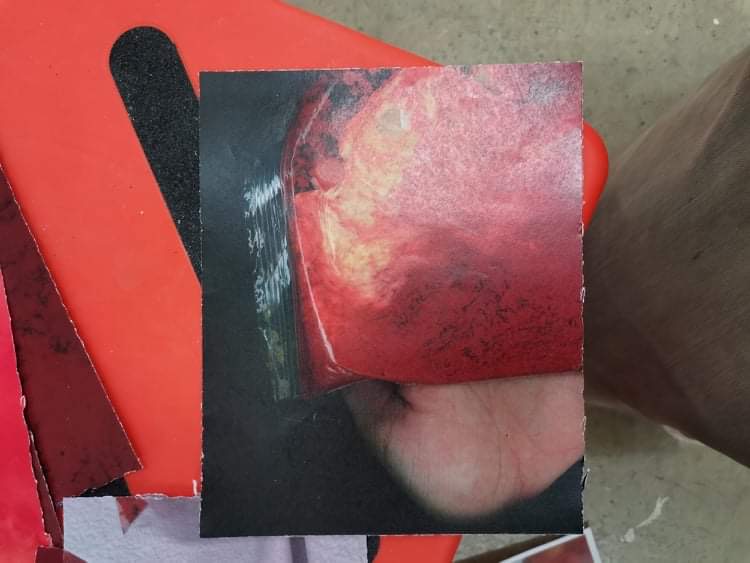
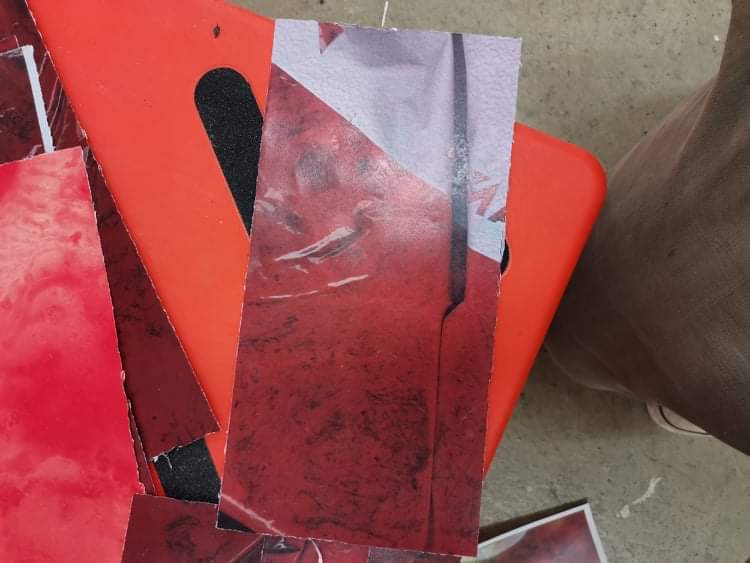
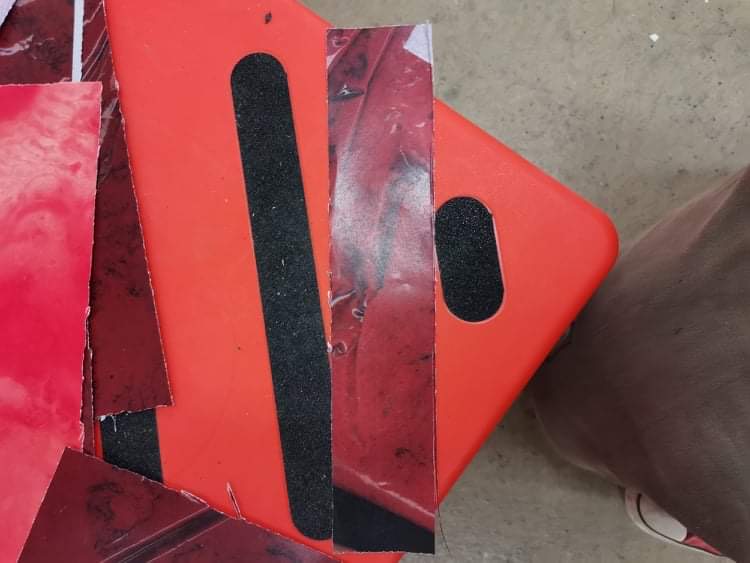
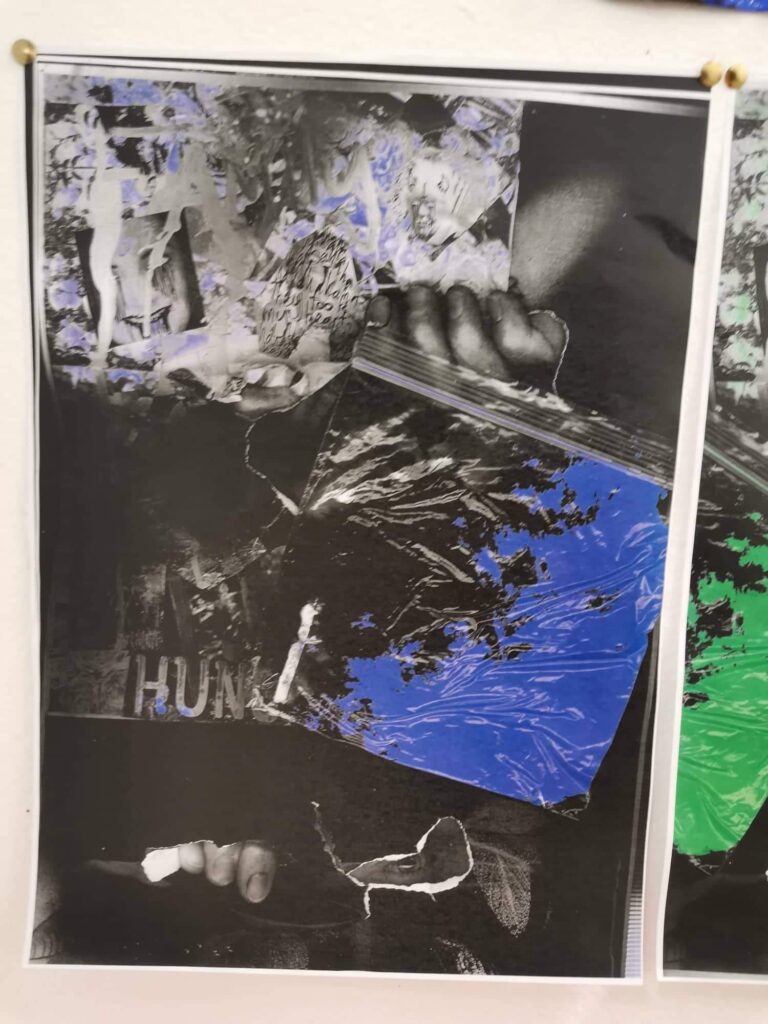
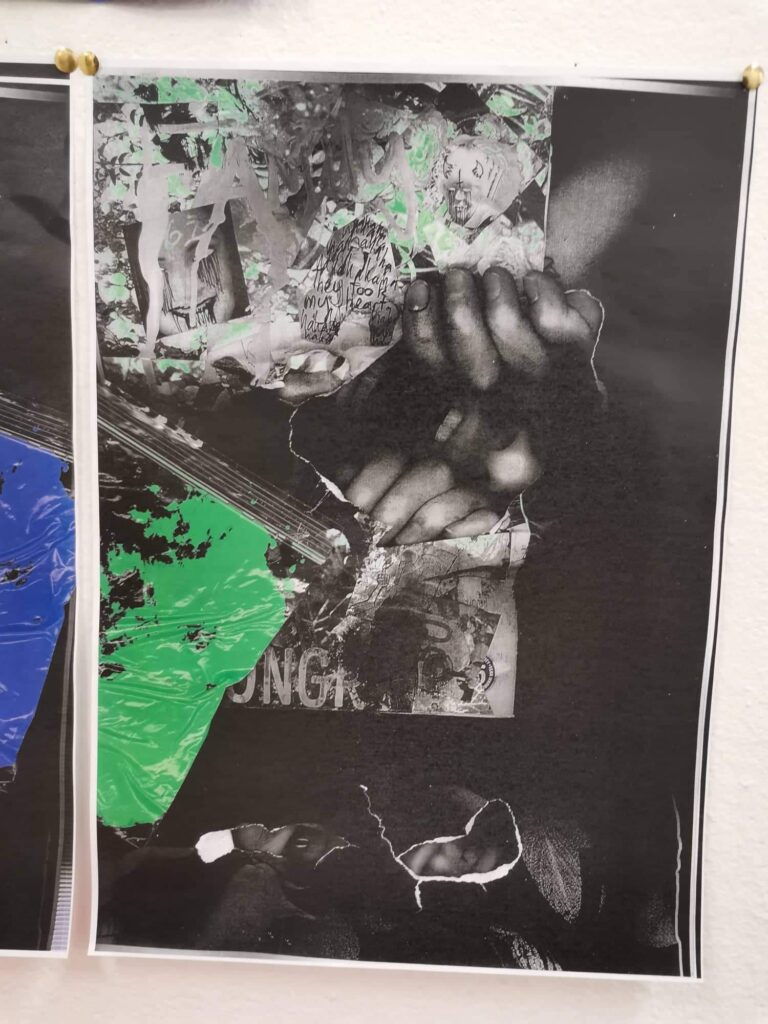
Herman Nitsch takes his art a little to far for me to do anything like he does. First of all some of his art is more of an event titled “The Orgies Mysteries Theatre”, which seems as if he’s started a blood ritual of sorts with an animal carcass and many people involved. But his paintings inspired me because of the way the red flows through his works, which is what i try to do with my works by making the red ink/food dyes i use look as similar to blood as possible.

Jean-Michel Basquiat

Jean-Michel Basquiat Differs from the other artists because it has nothing to fo with meat, blood or rotting food. But his art has powerful messages and great vibrant looks. I based a set of works off of his following a similar style but with a different message. The art is nothing like the food, blood or meat art, but i like to try various styles and techniques in my art. And as a bonus I’ve been basing some of my art off of Basquiat since i was in college, so he’s already a go to reference for me.

Jan Voss

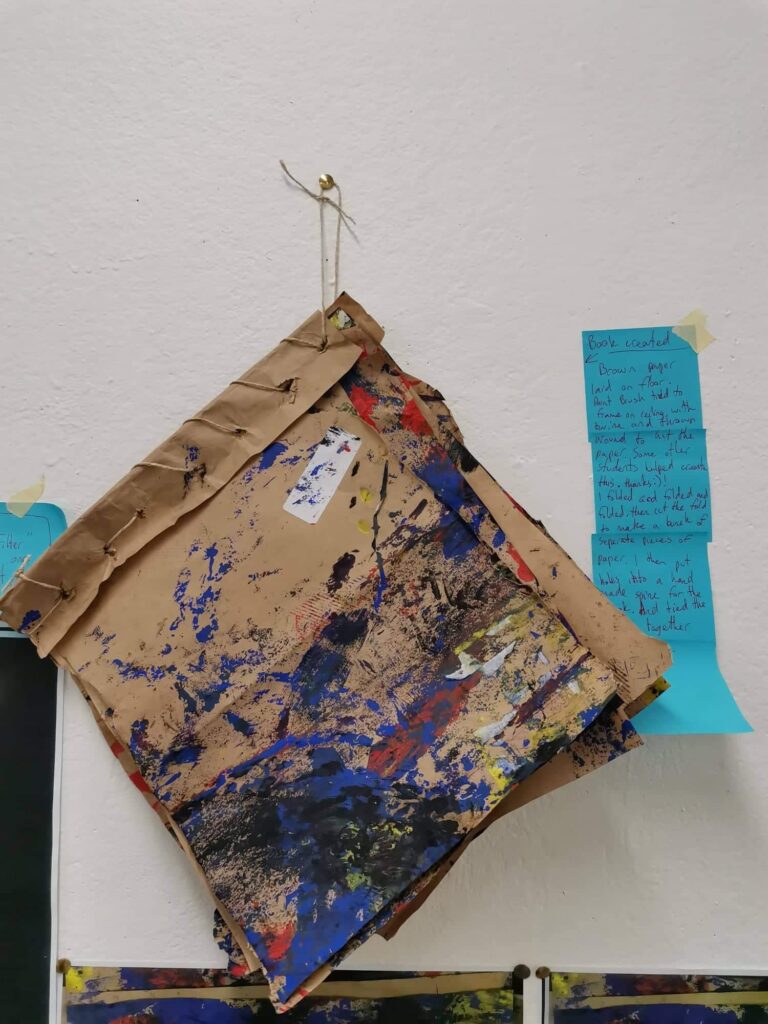
Jan Voss is a good artist for me, welp there’s no fake blood or guts or print pressed food, but his train of thought is a bit similar to mine. He thinks and plans as he goes. I like that, because even if something goes wrong it can still be a fantastic piece of work. A quote i try to remember as I’m doing art is that “accidents are okay”, and I’ll always remember that because it motivates me to keep working with what i have if there is an accident and to work with it. But Voss also has some great techniques that I’ve used often in my work such as crumpling up paper or tearing it up and glueing it to his artworks.

Arnulf Rainer

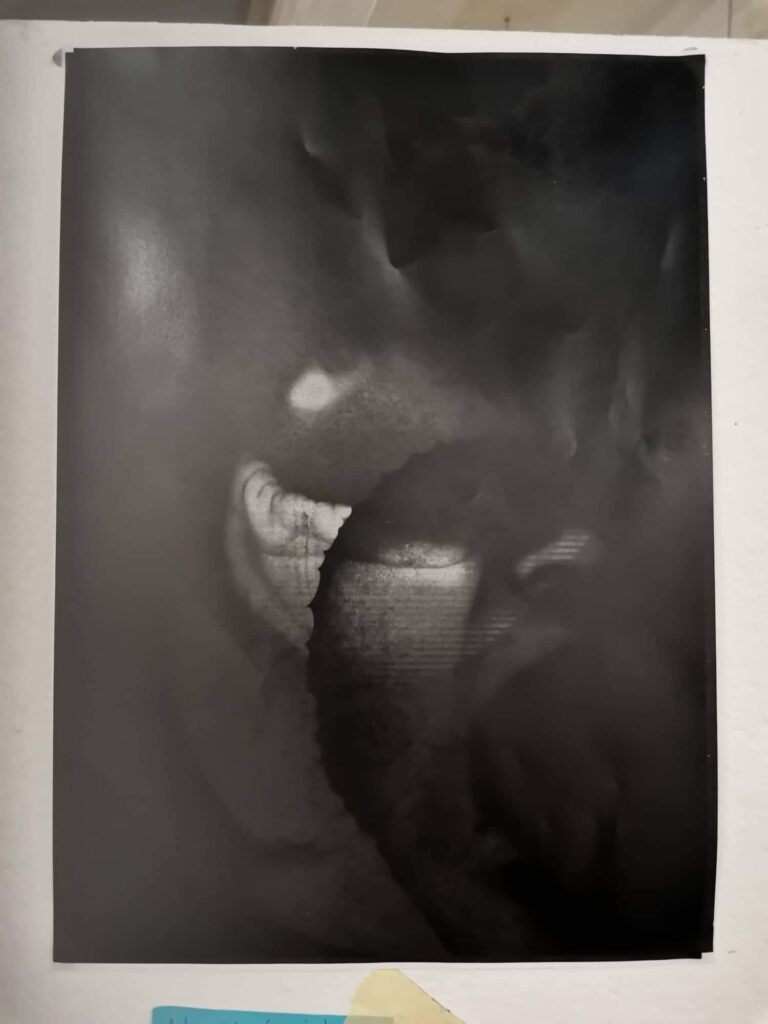
Arnulf Rainer was fun to research because i got the idea from him to scan my own face and make artworks out of them. Except what he did was take photographs of himself instead of scans and then paint over them in a sort of surreal abstract way.

Liz Atkin

Liz Atkin is an artist that draws and does scannography about her anxieties. I focused primarily on her scanned artworks because of the anxiety it gives me when i look at them, i can feel what she’s trying to get me to feel when i look at them. And thats what i aim to do with my work. I know my artworks aren’t based around anxiety, but i want to see peoples facial expressions change and hear them saw “ewwwww” when they see my art. Or really any emotion apart from hearing “oh thats nice”, i aim to get a genuine emotion.

Frank Luna

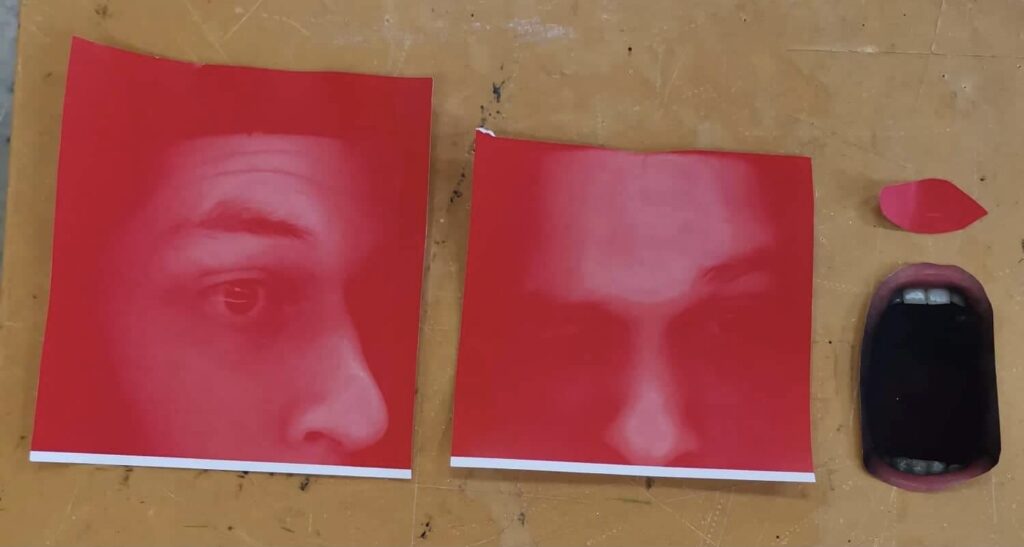
Frank Luna is another scannographer but his art is more uplcose and personal. With mostly a female face showing in his artworks with their face (lips, nose and cheek mostly) pressing up real close to the scanner. And you can see every little detail of their faces in the artworks, even the texture of their skin! I took advice from his artworks and wasn’t shy about pressing my face up to the scanner.

Evilsabeth Schmitz-Garcia

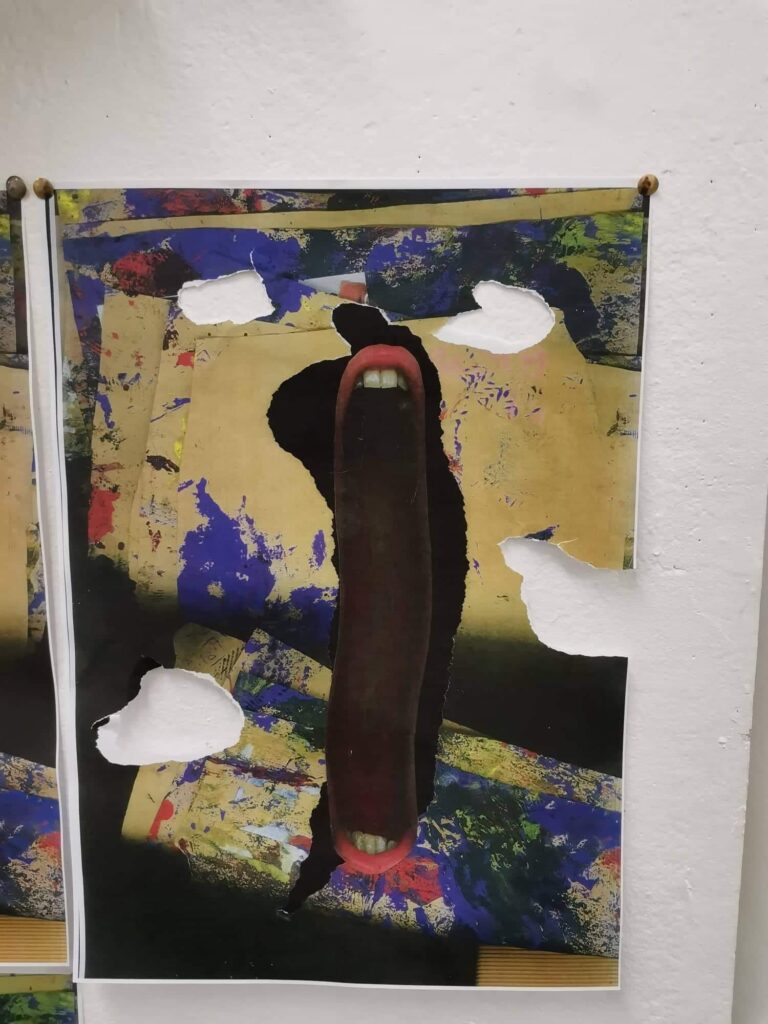
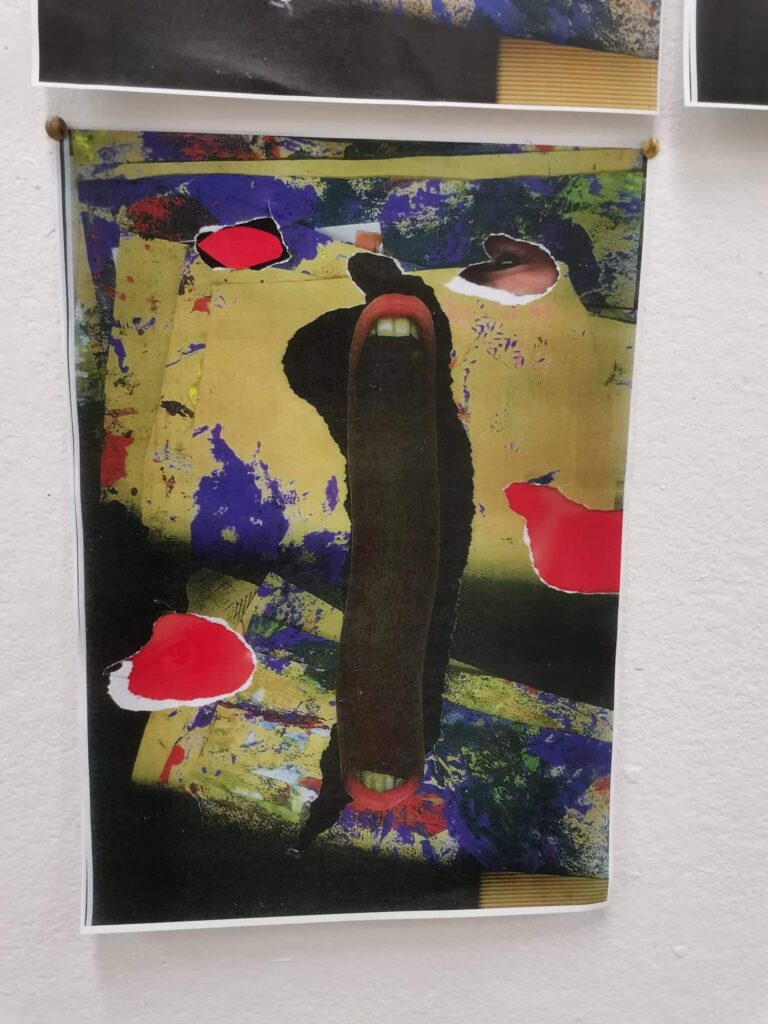
Evilsabeth Schmitz-Garcia has some amazing and creepy artworks which are scans of mostly her self, but its as if though the scanner is upright like a window. She makes her art creepy by slightly distorting her face while widely grinning, and also fully exposing her teeth to the scanner. She also had this brilliant idea i wanted to try but never go to where she put a shatter class pane on the scanner and scanned herself into it also, which made the picture look as if she smashed it. Evilsabeth also included her hands in some of her scans, in which one is holding a razor blade, which i feel is a message about self harm, since in the photo she holds her hands out exposing her wrists.

Lil Ashton

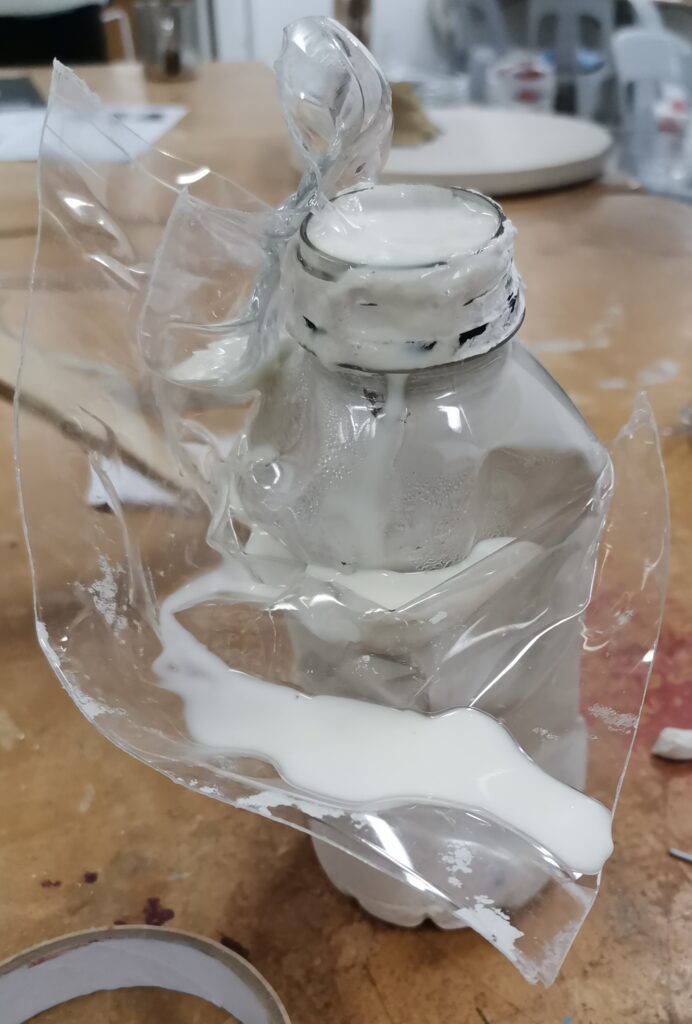
Lil Ashton is a scannographer as well, but she animates her scan as well. Such as making her face move while moving her hands and warping her face which is very unsettling. She also paints her face sometimes before scanning it, which i thought was a great idea, until i got distracted by the food i put in my art and the goop bag. But i never thought of animating my scans, so i might have to look into that one day.

Pati Hill

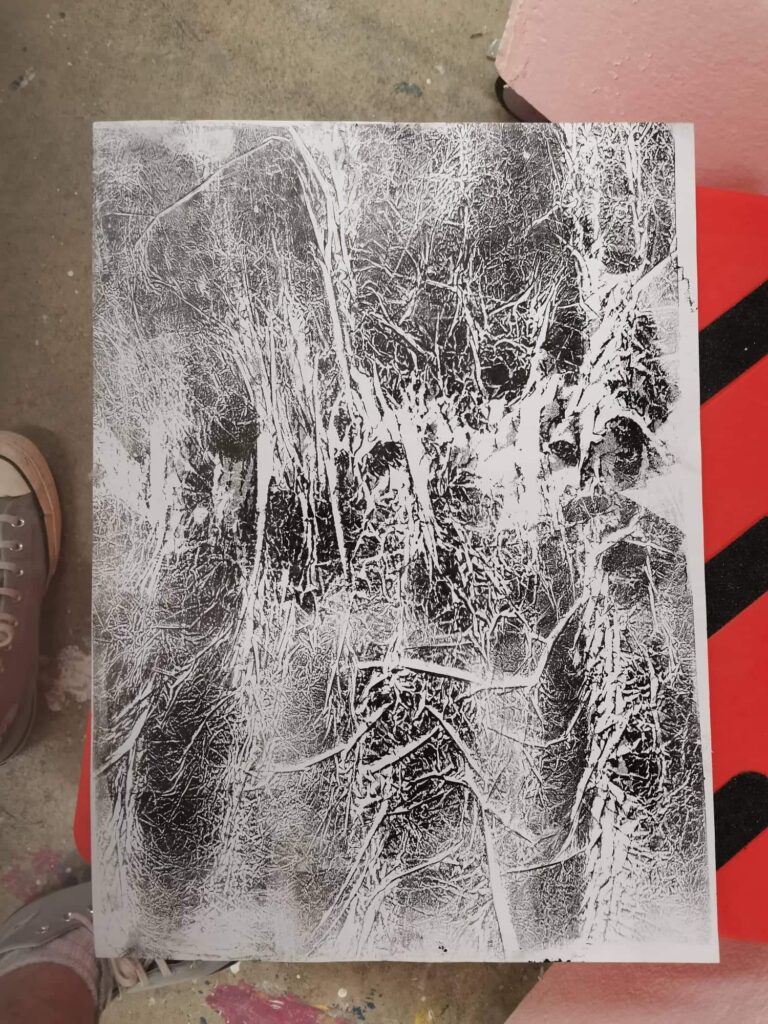
Pati Hill is the last scannographer on this list, she primarily does scanning of non living things like random objects from around the house, for example a cheese grater. But in some works its quite dark, mostly all her works are black and white too which give them a creepy vibe. Some of the darker arts consist of dead birds and meats such as a steak. But the scanner catches all the tiny details of the feathers, and the wrinkly texture in the meat.

Jordan Eagles

Jordan Eagles is a multi media artist that ranges from sculpture to painting to photography and more media too. All of his work is made of preserved animal blood from slaughter houses to give off themes of ancient spirituality and regeneration. In some of his works he lights them up to show the amazing red colours and many visceral properties. He’s also made artworks for a good cause from donated humans blood from the LGBTQI+ community to send a politically motivated message. I don’t think i could use real blood in my art, but maybe one day (hopefully that doesn’t sound to messed up) ill be able to make some really nice art pieces that can give off a sense of spirituality as well.

Week 2 and week 3

First of all i just want to mention how much fun I’m having with this brief. I cant sculpt, I’m not very good at photography but really enjoyed the experimenting with the pinhole camera. But this brief is awesome, i think i found something i really like doing art wise. I really enjoy experimenting with art, I might’ve even gone to far with this as you’ll see later in this blog. But I’ve had a lot of fun so far! I’m not as big a fan of mono-printing, but ink jet or digital printing and scanning is awesome! I’d never done it before, but i also never thought about it. But now the thing is, i want to use the scanner at home, but hopefully I don’t break it with experimenting haha!

I’ll do my best to try out the stuff from week 2 at the start, but there’s no guarantee ill get everything right in order. But i’ll still upload everything I’ve takin photos of and the artists I’ve been shown as inspiration. I’ve also been told words that have greatly inspired me to keep going with this brief. As far as my theme goes, I’m still going with horror, but trying out different sub genres of horror. Such as horror themes relating to religion, and a theme of gore and this awesome word visceral works. Myself and other people in the studio have looked at some of my works or what they’ve been made of and even gagged slightly. So in some sense i may have gone to far without actually using any bodily matter from anything. To make you feel better i’ll tell you now that it mostly consists of food and food ingredients.

First I’m going to show my mono-prints. This print was done by covering a plastic sheet in ink, then i in-scrunched a scrunched up but of tissue and pressed it done onto the plastic sheet with my hands. Than i peeled the tissue off of the plastic sheet and printed it onto paper with the print press. The way the wrinkles of the tissue printed onto the paper looks like it has given it a texture, as if it were tree bark or something similar.
These (not including the nerds, they’re used in the next set of works) are the things i used to scan in the work above.
These were created after i did a scan of the nerds on my kiwi gardener magazine collage (shown in the last blog), sadly i didn‘t take any pictures of those works over the past two weeks. But what i did was grab a piece of tracing paper and trace over the scan with a variety of different pens and pencils. And then i scanned the traced image with a marmite sandwich in a glad bag and one of the many things i have that i reintroduce into my works.
This is the last thing i remember doing in week 2. I Brought in pie bags that I’ve drawn on for material. But i got talked to about these and how they relate to my horror theme and how it makes people feel queasy. This is due to the unhealthy looking grease stains on the pie bags. So i got suggested (thank you by the way Monique) the idea of trying some works that look more visceral. That when people look at them it makes them feel uneasy. So i thought that was a great idea and i used it in the following week.

Week 3

On week three as i mentioned before, I wanted to try make art thats more visceral. This includes stuff such as making my art pusy, bloody, pretty much just grotesque body fluids such as these. I went as far as mixing not just ingredients to make stuff look bloody and pusy (as you’ll see below), but i also mixed food and drink together in glad bags also to make some disgusting concoctions.

During the third week I’ve also moved from my original wall onto a new one closer to the door entering the studio. This is because I’ve been creating so many works that I don’t have enough space to put them all up. So I’m sorry to everyone that has to walk past my wall and look at my newer works. They’re not the prettiest thing to look at, but i think they’re really interesting.

This is my old wall, it doesn’t have any of my newer works on it.

I know that these newer works don’t really work into a palimpsest, but i have plans for them for the upcoming week. So look forward to it 🙂

Palimpsest week 1

Ive had a great week! The first day of the brief was all talking, but I learnt so much. When we were being told about all the different types of ways to print i learnt heaps of things I’d never thought of. On the second day i brought in a ton of newspaper and was thinking about what to do with it. But then instead of thinking i just started cutting out every face i saw on every page of the newspaper. And that kind of gave me the idea of doing a type of serial killer type of look. So i made all the faces creepier by cutting them out roughly and coulouring in all of the eyes white. Sadly when i left, i had left all my material at studio so I couldn’t continue with it at home. So i just started another collage that night with a single Kiwi Gardener magazine. Luckily it had a lot of pages and a surprisingly large amount of peoples faces to cut out. So i could continue with the same theme and just build off of that.

Here’s all the faces i cut out from the kiwi gardener magazine.
I also cut out a bunch of flowers for my collage too. I thought it would be ironic to have a bunch of beautiful flowers put in the background and then on top of that glue down the faces and draw all over them to make them scary.
And here’s the finished collage to start with. Ill talk about why there’s a hole in it soon.

On the third day (Thursday) i thought it would be good too keep cutting out the faces from the newsapaper and drawing on them, so i can start having more material to work with. But I remember being told to try to use things other than your hands to paint with. So I went and bought some twine, paint and a paint brush. Then i head back to the studio and tied thr paintbrush to the ceiling with the twine, and i grabbed some brown paper from the roll in the corner of the studio. After I grabbed some of the brown paper i lay it on the floor under the pain brush that’s hanging from the ceiling. Then put some paint on it and swung, threw, pushed, kicked, punched and did all of those things to the brush for a while. Then some other students asked if they could help so i said sure of course. And so there’s some extra little details from other people on the paper too. I then folded and folded and folded the paper,then cut the folds so i had a bunch of smaller pieces of paper. Then i pinned all the individual pieces of brown paper to my wall and glue some of the faces from the newspaper onto it. And after all that I thought it’d be best to tryout scanning on my kiwi gardener magazine collage, and wow i had heaps of fun!

Sadly i didn’t think to take any pictures of the brown paper before i cut it up. But i did get some of when i pinned it on the wall. I forgot to mention that there is all sorts on this not just paint. It also has stickers, and whatever’s on the bottom of some peoples shoes.
This is just me showing that I’ve pinned some pieces of paper on top of others.
Now onto this super awesome fun part! So i had a really cool idea. And that’s to tear a hole in my original collage and while I’m scanning it, stick my fingers into the hole and hold it open to make it look like I’m tearing it open. And the results turned out really well and I’m quite happy with them.
Here’s the first scans i did. The first being the original. Then the second o stuck my fingers in and peeked into it, but you can really only see my eye if you look close enough. And the third i got Josh to stick his hand into the scanner with me, which is my favourite out of the 3. The idea also works really well because it still follows the horror theme I’m going for.
after scanning my collage onto an A4 i wanted to move onto A3. But when i scanned onto A3 i didnt enlarge the image so it just scanned everything that’s was on the scanner to A3. So as you can see my t-shirt is on the scanned image and so are my arms. I kept the image anyway and used that as a starting point for my A3’s. So i ripped a hole in this so i could scan my face into it again.
This is my second scan for my A3s. As you can see i scanned my face into it again. And i also ripped eyeholes into this image so i can scan it again.
For this scan I realised i didnt want to just keep putting my face in it and just scanning it all the time. I wanted to change something else a bit. So i played with the settings on the printer and gave this scan a light glow.
After playing with the settings on the last image i wanted to keep doing the same and explore some more. What other things can i do to chnage the image significantly? So i noticed the single colour setting and changed it to red. I didnt expect this result, and i probably won’t keep this on my wall in the end.
On the final scan for that day i kept playing with the colour settings. And i noticed the option for dual colour and thought that sounded like it could produce an interesting image. So i targeted the reds and i selected the other colour as blue thinking it was going to target blue as well as red. But it didnt, and it looks like it canceled out the blues. Because it left me with this black and white images giving little details a pink colour. And i was actually kind of happy about the outcome of this, because those little bits of pink gives it that little bit of detail i think it needed.

On Friday i also went in and did some work too. I planned on doing some study for theory and then got distracted and started doing more stuff for this brief, which I’m having way too much fun with. So here’s some of what i did on Friday…

I also tied a bit of twine through the top hole and pinned it to my wall.
But right before i hung it on my wall i scanned it by holding the book by the spine and holding the pages over the scanner. After scanned, as i do with my other works i ripped a big hole in it.
After i scanned the book, i scanned my face a few times and then cut them up to use them as templates.
With my mouth that i cut out i scanned it down the big rip in this paper. But when the scanner hit a certain point in my mouth I dragged it along with the scanner. Any distorted part of the human body gives off a creepy look, which is what i was going for here. After scanning i rut my tears in the paper yet again.
It doesn’t look as good on the internet, but in person you can see the templates used in this image. I scanned he cut up red images of my face and put them behind the holes in this to make it look like there’s more people peering through the holes. And i also scanned my eye in at the same time.
For another idea i put to paints in this glad bag and then squished them around a bit. I decided to scan this with some paper to see what it would look like.
So i scanned the gladbag with paint onto the A3 i was scanning originally. I then used dual colour and targeted blues. I also scanned my hand and eye in the tears at the bottom of the image.
I then did the same but moved the glad bag over a bit, but instead of selecting blue in dual colour i picked green instead. I also scanned my mouth and eye through the tears at the bottom of the image.

For the final thing i was doing on Friday i wanted to scan my original kiwi gardener magazine onto a black piece of paper with same taped on other pieces of paper. On this black piece of paper I’ve taped a couple sticky notes and some ripped up pieces of white sketch book paper. First i printed out single colour yellow onto this, thinking that the yellow would pop on the black paper, but it didnt. So i printed over it again but with normal colours, and it printed on it wrong. So this test didnt really go as planned. So I tried it again…
Luckily i got it down the second time, because that’s when i decided to experiment with scanning the image.
I tried to print in dual colour, but without thinking I must’ve accidentally pressed the single could which produced this scanned image. Which i actually quite like the look of.
But the next time she i actually pressed dual colour and selected magenta this was what got produced.and i am extremely happy with this image because it has great balance between magenta and the black and whites.

Discover, uncover, recover final

Hello,

In the last week of this brief I spent time doing some more pinholes so i have more variety with them to put on my wall. And i also wanted to explore some new places further from the studio with more nature around. I also wanted a better pinhole photo to enlarge to A1 sized basic paper so that smaller details are easier to spot. And because i was also curious what it would look like. I did have some issues with trying to organise the photos on my wall, and it was hard for me decide on what i should and shouldn’t keep on my wall.

I called this “A Night in the Car”. And its some photos I’ve taken at night in the car while it was raining. I used the light coming from the street light for my lighting. Which i like because it gives off a nice orange glow.
These are all my pinholes except for one because i lost it. But the good thing is i have an A1 size version of it. I had so much fun doing these, i still have yet to make my own pinhole camera., but I’m keen too. The different ways i thought to experiment with the pinholes was really fun, because there is so much things to experiment with. The experiments i performed include double exposure, moving slowly towards the lens. Double exposure with masking tape and bending the photo paper before exposure.
The 3 photos in the middle of the image were going to be a them I thought was interesting but didn’t follow through with. It was going to be all photos of looking up, because i noticed that i never really look directly up when indoors, outdoors or even under something.
These are all photos I’ve taken with a fisheye lens and then cropped one side around the fisheye of each image. I took all these photos on the way back from Auckland City to Gulf Harbour. The one on the left of the rusted grate i put on the wall upside down because it gives a far more interesting perspective as if the world is tilted. Same with the one on top looking down off a bridge onto a golf cart track.
This is also another attempt at a theme i quite enjoyed taking photos for in which all the photos taken are from the perspective of an insect. I personally had this as my second favourite go to because I’ve always been interested in insects and other bugs and small creatures.
These are 2 A1s i printed from 2 pinholes i chose that i though fit well together. I also inverted both images as well. The one on top of is one of the first pinhole photos i took, which i placed the pinhole camera peeking behind a tree to get. And the bottom photo, i walked outside the courtyard from WE building and walked across the road and found a really nice setting for. So I set down the camera and went and sat still for about 2 mins and 15 seconds, as you can see I’m in the bottom left corner facing away from the camera. I also lined up the tree in the top photo with a tear in the below one an traced it with a white gel pen. Which you can’t see unless you look closely.
a closer picture of the 2 A1s so you can see the white gel pen joining them together. The white gel pen is easier to see in the A1 above with the tree trunk.

Discover Uncover Recover week 2

This week I’ve done more pinhole photography with the paint can camera, and experimenting a bit more. Sadly being one of the people with the worst memories isn’t very helpful when it comes to this sort of thing, so I haven’t taken any photos off my pinhole photography. But i am proud of most of the results of the experiments. Luckily i have some photos from walks i have been doing, some throughout the city and some from around where i live on the coast.

While walking through the city to get to the bus stop i was in a alley and looked up to see a red pipe above my head. I like the way the pipe catches the eye because of the bright red standing out.
This was taken on my mums property. Because she lives rural there’s a lot of great nature to take photos of. I like taking photos of an angle where it looks like you’re peeking from behind something, but the tree itself looks very nice to, as it looks like it has a small ravine in it.
I’m also trying to follow an idea where it looks like I’ve shrunken down and the world is gigantic, so basically everything looks big. This is sort of an example.
Here is another close up that shows that creature like perspective.
I also saw some different species of mushrooms that looked quite interesting. Again giving that feeling that you’ve been shrunk down.
I loved the look of these flower bulbs because they remind of of something i just can’t think of it.
The theme of man made things having natural overgrowth on them like moss, vines, weeds and other plants is cool to me. It’s a nice metaphor for how nature fights back against humans.

Discover Uncover Recover week 1, part 2

Here is the three photos I’ve taken with the paint can camera. I absolutely loved doing this. I mean, I’m still not to sure on the science behind it but that’s why its so fun to me. And you can experiment with this photo taking technique in so many ways. You can change the exposure yes, but i would like to see someone moving as slowly as a snail moving in front of the camera. Or maybe ill just put a snail in front of the camera.

I wanted to include a bit of tree in my photo but also catch what’s behind the tree in the photo too. So the camera is placed behind the tree, but as if its peeking to see what’s passed it. I left the lense exposed for 3.30 secs for this photo as I didn’t think it was very light outside due to it being overcast. But its a bit dark in the photo due to a little bit to much exposure. I love the texture the tree trunk gives off though.
This is my favourite out of the 3. Due to the fact the exposure is perfect. The balance in the exposure between the darks and lights looks amazing. I can tell every detail in this photo and that’s what makes it 10x better.
In this photo I wanted to change it up a bit, so i moved the paint can camera back a little to capture a bit more. Sadly i exposed it a little to long, which i thought was strange since i left the lense exposed for 2 minutes same as the photo above which was perfect exposure. But the bark is in this photo covering the base of the tree which looks very nice with the grains of darks and whites. And another cool feature is the look of the tree. It looks as if it is translucent and you can see through it, but you can’t and i think its a very nice effect.

Discover Uncover Recover week 1

I’ve had an awesome time this week. I loved the random walk where we took photos at places we’d flip a coin to get too, being in places I’d never been in within the city. My favourite thing this week was the paint can camera, it was so interesting to learn about. And another interesting thing was learning about exposure and also the developing stage of the photos made from the paint can camera.

I’m also very lucky to have a partner that has some lenses that I can attach to my phone camera. And clearly the fisheye lense is my favourite, that might be because it gives off a new perspective and i like how it warps the outside of the lense. It also reminds me of old skate boarding videos i use to watch when i was younger.
On the walk through the city i wanted to take the picture of the inside of a public bin, i tried to fit it inside of the border of the fisheye lense.
As our group kept walking I noticed this nice looking gate, the pattern on it caught my eye. This is my favourite photo that i took on the walk, i just love the awesome warp affect the lense gives off with the gate fully in frame.
This is a close up of a vent. I like to get closeups of a lot of things probably because it always turns out looking like something from another world.
Here are two more photos i really liked from the walk. Honestly i just like the first one because of the look on the cats face. But the second one i saw the sun and wanted to get a picture with the sun in it. I like the glare that the sun gives off in the lense.

First half of Semester Recap

Hello, haven’t posted here in a while. A very long while. Here’s all the photos I’ve taken from the first half of the semester. We were learning about sculpture and how to use planes, as well as what they were.

This was made from a half of a V can that i filled with plaster and let set with a bit of wire in it. While the plane underneath is a bit of card board i coated in plaster and let set, then i bent it afterwards to give it a texture that looks like tree bark.
this is made from a bottle i filled with plaster, i then sliced down the side of the bottle to try get it off. But the way the bottle is flicked out of the sides made it look very interesting to me. I then filled the top of the bottle with glue to see how it would flow off of the sculpture.
This sculpture is made from wire, cardboard and foam. I cut up the cardboard and foam into squares and then fit them onto the wire, and gave the wire legs so it could stand upright. To me it gives off a look like a creature hunching over.
I made a mould out of foam for this sculpture, i then filled the mould with ribbon first then poured the plaster in. You can see the ribbon through chipped bits of plaster. Straight after the plaster was poured in i put three bits of timber in so it would work as legs to keep it upright when it had set. I then thought to use this as a base and add on to this sculpture as shown below.
As you can see, i used the previous sculpture as a base for this piece. I used bits of plaster that were thrown away in this. Such as the plate with the red swirl, which is plaster that set on the bottom of a bucket. I attached to dowel rods with plaster to the base, and then plastered the plate between the two dowel rods to hold it in place. I then plastered more recycled bits of plaster from the base and made them climb up a dowel rod to make it look like a stair case. I also plastered on to the tip of one of the dowel a sphere of timber and made a ring of wire that just sits on top of the sphere. This piece was hard to make in the fact that everything is balancing, and the tiniest push add it topple over.

Day 2(which it maybe Day 3 because I couldn’t make class on Monday oops)

So for Day 2 (or maybe Day 3) we were studying Entopic Graphomania. I grabbed this book from my letter box on the day we were studying this, in case you wanted to know. I chose the word God to circle and then I joined up all the lines in a non-systematic way.
For this image, first I added random dots onto a blank piece of paper with only the blue pen. And then I joined the lines from the centre outwards. I then make dots with the pink brush pen, but slightly down and to the right, after that I added the dots the same as I did with the blue pen.