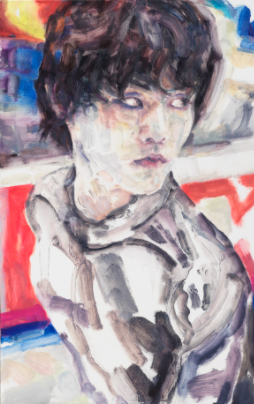
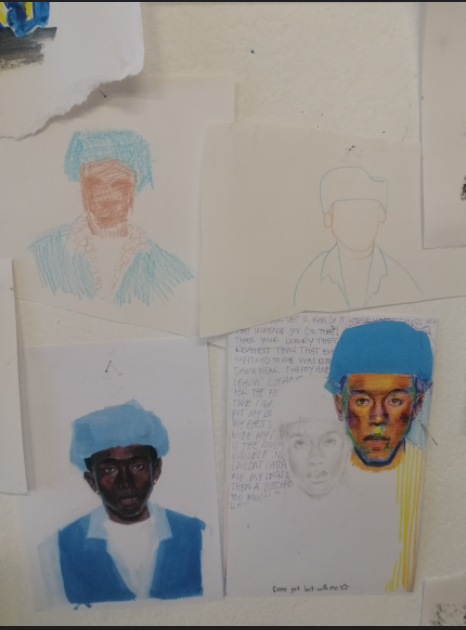
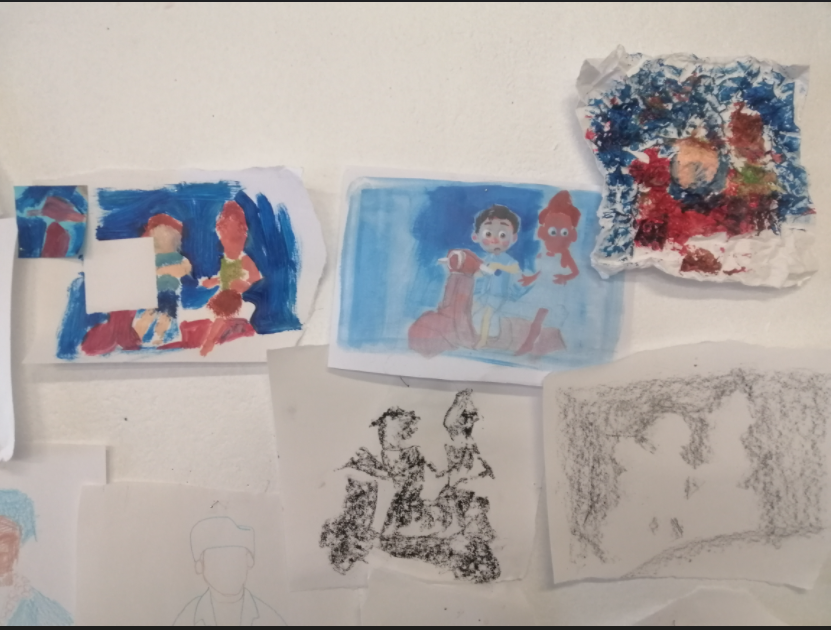
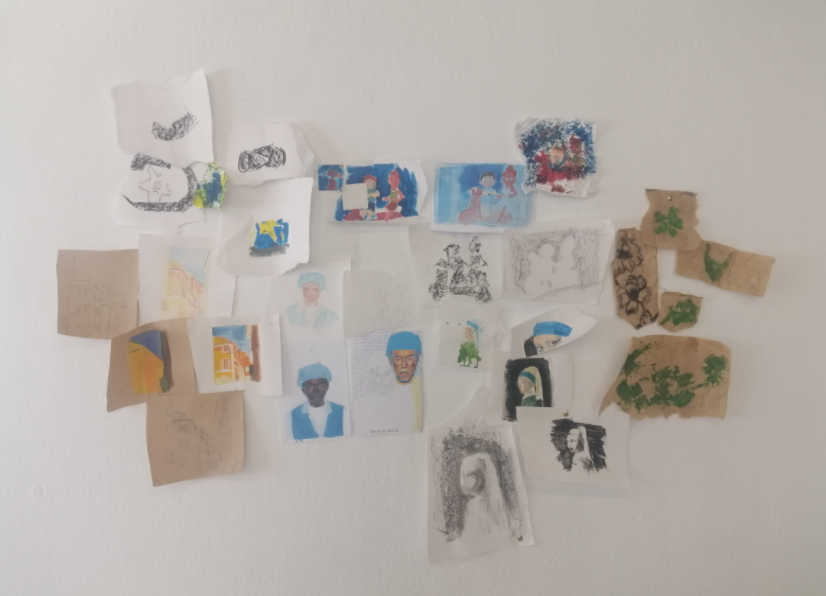
Elizabeth Peyton, an American painter who focuses on small portraits of Famous figures, best known for the intimacy she displays, and clear and deliberate brush strokes she uses. I Love the muddy/ deliberate brust strokes she uses, and he subject matters. she inspired me to paint Luca and Tyler the creator in a sort of incomplete way.
http://www.artnet.com/artists/elizabeth-peyton/
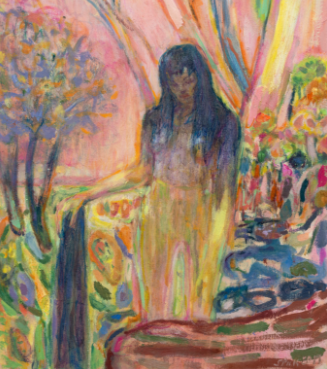
Seraphine Pick. A New Zealand artist Based in Christchurch is inspired by renaissance, pop culture etc. Through her empahsis on colours (in this painting) this artist inspired me to change the look of Tyler the Creator and turn it into a whimsical feel.
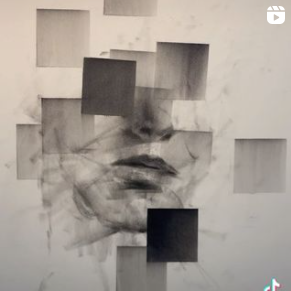
@madcharchoal (Instagram) Josh Hernandez is a talented artist who gives himself the freedom to mess around, hes messy and very deliberate with his brush strokes. Creating portraits using charcoal and rubber hes given me inspiration to use his techniques. The box method and messy portraits can be seen through my attemprs at charcoal
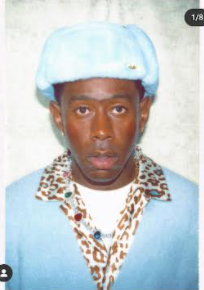
Photo including people: Tyler the Creator is my favourite artist, I played around alot with techniques im confident in (Painting, sketching, using ink and highlighter, colouring pencils) it was a great start to creating ideas, or get a general feel of the whole assignment for the week.
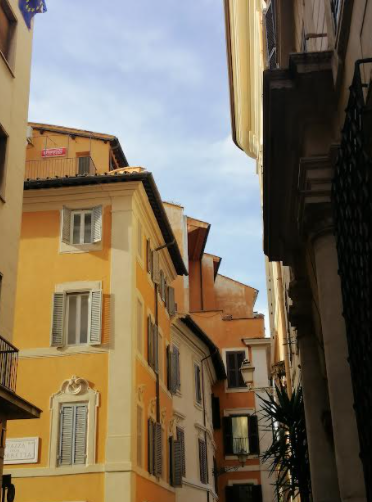
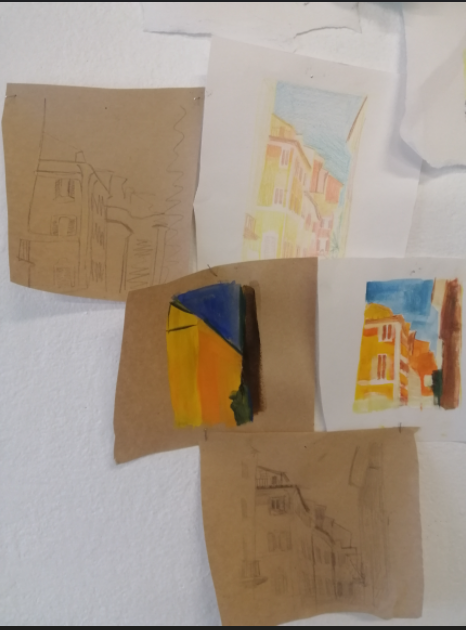
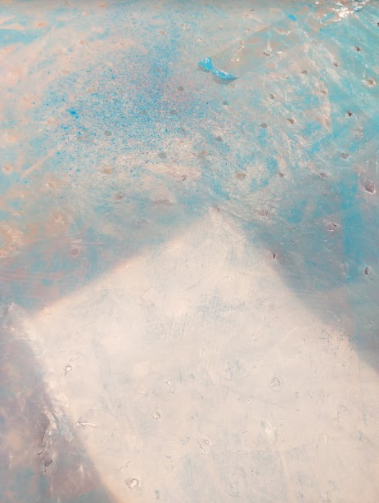
Without people: On a Italy trip I took one of my favourite photos, this radiates with warm colours, I first focused on the detail progressively putting in less and less as I went through each work. In the end I wasent inspired to continue any of these techniques with future works, its not anything that I feel I could improve or add to.
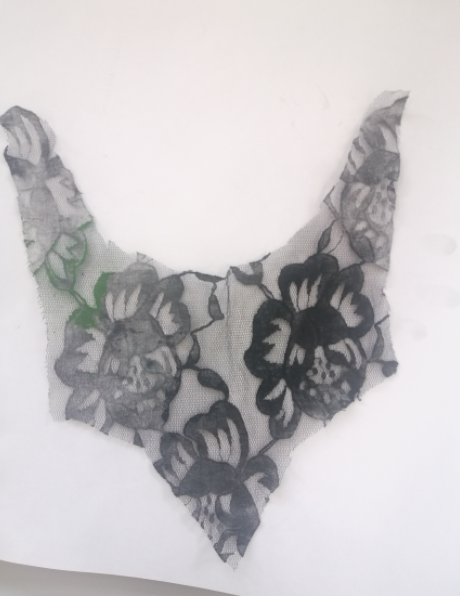
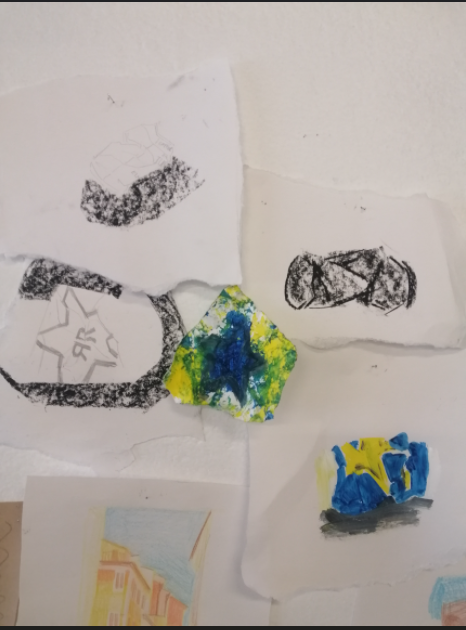
Piece of printed fabric: the pattern from this fabric caught my eye. I wanted to avoid any detail, I scraped, smushed paint to show basicly nothing, I wanted this to be consistently rough to see what I can produce with the bare minimum shapes , I didnt enjoy it as much, because of the lack of detail but its an eye opener for next week.
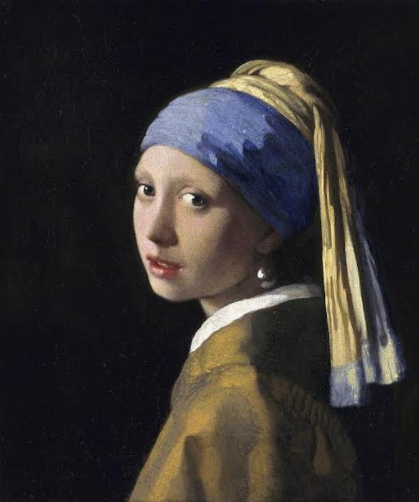
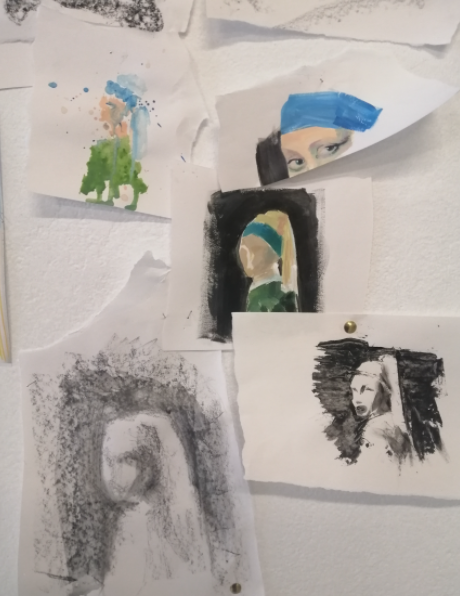
Painting made before 1900: Girl with the Pearl earing, this was my favourite one to work on, I brought in techniques of dipping, scrapping, use of extreme close up, a non complete peice and trying out charcoal, this was my most experiemental period and it started alot of ideas for future projects.
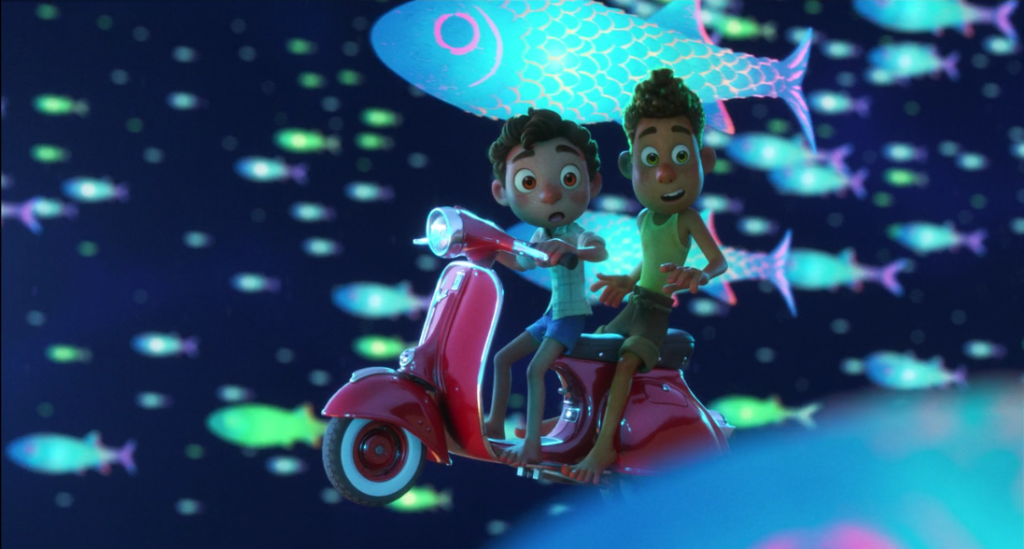
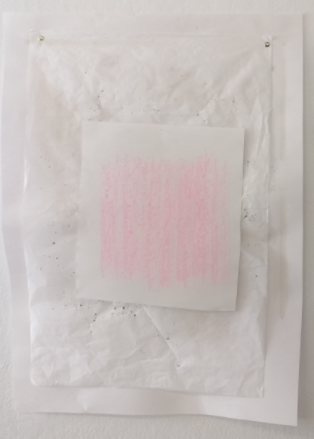
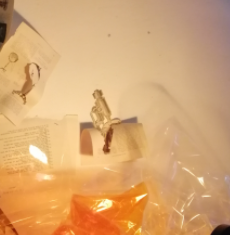
Screen grab from a film: Luca my favourite scene from the film. I enjoyed playing around with negative spaces, simple shapes, removing and rearanging, using an incomplete peice, and painting on textured paper (scrunched up peice of paper) I felt like this is the direction I want to follow, interms of what I need to look out for (eg negative spaces etc)
(sorry its blurry its all I have)
Peice of trash: A rockstar can. I focused on shadow, rinkles, negative space, and simple shapes. This didnt capture me, I liked where I was going with the negative spaces, but everything else felt rushed and uninspiring.
Overall im happy with what I produced, I felt I covered alot of techniques, and have alot to work with for next week. If I could change anything I would have worked bigger, all my art peices are at a consistant scale and I need to get out of my comfort zone.
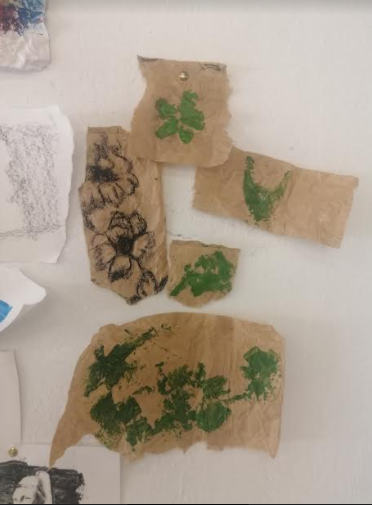
I experimented alot, few ideas that came across when starting my new project. first day I had a tea bag, I dragged it, ripped it, smothered it, put paper ontop, rolled on it, and then finaly traced ontop with chalk, great start, not what I want to pursue.
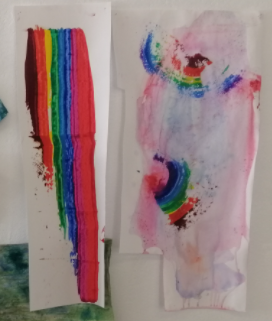
Experimenting with different paints, Watercolour, Oil and acrylic. I applied it to a peice of paper next to eachother and dragged it, to see how it would react; oil stopped first, acrylic second and watercolour kept going, pleased with the results of said reaction I made ‘rainbows’ out of it, using the left over paints. and applied the drip technique.
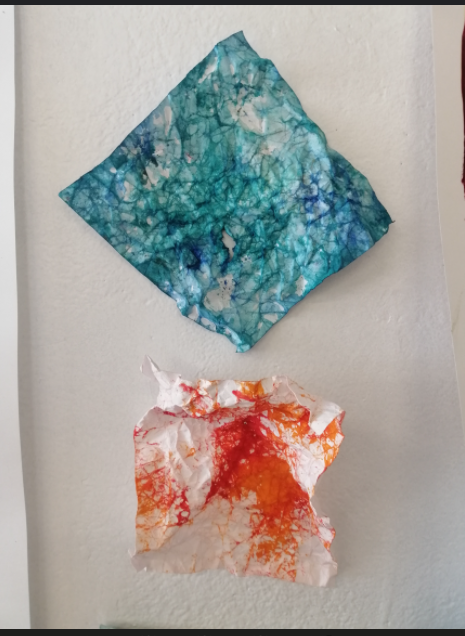
The experiment that I enjoyed the most is putting paint in paper, scrunch, crunch, rub and, drag, to create creases, lines and all types of unpredictable shapes, shades and colours. I would like to continue this idea with future paintings.
@theartofjaleh is a favourite artist of mine, he creates all types of unpredictable abstract art, one day while I was on tik tok I saw this video and was inspired to use the squeegee to create elaborate paintings, I did a more simplified version to test it out, realised it wasent for me, but good to try.
@theartofjaleh (TIkTok)
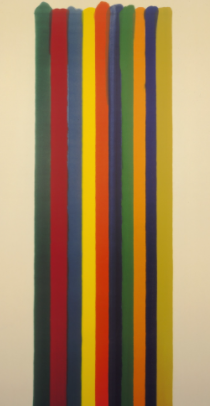
Morris Louis, An American abstract artist, during the 1950s he experiemnetd with paint and colour. His simple approach inspired me, but (like I said before) it wasent for me.
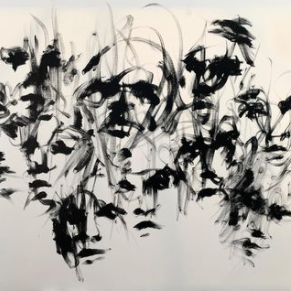
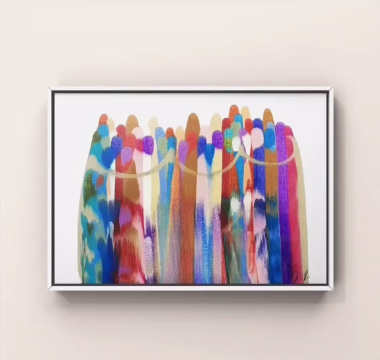
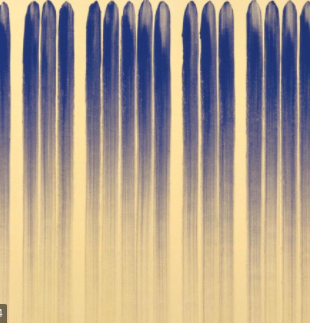
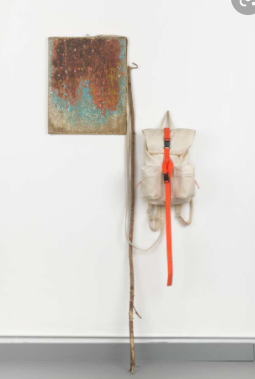
Lee Ufan, a Korean Artist, painted, sulptor and academic who focuses on the relationship between the viewer and the art peice. His minimalistic approach to paintings inspired me, through this painting I noticed the obre in the ink/paint, I wondered what he used and if i could recreate such technique, I felt I acomplished this tast with my re creation.
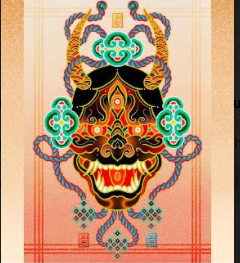
@Pittakkm (Instagram) they are a constant Inspiration throughout any art work I make. I love the thriving colours they use and the culture (Korea) they take inspiration from. I take the vibrant colours and cultural aspect of the peices as inspiration.
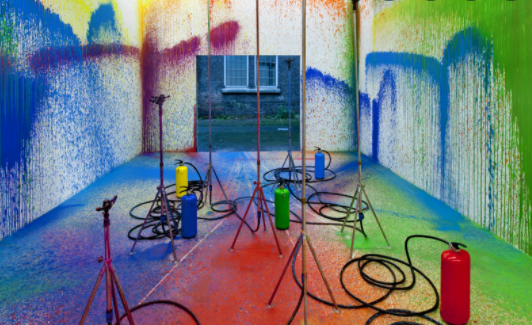
Rutger de Vries
Using 5 fire hoses this artists let the paint spray loose with vibrancy, the unpradictibility is exciting and sparked ideas of staining art or tye dye.
Marie Livingston Day’s art is an inspiration to me as she has given ideas of unpradictibility through pattern. A canvas with layers of paint is dragged through the hills on her hike, she is able to create amazing art pieces, I want layers and variety of colours and shapes in my art work.
Started the week by poking holes in the plastic to make it a sieve, tie it up, and attach a drum peddal to the mechanism so we can start testing it. we did this collectively as a team.
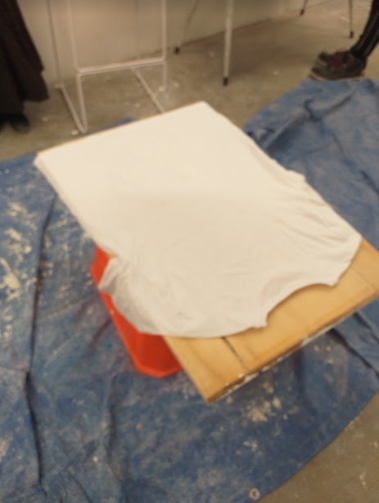
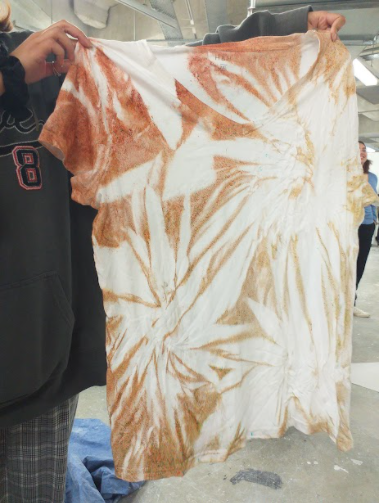
First test we wernt as impressed, the end result was cool and unpredictable but we knew we could do better. The big problem was that the dust wouldnt fall but just cloud the area, we decided to get a see through poncho (I bought it) and use it to keep the powder within the sieve/ machine. the other problem was the t-shirt was boring when it was layed out, we needed folds.
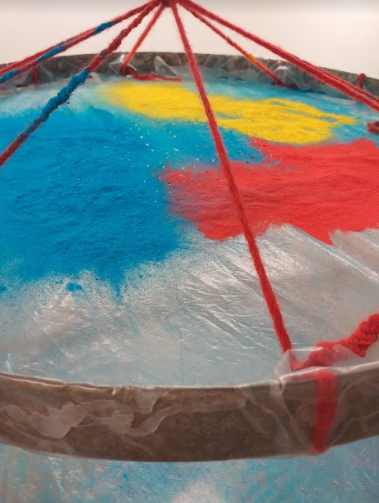
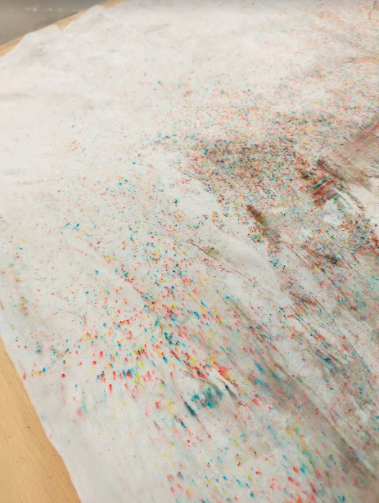
Problem fixed! it was a success, covering the machine allowed the powder to fall on the twisted t-shirt, we created a gradient of colours and shapes just as a tie dye machine should work.
I wouldnt change anything if I had more time, this is exacly what I envisioned as a two week project, we fixed every problem we came across as a team. we worked together easily, produced alot of ideas, coordinating what to do, what to buy/bring, no one held the team back, we collectively knew our own responsibilities and it worked.
Team: Maia Edmonds, Adrian Bennett, Della Chester and William McGorry.
Planning stage:

Tie Dye gumball machine.
we planned to have the charol covered balloons (filled with holli powder) go through a 'maze' or mechanism, leave marks and pop over a white tshirt.

As a team we split the items we needed to bring, I bought the waterballoons and 2 white t-shirts.
This Idea didnt stick as we found we couldnt fill the Waterballoons with holi powder and pop it easily. new Idea
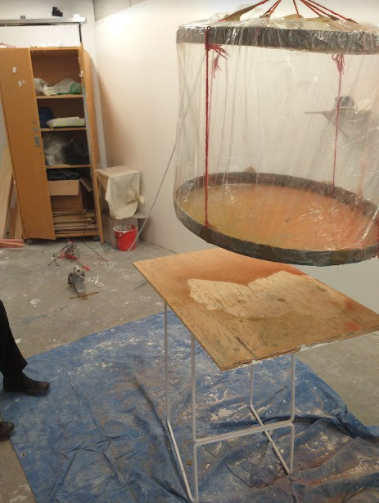
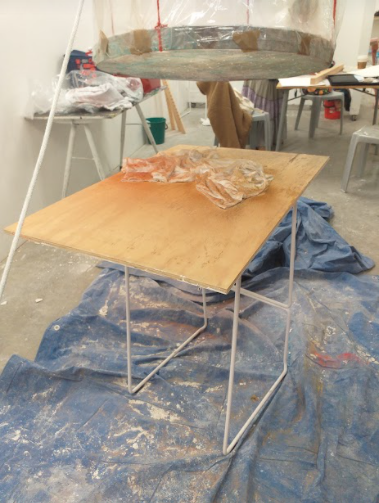
We decided to cut the balloon idea and have two rings/ sieves, first one has holes on the side with powder in the middle, second is just to dipurst the powder as it falls, the rings are connected to a drum kick with string to push and pull which creates the movment.
Collectively as a team we wieved rope together to create stength to hold the wieght of everything.
On the last day we glued plastic onto the barrel ring and tied the two together, ready for next week.
The artist that I was inspired by is Teamlab Borderless, Japan. I had the privlage of visiting this great exibit, and was so inpired by their work with light and interaction.
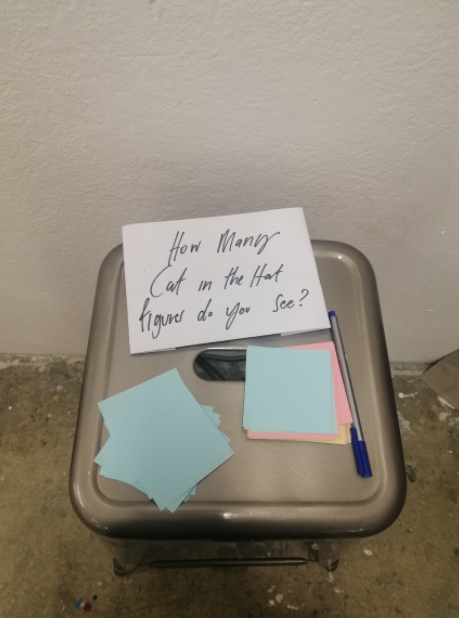
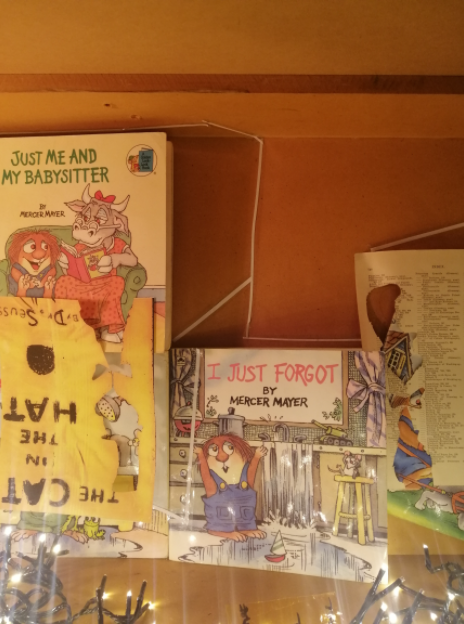
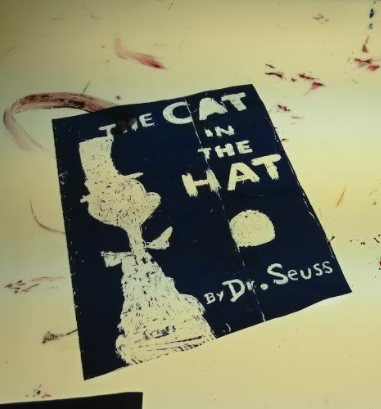
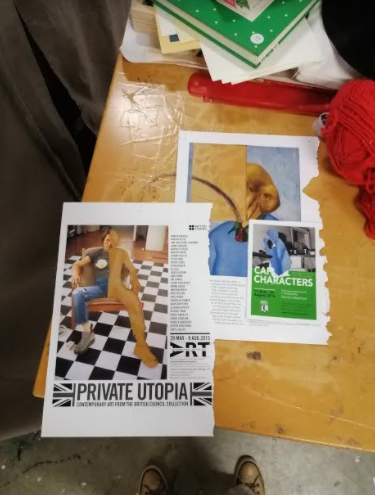
Art by pace Gallery, Martin Browne contemporary and Ikkan art international gave me the idea to make my art peice interactable, to tie in that childhood dream I wanted to include a game, ‘how many Cat in the Hat’s do you see?’
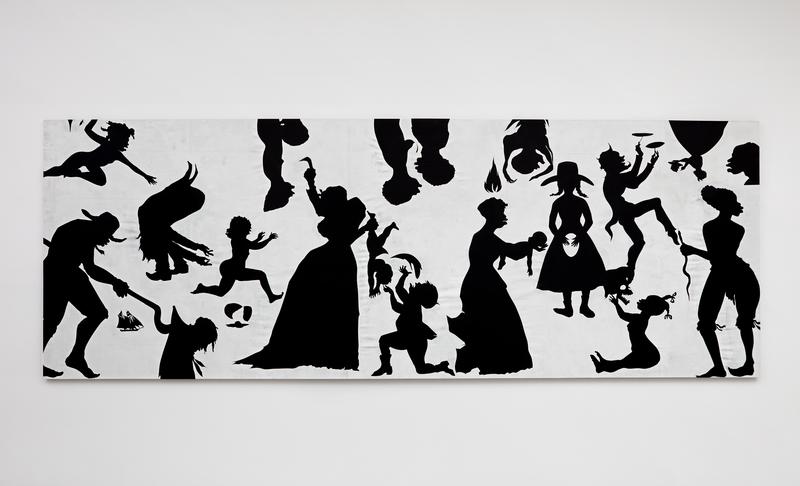
Kara Walker, creating depictions of slavery in a cartoonish silhouette, which gave me the idea to cut out ‘Cat in the Hat’ so its a negative space of what was there before.
Instead of it being the main subject I wanted to ‘hide’ them and turn it into a game to fit the childhood theme.
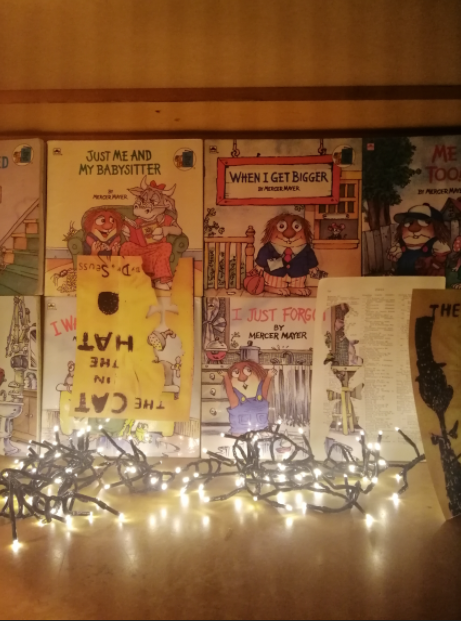
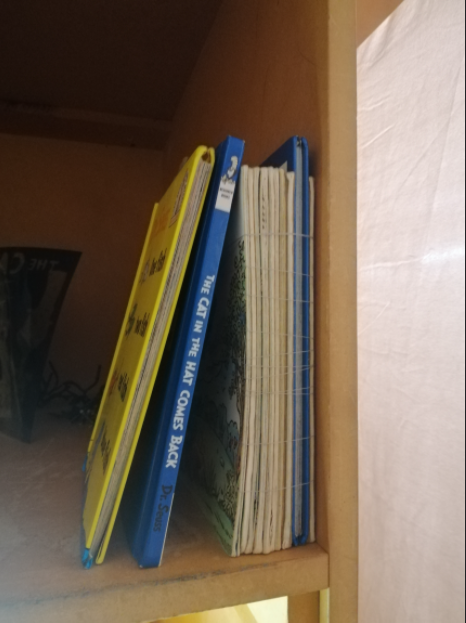
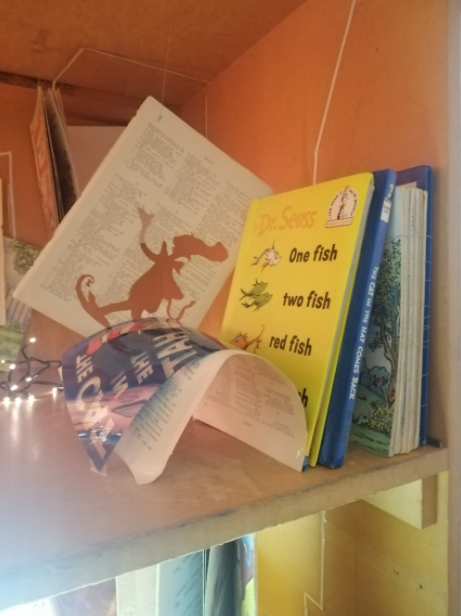
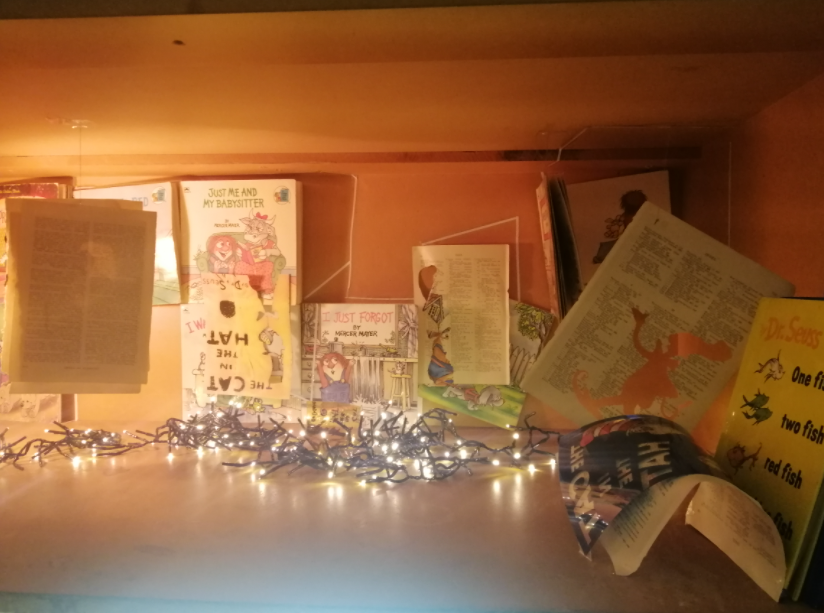
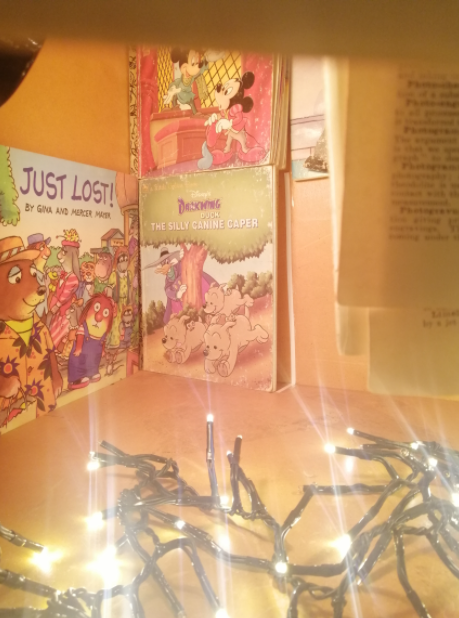
The original interior i used childhood books as wall paper, when i should be looking at them as objects
Ive had some people play the game, its trickier then people think. there are 18, people can only find 8-16
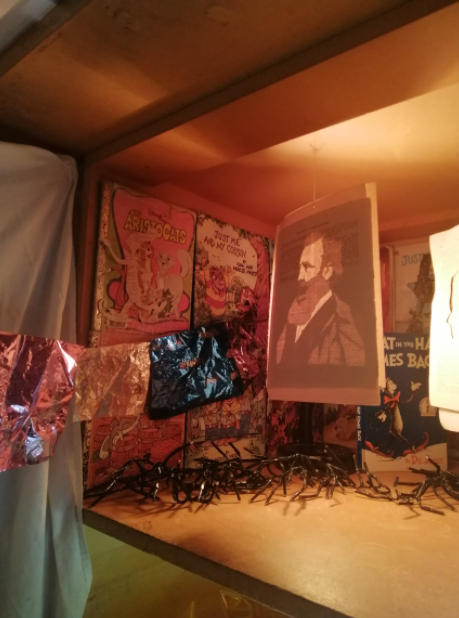
I changed the inside, taking the advice of my teacher I treated them as objects, using them to create shadows and revealing, instead of just a cover up.
Simplifying my area. (above) Outlining shadows which relates to my theme, light and shadow. (below)
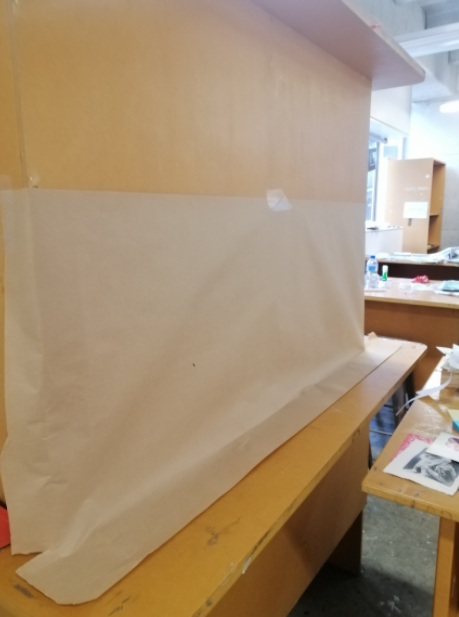
Outside: sheet is used to tie in the nostalgia and cover up the desks.
Im happy about how this turned out, everytime someone comes in they are gasping, and reminded of their childhood which was the overall goal. If I could change anything it would be to make more of the layering art works and create much more complex layeing, possibly with no border.
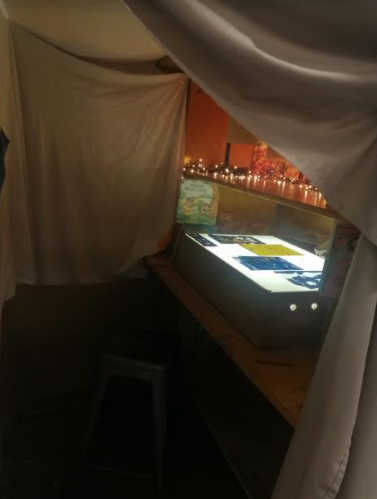
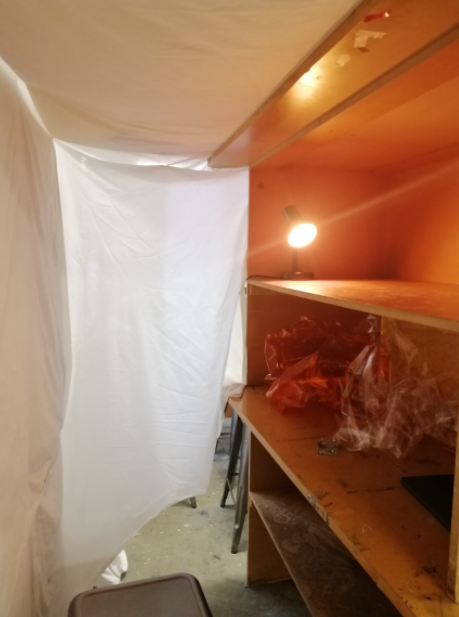
My most productive week! I knew if I wanted to build on the idea of light I needed a fixed area which I can create strong light and strong shadows, that means creating a closed off space from the classroom lights.
I decided to stack 2 tables ontop of eachother to add height, block everything off and create and enclosed space.
Adding a lamp, and bits of material from my house im able to create colour, shape, shadow and light.
This gave me a space to work with, generaly a goal to fill it out. With this I shifted to the idea of nostalgia or childhood (which works with Light), its a very memorable thing to build a fort, when you walk in it feels cozy, and nostalgic.
Adding light with my christmass tree lights, and a huge light box. gives me a huge nostalgic feeling, this is basicly my dream as a kid to be able to play like this freely with light and art.
Learnt alot of Book binding techniques, really liked the reflective surface of the ribbon/plastic, and the process behind it. tying into the theme of light I was inspired by it. In the end I came up with the Idea which would further my layering process.
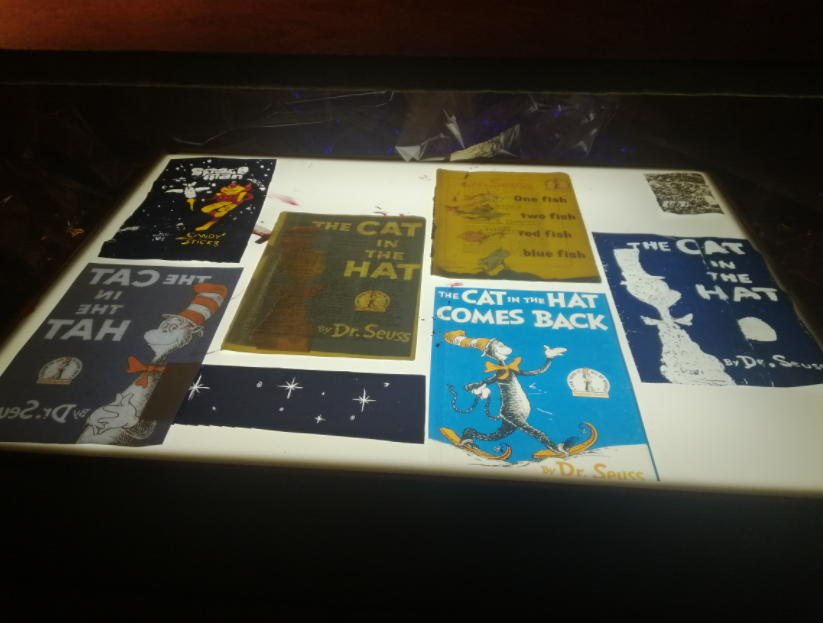
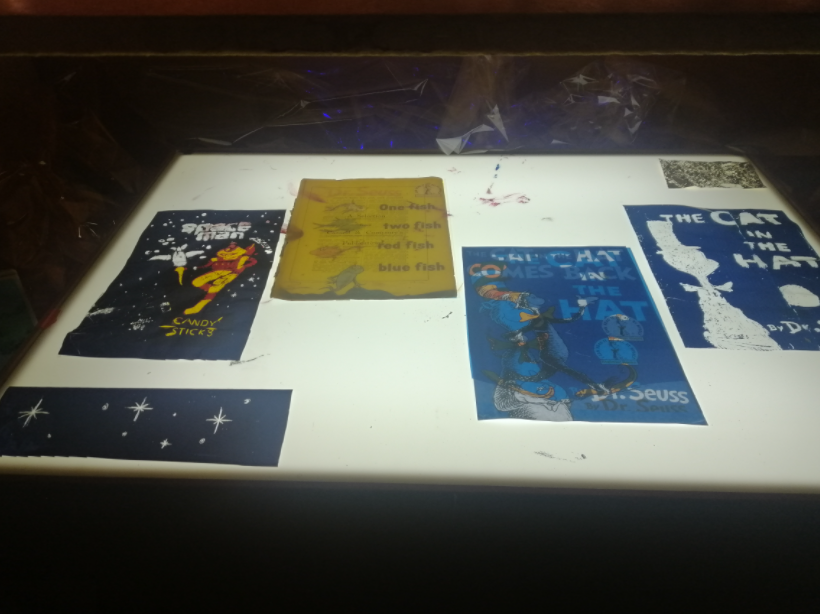
Started with layering colours and reflective surfaces I wanted to use something that is easily thrown away as one of my main peices. Tying in the idea of nostalgia I used the lollies ” Space Man” a purely nostalgic Candy due to it being basicly discontinued or hard to find. Every kid in New Zealand remembers ‘smoking’ a ‘cigarette’ and I wanted that memory to show again.
Further experimenting with negative space I took the Cat in the Hat book for the Nostalgia and took out the lettering and figure to only reveal the empty background. Using the reflective book binding material, I scratched off the layer of colour to reveal a clear plastic.
Two of the main and most obvious artists I could reference to is Spaceman Candy (couldnt find the original artist) and Dr. Seuss. these nostalgic peices are definitely going to be in the final work, most likeluy being my main peice.
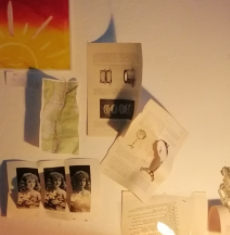
Inspired by week 1 I decided to take it in the direction of negative spaces, to cut out photos in ways that make the audience understand/ imagine whats missing.
(Left) all my art works in which I developed the idea of negative space, (right) I cut out a photo only realising the photo behind is more interesting (portrait of lady)
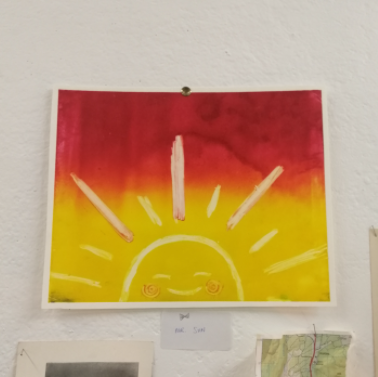
As a class we learnt how to do print making, I enjoyed the process, it was fun to mess around and wonder what the end result is going to be, I made a Sun to tie in that Light theme, but ultimately did not want to push this type of media further.
Pushing the light idea further I wanted to create portraits with layering cut out figures so you can only see the full picture under a light, this is definitely the direction I want to go with and I know I can generate more ideas from this method. Its not a difficult process, it inspired me so much, building ideas of what or who should I create. (Inspired by Amy Maricle)
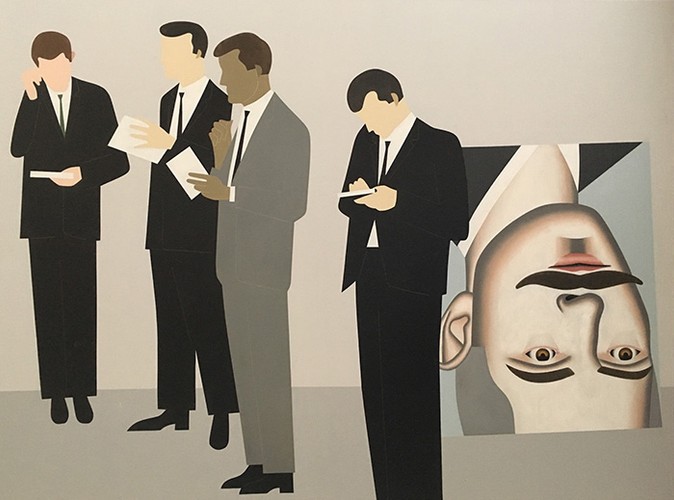
An artist inspiration that I can relate to is Gavin Hurley the harsh tone in the face can relate to the layeing of my portraits.
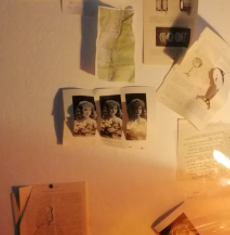
First day of palimpsest, Once I finaly start playing around with materials in class I really loved the idea of light being my media, using layers, light and shadow I wanted to create depth without a brush.
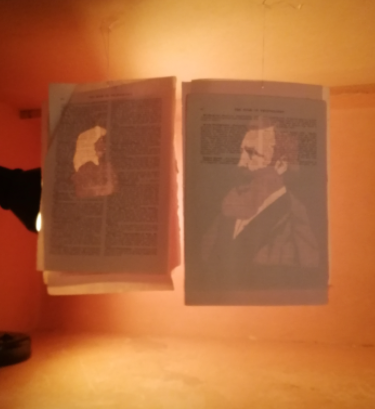
Started with not fully cutting out an object from a photography book.
From this I generated the idea of shadow and light using cutting, revealing and subtraction.
Using other objects I was able to play with that idea further creating shadow with twists, folding and cutting out.
Using this photo I was able to create shadow which related to the lighting in the photo itself.
Overall I liked the idea of adding depth to 2D paper objects, The map has slight creases to add shadow (inspired by Riyo Nemeth)
Riyo Nemeth
The only recomended artist I was inspired by (I feel the other artists that were recomended wernt going in the direction I wanted to go; She adds depth with gradient, giving that light and shadow effect, which gave me the idea of how I can manipulate light and shadow myself.
Fabrizio Corneli
During my reaserch I came across this artist who uses concentrated light to show the shadow effect, almost revealing his art. I love this idea, i want to base my whole project of reveal through light.
Amy Maricle
I want to get into layering paper, revealing a picture with light, I didnt have the time to create this idea, Its one of my top priorities for nextweek.