Bibliography

(likely not all sources used, gathered most)

Remove ( ) in the 1st link when copying and searching up, as it is unable to be pasted in original format on this site

  1. (https://www.artnews.com)/art-news/artists/the-shape-shifter-how-lynda-benglis-left-the-bayou-and-messed-with-the-establishment-5897/
  2. https://www.nga.gov/collection/artist-info.6935.html
  3. https://art21.org/artist/lynda-benglis/
  4. https://artreview.com/lynda-benglis-the-erotics-of-artmaking/

https://www.luhringaugustine.com/artists/rachel-whiteread#tab:thumbnails
https://gagosian.com/artists/rachel-whiteread/
https://www.tate.org.uk/kids/explore/who-is/who-rachel-whiteread#:~:text=Whiteread%20has%20been%20inspired%20by,living%20room%2C%20kitchen%20or%20bedroom.
https://hammer.ucla.edu/exhibitions/2010/rachel-whiteread-drawings

https://www.theguardian.com/artanddesign/2017/mar/05/tony-cragg-sculpture-interview-rare-category-objects

Carleton Watkins. (2022, August 27). In Wikipedia. https://en.wikipedia.org/wiki/Carleton_WatkinsCopy
SAAM Carleton Watkins – https://americanart.si.edu/artist/carleton-e-watkins-5251
Mammoth plate. (2022, May 8). In Wikipedia. https://en.wikipedia.org/wiki/Mammoth_plate

1Auckland Art Gallery’s Senior Curator of Global Contemporary Art, Natasha Conland.   https://architecturenow.co.nz/articles/walls-to-live-beside-rooms-to-own/

2. Gallery Catalogue –

‘ Fiona Connor Walls #1-6 and #8 (Featuring Rob Gardiner), 2022’

3.“Fiona Connor – 6 Artworks, Bio & Shows on Artsy.” n.d. Www.artsy.net. https://www.artsy.net/artist/fiona-connor.

  1. https://www.smartinsights.com/social-media-marketing/social-media-strategy/new-global-social-media-research/ 
  2. https://www.forbes.com/sites/forbesagencycouncil/2021/05/17/gen-z-and-the-rise-of-social-commerce/?sh=3f728fc4251d 
  3. https://morningconsult.com/2021/07/08/gen-z-critical-race-theory-polling/ 
  4. https://www.pewresearch.org/social-trends/2019/01/17/generation-z-looks-a-lot-like-millennials-on-key-social-and-political-issues/ 
  5. https://www.theguardian.com/fashion/2021/oct/06/out-of-style-will-gen-z-ever-give-up-its-dangerous-love-of-fast-fashion 
  6. https://publications.parliament.uk/pa/cm201719/cmselect/cmenvaud/1952/report-summary.html 
  7. https://journals.sagepub.com/doi/full/10.1177/01634437211053766 
  1. https://watchargo.com/what-is-the-female-gaze-in-film/ 
  2. https://www.theatlantic.com/entertainment/archive/2018/08/female-gaze-lincoln-center-series-women-cinematographers/566612/ 
  3. https://www.oxfordstudent.com/2021/03/11/aesthetics-in-film-the-female-gaze/ 
  4. https://bearingnews.org/334433/opinion/the-female-gaze-counteracts-existing-standards-in-cinema/ 
  5. https://www.theatlantic.com/entertainment/archive/2011/06/transformers-3-sour-sexist-and-salivary/241305/ 
  1. https://www.britannica.com/topic/epistemology
  2. https://www.techtarget.com/whatis/definition/empiricism 
  3. https://www.skylinehawaii.com/blog/the-meaning-of-aloha 
  4. https://www.thesaurus.com/browse/aloha  
  5. https://www.verywellmind.com/what-is-triangulation-in-psychology-5120617#:~:text=Triangulation%2C%20a%20form%20of%20manipulation,be%20the%20most%20well%2Dknown
  6. https://www.sheffield.ac.uk/philosophy/research/themes/epistemology#:~:text=Epistemology%20is%20the%20theory%20of,when%20do%20we%20know%20things%3F 
  7. https://www.britannica.com/topic/epistemology 
  8. https://www.robertshawaii.com/blog/spirit-behind-aloha/#:~:text=The%20term%20aloha%20derives%20from,’ 
  9. https://www.sciencedirect.com/topics/social-sciences/triangulation#:~:text=Triangulation%20is%20a%20term%20that,a%20location%20on%20a%20map
  10. https://www.healthline.com/health/narcissistic-triangulation 
  11. https://www.merriam-webster.com/dictionary/indigenous#:~:text=Indigenous%20derives%20from%20the%20Latin,meaning%20%22to%20beget%22). 
https://www.etymonline.com/word/consciousness

P44: Sculpture, Final Layout & Reflection

Overall I have enjoyed taking Photography. At first, I was unsure about it, as I was having trouble starting with the pinhole cameras. But as I kept on testing and experimenting with my camera good results finally started showing and it went up from there. Halfway through photography, I made a brainstorm about areas I wanted to explore, one of them being digital photography as I have my own camera.

However, during this class, I became so immersed in analog photography I just didn’t have time and was too busy exploring many new processes. Taking Photography has taught me many new techniques and photography practices, which I am very grateful for. R

eflecting on my initial thoughts about the course, I didn’t expect it to be so analog-heavy, however, I like that it was that way because I knew nothing about analog photography before going into this class. Being able to have the flexibility to stretch the concept of photography into whatever definition I desire was so fun and ended up leading me towards fabric, which I’d never normally get into! If I did photography again, I’d probably do everything the same… but maybe print my prints a bit smaller…unsure.

Till next time,

SR

P43: Artist Research: Carleton E. Watkins

Carleton E. Watkins (1829-1916)

A pioneer of 19th-century Western landscape photography, Carleton E. Watkins spent most of his life looking at the world through the lens of his camera. He had a preference for landcape photography and especially favoured photographing Yosemite. His work had a profound imact on the American people and his documentation and passion in preserving nature and had a part to play in the start of American Enviromentalism(1). His work actually helped push important enviromentalist ideals and influenced President Lincoln to sign in 1864 banning development in the valley, which led to the establishment of the national-parks system(2).

Cathedral Rocks, 2600 feet, Yosemite Valley, Mariposa County, Cal, by Watkins
Section of the Grizzly Giant, looking up, Mariposa Grove, Mariposa County, Cal, by Watkins

I love the way he composed his shots and how although the places he shot are untouched by humans, he places the camera in a way which allows for the light to spill through nicely, while also capturing impressive detail

Watkins often built his own custom cameras and was the first person to use a ‘mammoth plate’, which is a photographic plate that is usually 18 x 21 inches, but may vary in size from 15 by 18 inches to 22 by 25 inches(3). The photo above was used with a mammoth plate.

Although I don’t plan to do large scale landscape photography like Watkins, I still found the research on him very helpul while also being extremely inspiring. This was because I felt that his work highlighted the firm place photography has in creating change and capturing moments. It reminded me that this ‘capturing of moments’ has the ability to inspire and enourage change onwards (such was the case with the American laws made in the Lincoln era).

Till next time,

SR

Sources:

  1. Carleton Watkins. (2022, August 27). In Wikipedia. https://en.wikipedia.org/wiki/Carleton_WatkinsCopy
  2. SAAM Carleton Watkins – https://americanart.si.edu/artist/carleton-e-watkins-5251
  3. Mammoth plate. (2022, May 8). In Wikipedia. https://en.wikipedia.org/wiki/Mammoth_plate

P40: Cyanotypes Lesson #2

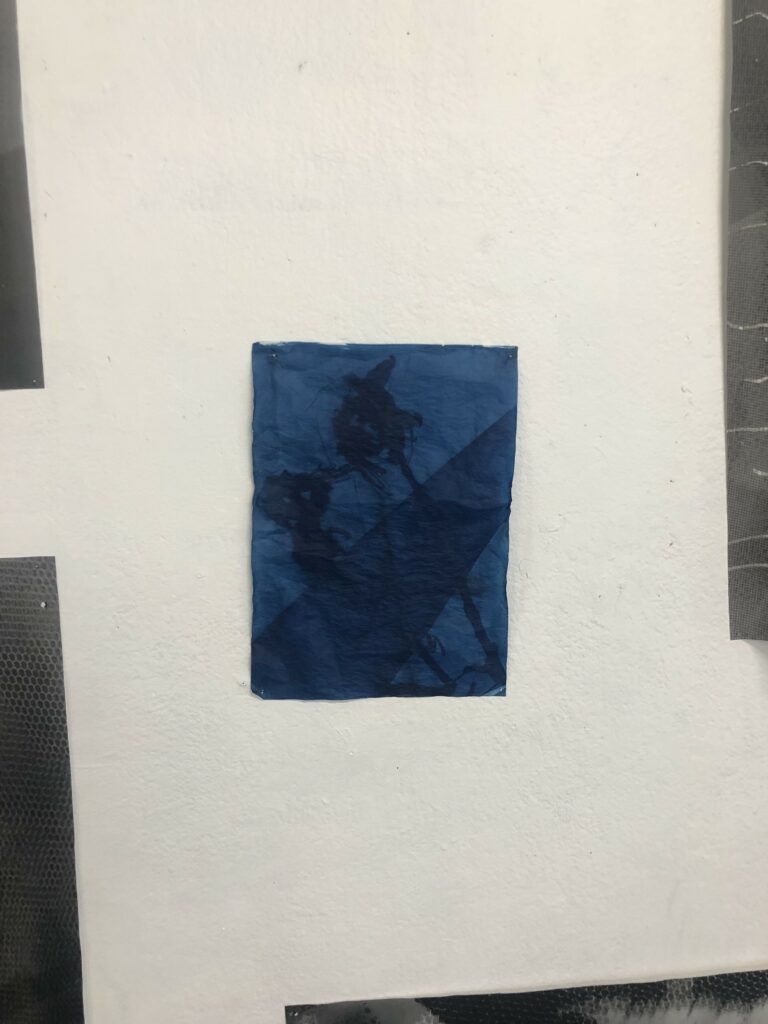
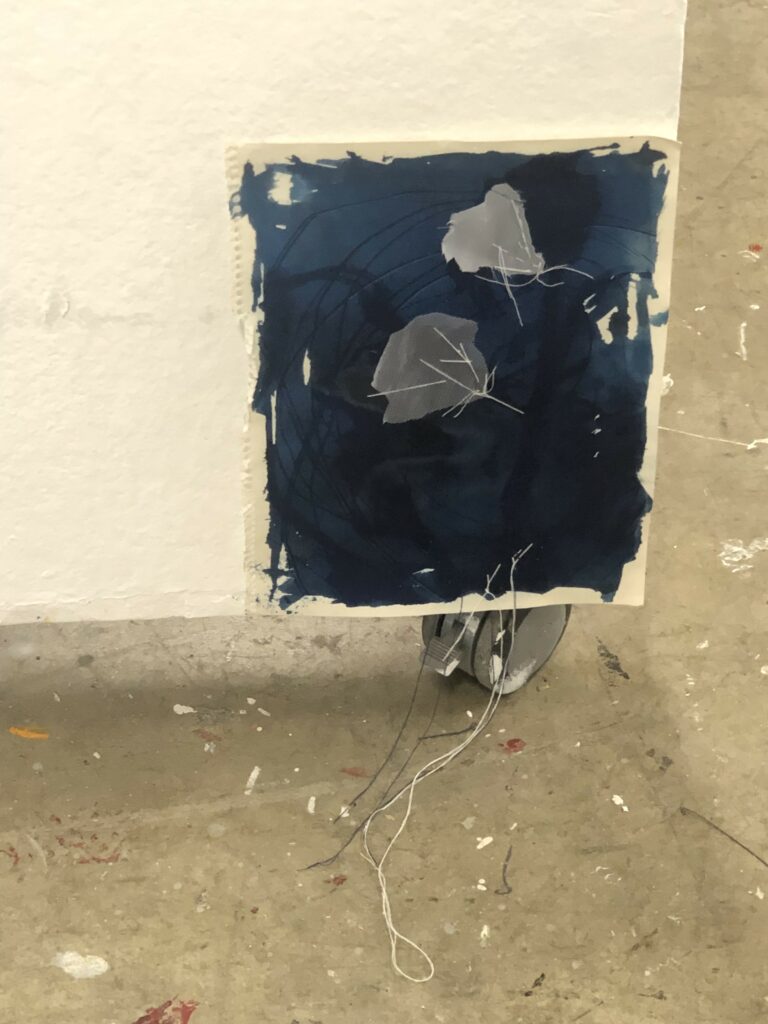
On Tuesday I was finally able to get amongst the cyanotype printing and left the session with two pieces that I’m quite happy with. I found craete cyanotyope prints was much easier than I thought, mostly due to the shortage of time in the process as there is a machine which can expose the images quickly. This means (similarly to many of the videos I watched about cyanotypes), I didn’t have to leave my canotypes in the sun to become exposed, which can be time-consuming and tempremental due to changing weather patterns and obstacles etc.

Part of cyanotype print process: Removing excess chemicals in a water bath.
Cyanotype on tissue paper

Cyanotype on sketchbook paper, sewn fabric and mesh.

I decided to sew pieces of fabric which I had also used for my photograms onto my cyanotype. I sew pieces of string and let them hang off the canvas, mimicking roots. White was chosen as it would best stand out from the blue and blue was used as well so the roots would continue to stand out on the white wall.

(close-up)

I found with these first attempts that there was not much variation in tone compared to examples I had seen. I left my pieces in the bath for just over 10 minutes as recommended, however my pieces had little lighter areas. Although, you can see some white-ish areas lining the scratches in my second piece, highlighted in the close up above.

I believe that the outcome was like this due to my decision to use old pre painted cyanotype papers, which apparently often create more experimental outcomes and may need longer water bath submersion depending on amount of chemical painted, material used and length of time left to dry.

Till next time,

SR

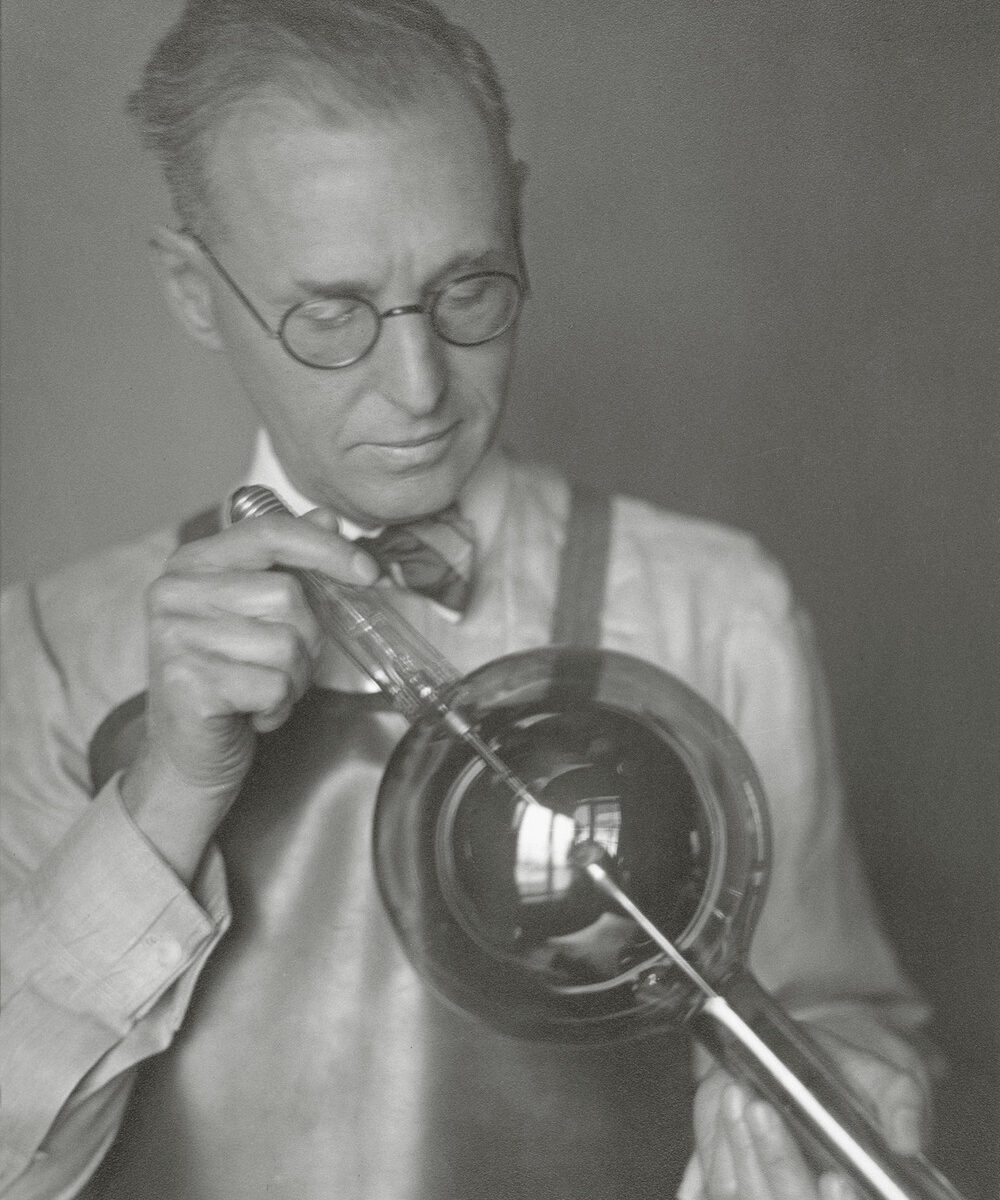
P38: Artist Research: Dr Dain L. Tasker

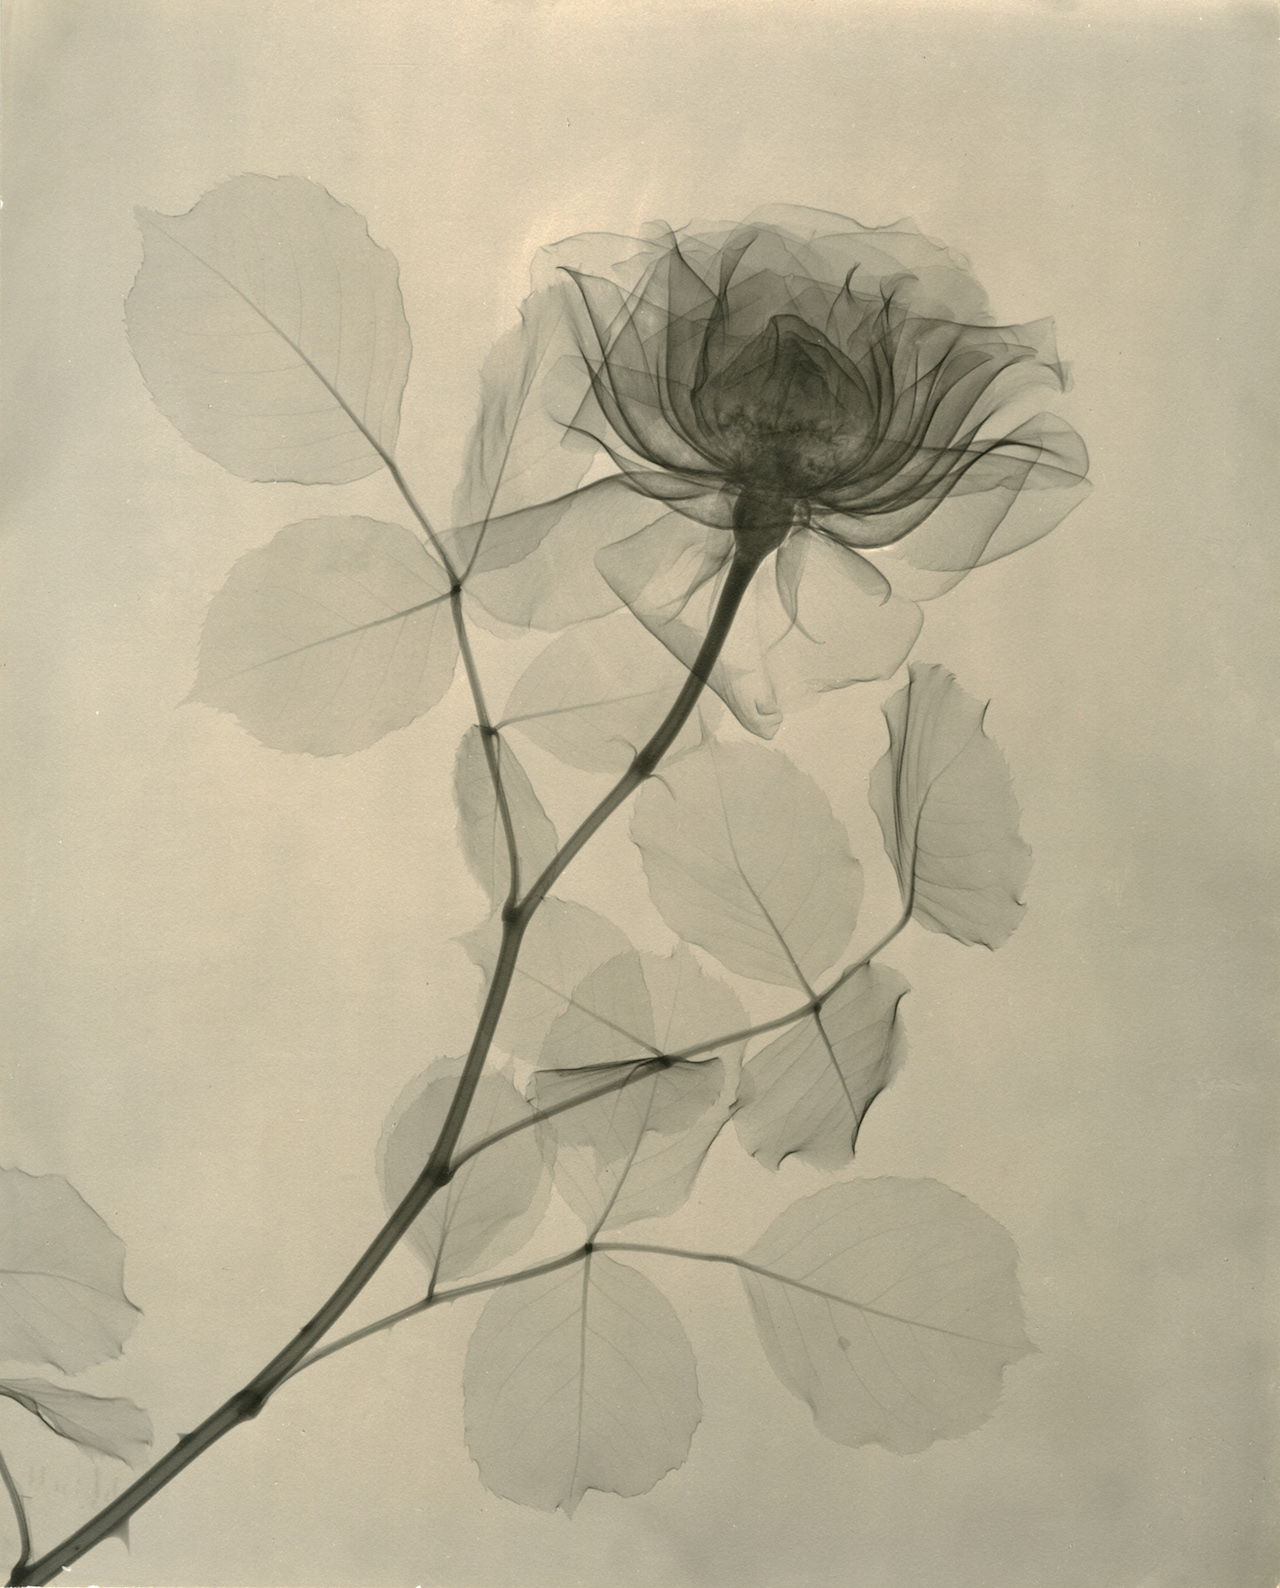
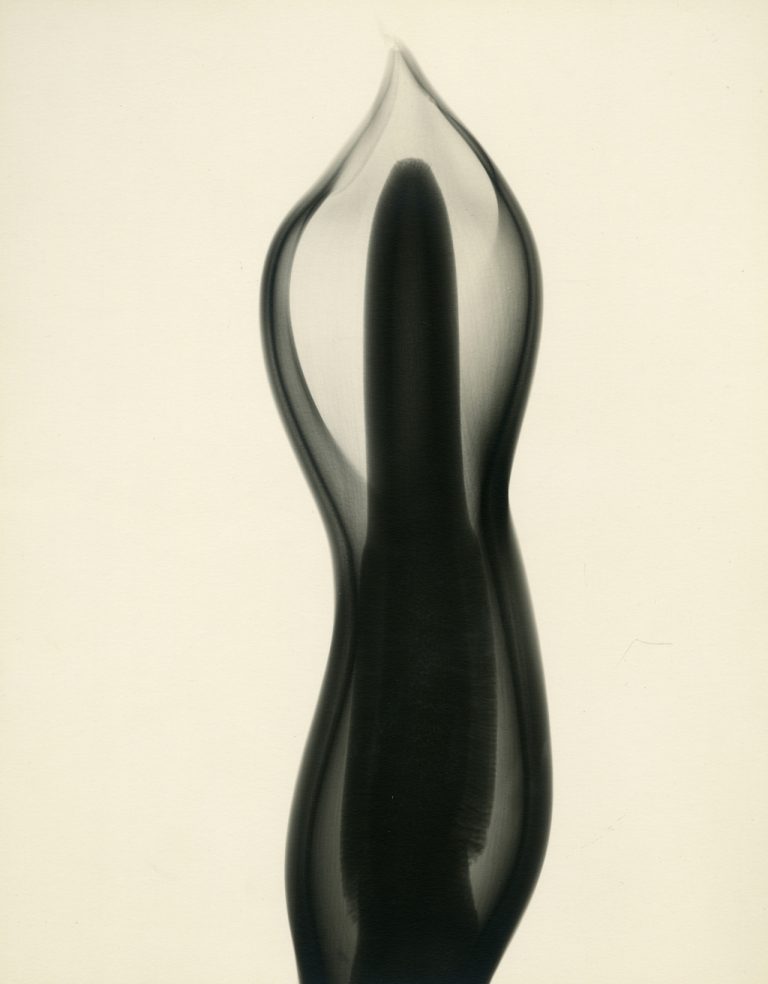
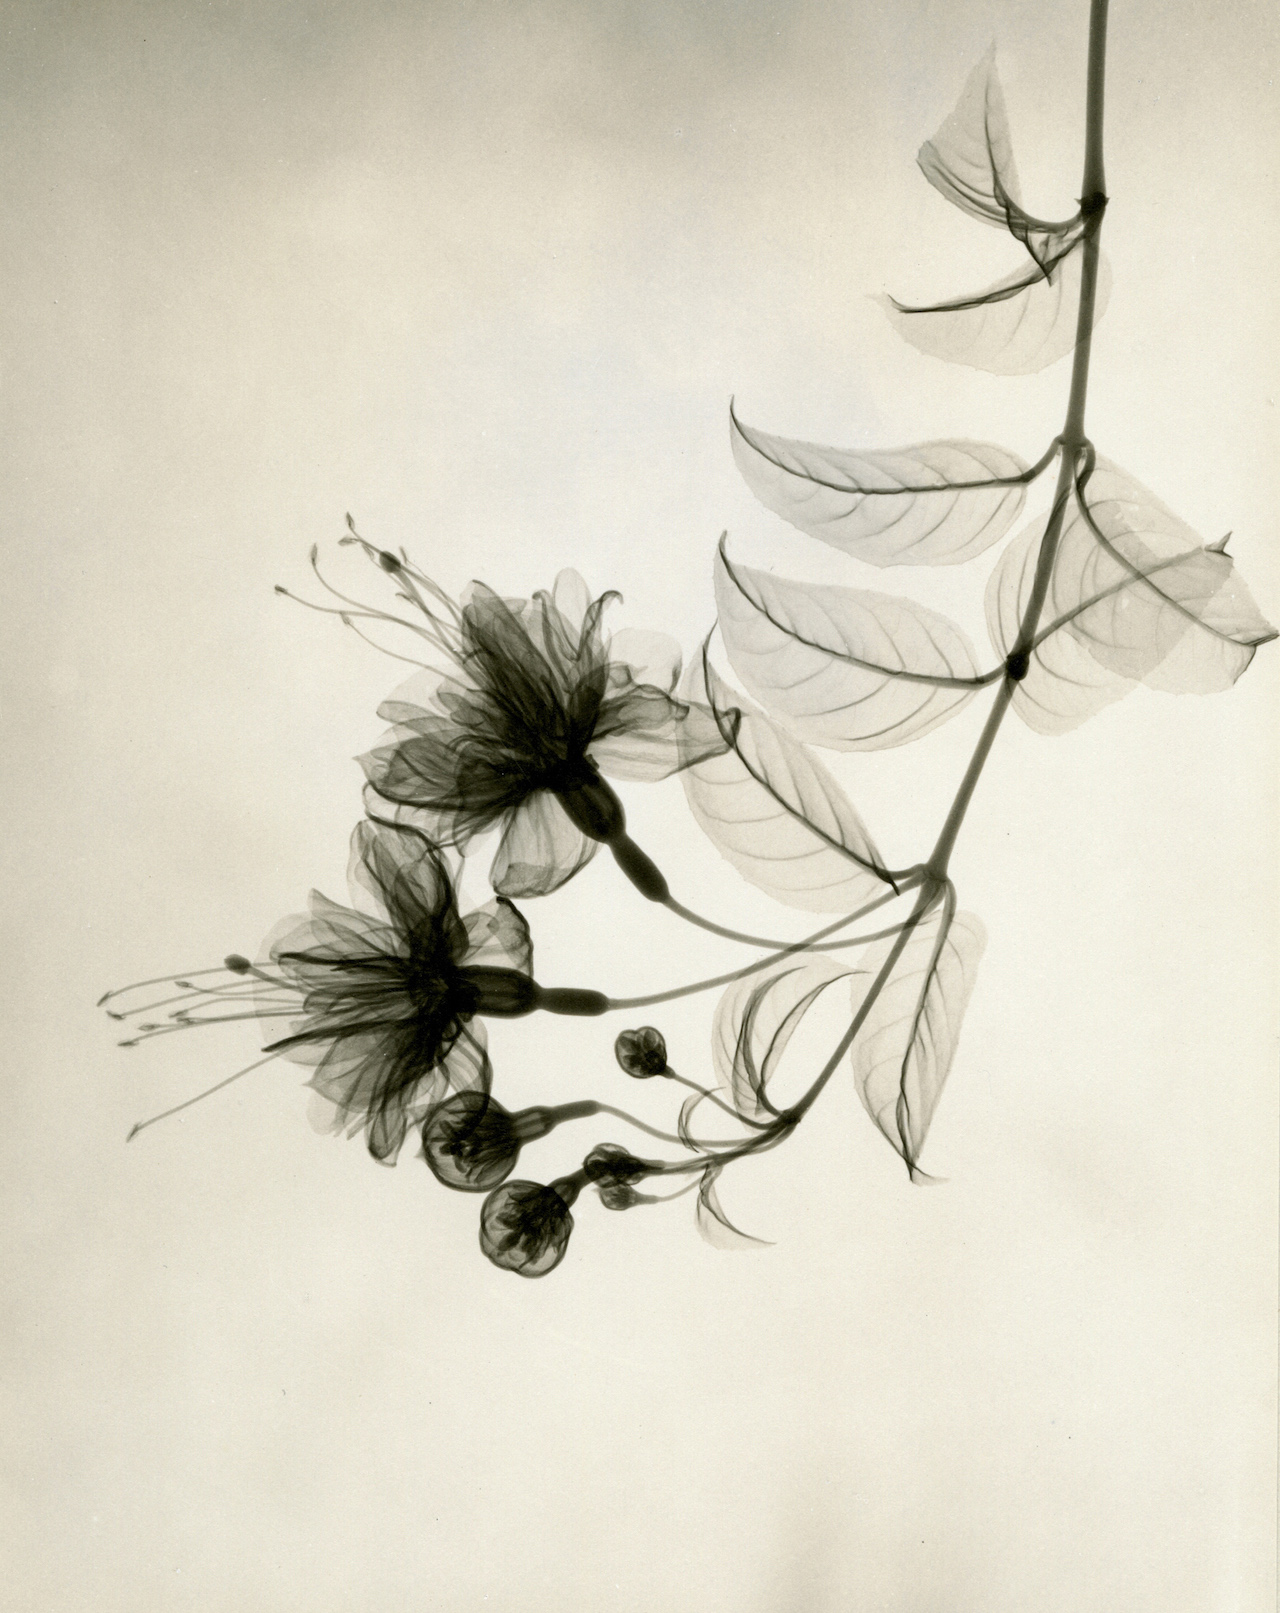
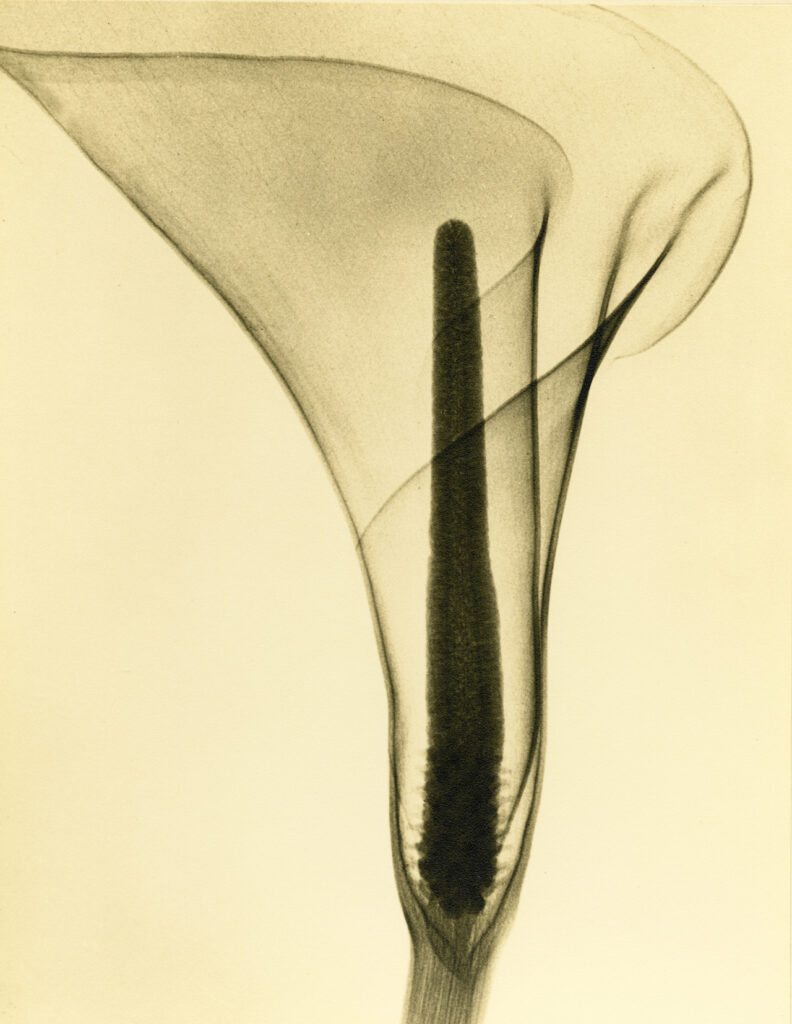
While doing photography for my second major this year, I came upon Dr Dain L. Tasker’s work. I was intrigued by the effect of his use of an x-ray machine (1) in many of his photos exhibited.

I like the scientific clinical look of his natural works. I’ve also never heard of the use of an x-ray for art purposes. Tasker’s work with plants using the x-ray gives skeletal connotations and makes me inspired to consider the composition of fauna and flora in an anatomical way.

I also like how the x ray allows for the viewer to see the varying degrees of opacity within the objects form and the detail which it captures. I Hope to capture such detail in my work.

Till next time,

SR

Sources referenced:

  1. Article, Hyperallergic

P37: Cyanotypes Lesson #1

Due to being sick, I could not attend my groups first cyanotype tutorial lesson so I searched up ‘cyanotype tutorials’ online and watched many helpful guides explaining this process which is new to me.

I have added below a few of the videos I watched which inspired me the most and found particularly useful. I hope they are also useful to anyone who also missed the tutorial or who would appreciate further guidance regarding cyanotypes 🙂

  1. ‘Cyanotype prints for Beginners’:

I found this to be a great starting point for anyone considering experimenting with cyanotype prints for the first time. (This tutorial uses paper which is pre-coated with the chemicals needed to create a cyanotype, which allows for a cleaner process.)

2. ‘Cyanotype Advanced’:

This tutorial, unlike the one above, works by mixing and painting with the chemicals needed to create a cyanotype print (ferric ammonium citrate or ferric ammonium oxalate, and potassium ferricyanide).

3. ‘Layered Wet Cyanotype’:

I found this video particularly interesting as, as the title suggests, Stephen (the video creator) creates a layered effect to his print by using multiple sheets of acetate and in his case, pressing leaves under each of them. On the base layer he uses dish soap and vinegar, which I believe helps create a more ‘misty’ look. After researching the matter, I found that using vinegar, an acidic liquid brings out significantly more midtone detail from my negatives, and provides a satisfying print in about half the exposure time water development requires. Water development, in comparison, provides a deeper shade of blue and higher contrast images, but requires longer exposure times(1).

4. Cyanotype Printmaking

In this video I learnt about the connection between blueprints and cyanotypes and how you can draw on transparent sheets and use them to create detailed cyanotype prints.

5. ‘Fabric DIY Cyanotype’;

I was very intrigued by this video as it allowed me to further expand my ideas around what I can achieve with cyanotype print processes. After playing with using fabric in my photograms I will definitley use fabric with this process

6. More detailed cyanotype print tutorial:

Can’t wait to get amongst this new process!

Till next time,

SR

Bibliography:

  1. https://www.alternativephotography.com/vinegar-developed-cyanotypes-non-toxic-midtone-contrast-control/

P36. Photograms

The next photographing method we experimented with was photograms, which are achieved by placing items, mostly plants in our case, on photosensitive paper and then exposing the paper to a set level and length of exposure. This method holds the same core principles as pinhole photography.

My first photogram test (10 sec)

(After the picture was taken I took some of the left side off for better composition)

Having recognised the simplicity of the process through seeing the outcome of my first attempt, I went ahead to play more with this exciting art form.

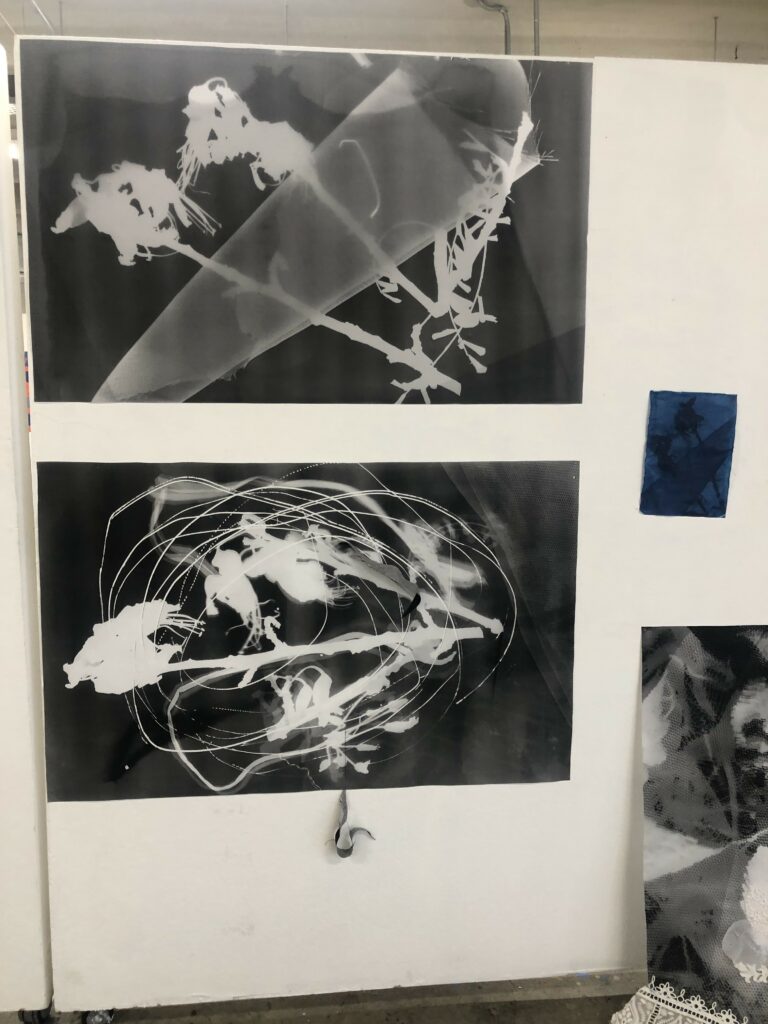
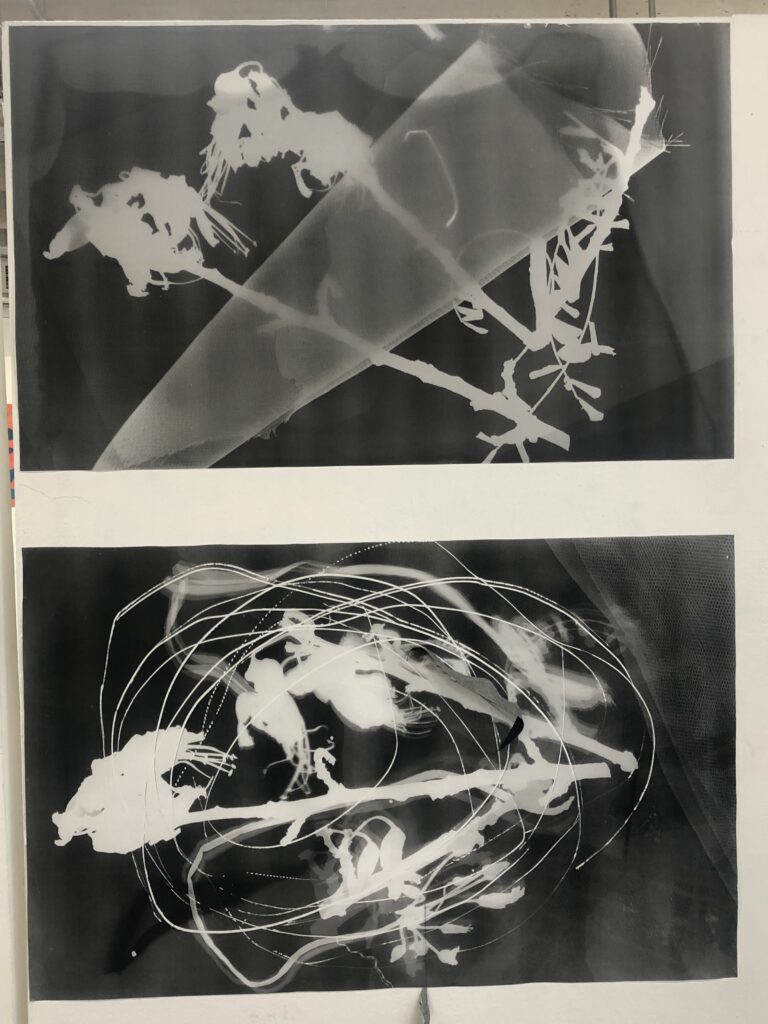
I started to think in greater depth planning composition and undergoing experiments in the dark room, eager to see how the setting of the harshness of the light exposure and the length of it affected the image and different subjects/objects [plants in this situation].

Increased awareness of the composition of objects in my first full-size photogram (20sec)
Photogram Experiment with kowhai flower (10sec, 20sec, 30sec, 40sec)

Mid-journey visit home I came across some weeds and thought they might come in use, so I put them in my bag and let them tumble around for the day, letting them dry out a bit.

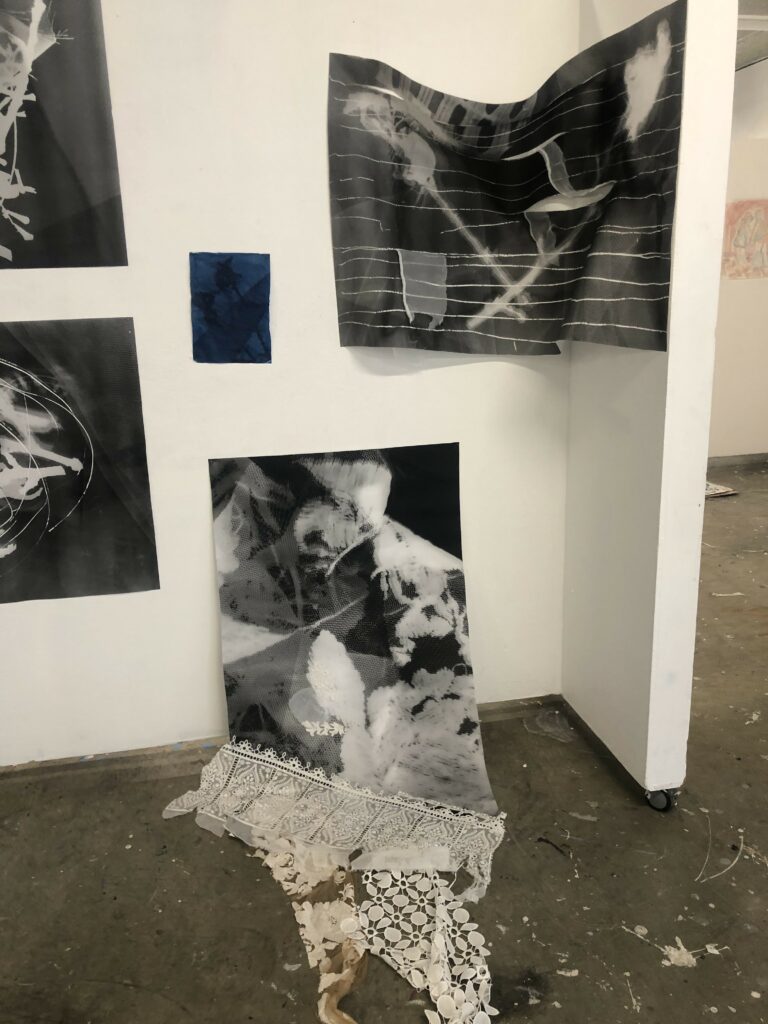
Around about here in my progress in photography, I had my 1 on 1 talk with Dieneke. We discussed my works and she encouraged me to explore further my interest in adding textures, found materials and three-dimensional elements to my work. This included the consideration of fabrics and sewing things, including the physical photos, together. She also reminded me of the importance of scanning my work, which I have now done with the studio scanner. In future, I plan to use a higher-quality scanner.

Mindmapping what kind of ideas I wanted to explore while doing photography, I thought about messing around with differing transparencies and being inspired by a classmate’s use of ‘double exposure’.

For reference, here’s my list of potential future photography endeavours:

  • Double Exposure (Photograms)
  • Cyanotypes, especially on fabrics
  • Multiple-holed pinhole cameras
  • Playing around with digital cameras
  • Scanning images for cyanotypes
  • Colour!
  • Looking into this type of ‘x ray’ look – https://hyperallergic.com/269028/a-radiologists-x-ray-photographs-of-flowers-from-the-1930s/ + looking into photographer Dr. Dain L. Tasker in particular
  • “Ombre chemical Exposure?”Playing around
  • Consider composition deeper (ie. symmetry, mirror effect or mid-movement flat lay photograms?)
  • Screen printing

In addition, here’s a list of potential ideas and themes I may pursuit in photography:

  • Royalty, royal crests
  • Family crests, the symmetry
  • Composing native plants in a way which mimics royal crests. Timely show of arms, a protest against the negative impact of colonisation by GB towards Aotearoa, New Zealand. A call to taking back our heritage, our own unique culture taking on the patterns of GB royal colonial crests
  • Displaying nature in a research/scientific way – anatomical almost
  • Placement of nature/plants in a way that looks like it’s in/mid-movement

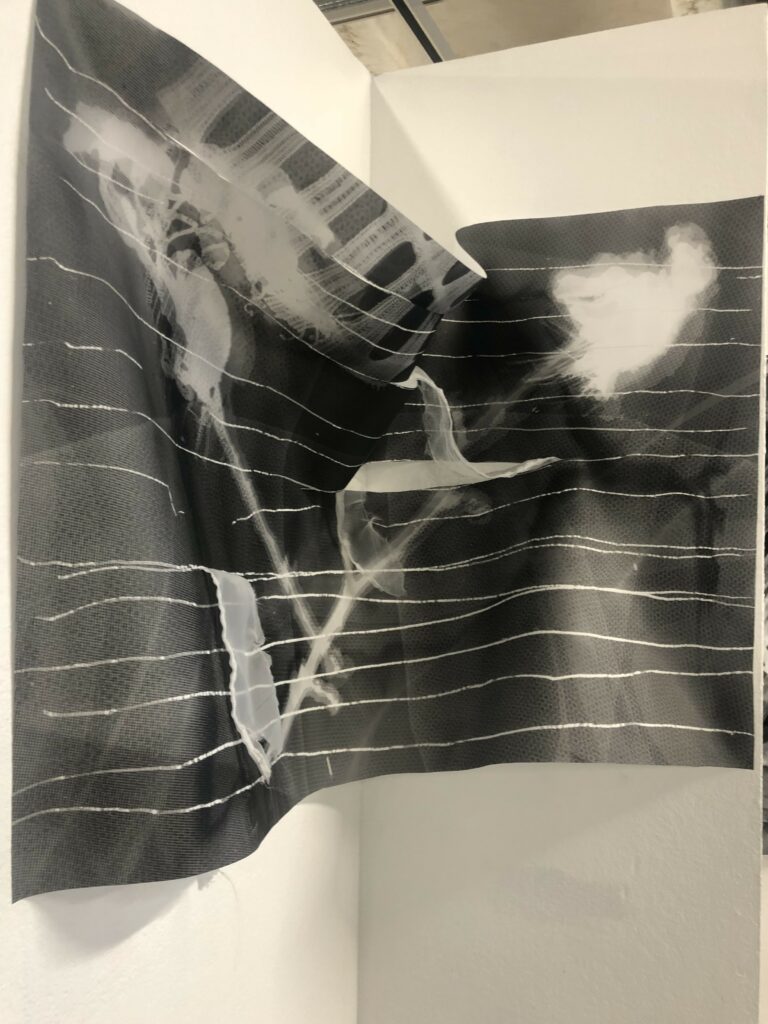
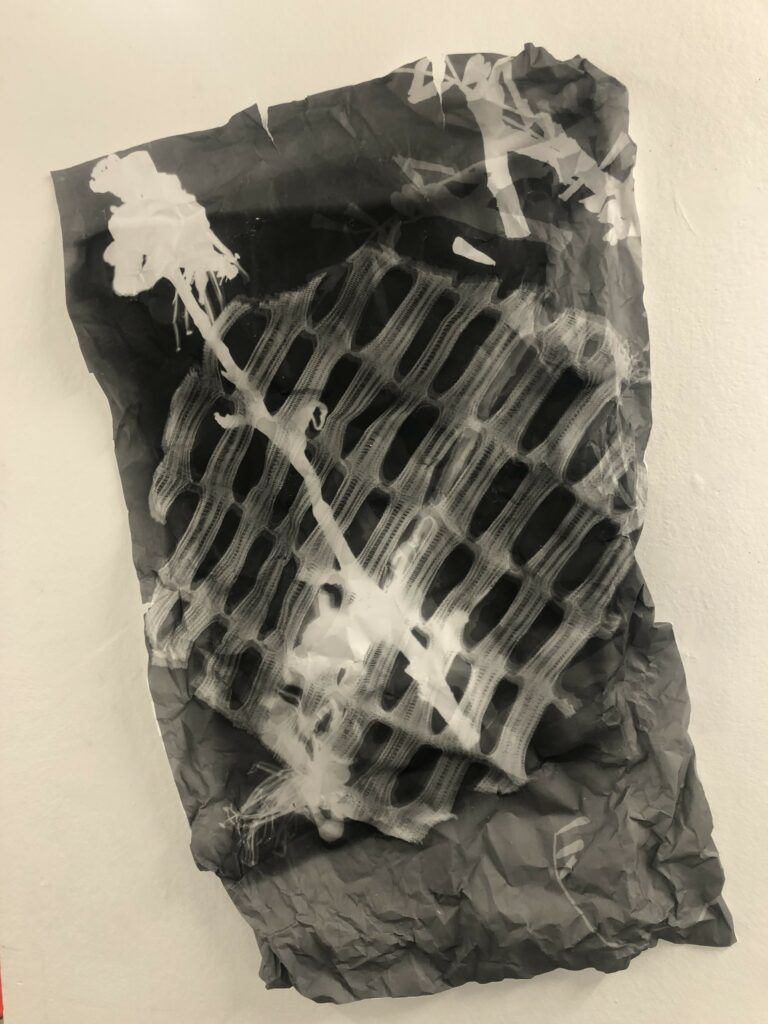
Recently I went to the AUT fashion department and scavenged their scrap bins for material I could play with in the continuation of my experiments with photograms. Below are some of the outcomes of that experimentation:

(will likely include plants, fabric and multiple exposures)

I love how this piece looks like the flowers are lmost bleached into the material.
As you’d assume, this photo was exposed many times (likely varying around 4 sec each time)
Reminds me of vintage wallpaper.

These last two were left in the water bath for probably an excessive amount of time, however, due to cross-contamination of chemicals left a unique colouring which I find beautiful.

Skeletal Bouquet

I am fond of the three dimensional aspect this photo has.

Deconstructed dimensions

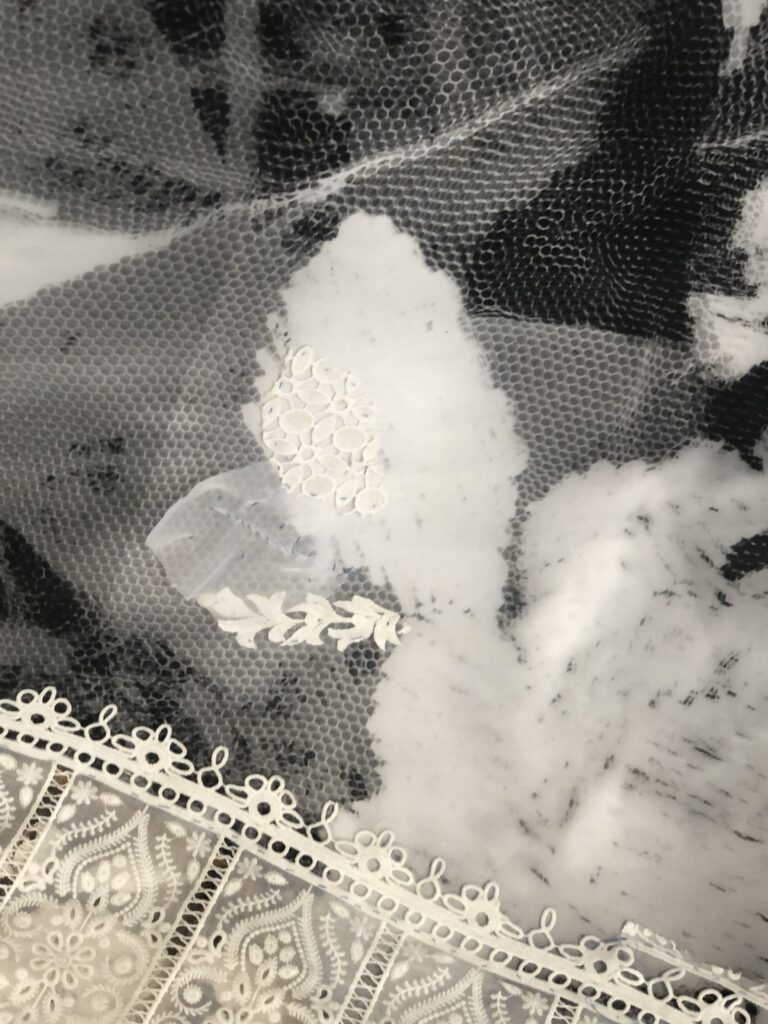
I like how the piece of fabric looks similar to that which was viewed from a microscope.

I’ve found I particularly enjoy incorporating three-dimensional aspects into my work, perhaps due to my love for sculpture. I’m excited to see what else I create.

Till next time,

SR